This tutorial discusses the Bokeh phenomena, and how it can be
replicated
in computer graphics.
What is Bokeh in Real Life?
Bokeh (pronounced BOH-Kay) refers to the phenomenon that occurs when
parts of a
photographic
image goes out of focus. The most obvious of these effects is the small
circular
artifacts that appear when very bright points of light are now no
longer
in focus. Instead of just getting blurry (like you'd get if you applied
photoshop's gaussian blur filter to the photo), these points expand
into
little rings of light, much larger than the original points. Different
lenses and lighting conditions produce
different effects.
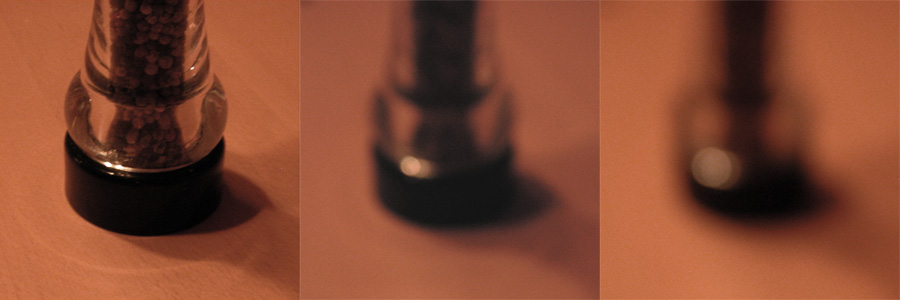
Here's a pepper shaker underneath a set of bright lights. Notice how
the tiny reflections of the lights bloom into large circles of light
when I put the camera out of focus.

Here's another example of a christmas tree light...
These images were taken with a Nikon Coolpix 990 digital camera,
with
a shutter speed of 1/15th of a sec, Exposure compensation at 0.0, and
and
Aperture of f3.6. Subject was approx. 1 foot from the camera.

Original image, focus at 0.35 m, or 14 inches.
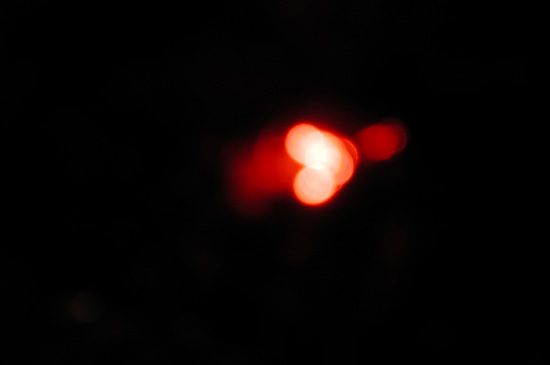
focus at 0.09 m, or 3.5 inches.
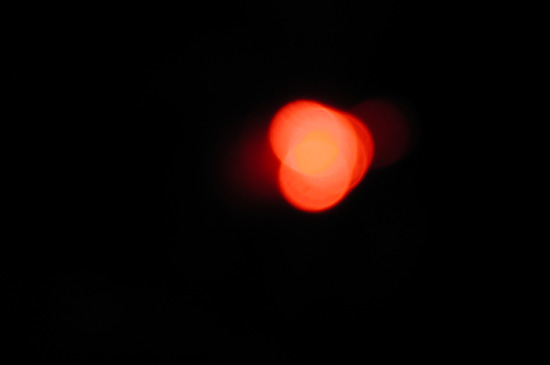
focus at 0.05 m, or 2 inches.
Notice how the small bright light becomes these larger circles.
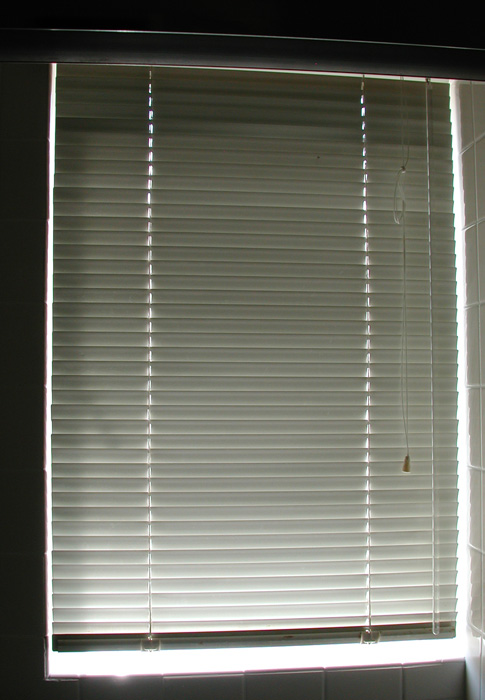
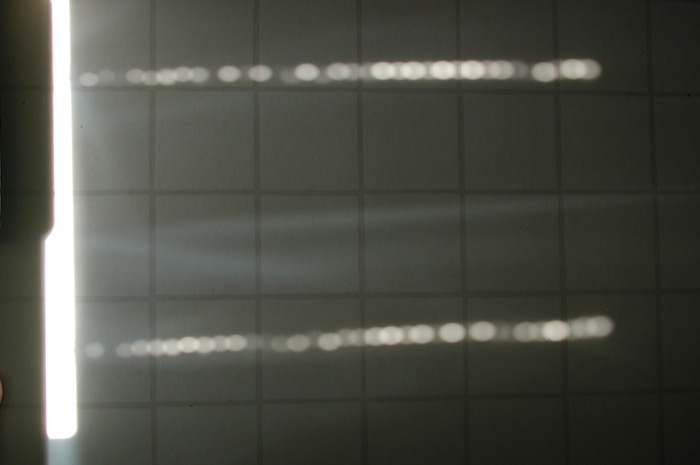
And here's the light pattern from the blinds on the floor. Notice
how it took the light from the long rectangular slits and focused them
into large round circles.
Simulating this in your artwork can be done a number of ways. in 3d, most rayraced renderers can simulate these effects automatically when doing DOF (Depth Of Field, or putting your image out of focus), however, accurately simulating this can take a long time to render. You can also fake it as a post process in 2d, such as in a compositor such as Nuke. Or it can be done in Photoshop as well.
3dsmax (vray) ExampleHere's an example using vray for 3dsmax. Here's the original
render...

Here's the render after I turn Depth Of Field on...
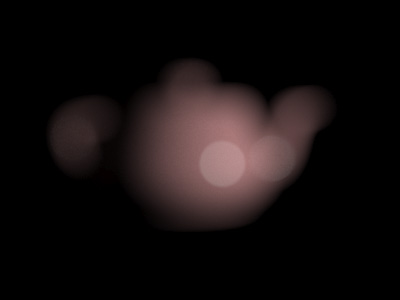
However, the rendertime went from 3 seconds for the first image to 3
minutes for the second image.
And here's the settings inside the camera...

Photoshop Lens Blur Example
Here's an example using photoshop's "Lens Blur" filter.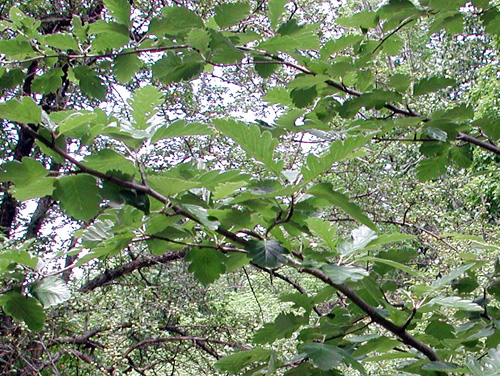
And here it is after applying the filter.

And here's another photoshop lens blur example...
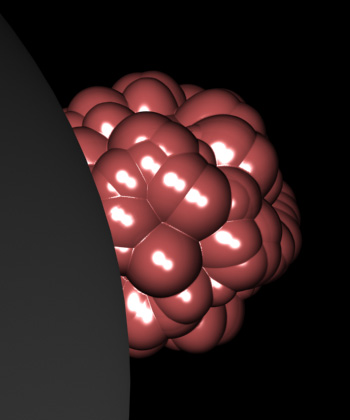
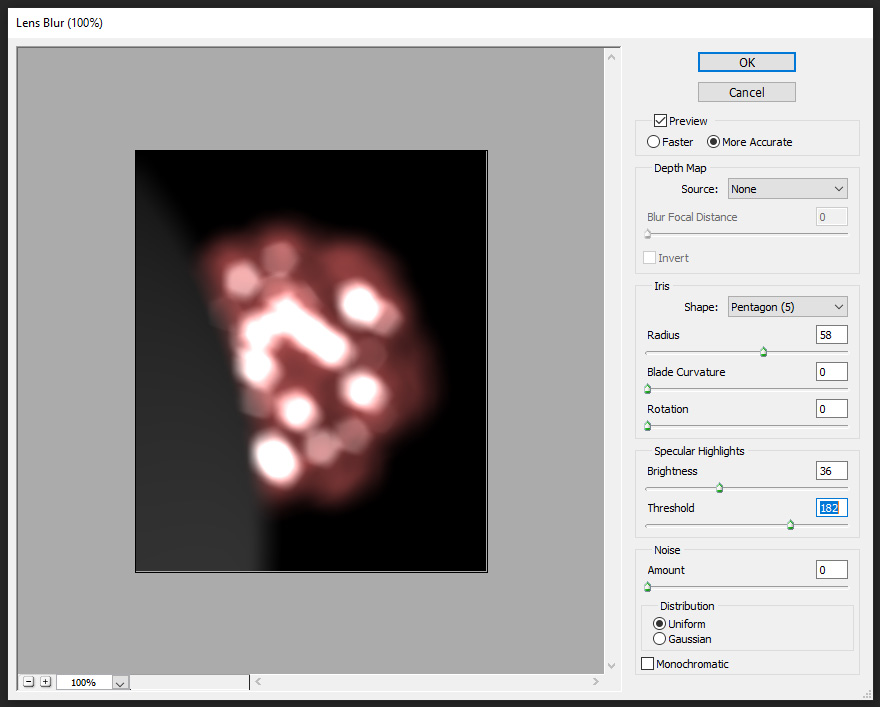
Doing it as a 2d post process works a lot faster, but is less
accurate. If you have an in focus character you want to place on an out
of focus background, this technique will work great. But if you want to
do say a floor, where you need a smooth transition between an in focus
area and
an
out of focus area, it won't look terribly good. Those are the
situations where the slower raytraced
3d DOF works best.
Many options, use the one that works best
for
whatever situation the shots demand.