Converting 3D Geometry Into
Displacement Maps In 3dsmax
By Neil Blevins
Created On: Jan 25th 2022
Software: 3dsmax
There are many techniques and tools for converting 3d Geometry into
displacements, especially for transferring details from a highres
mesh to a lowres mesh in games. But this lesson is about a quick and
dirty
method I've used in he past to do basically the same thing.
You have two choices with this lesson, watch me discuss the issue in
the video below, or read the full text.
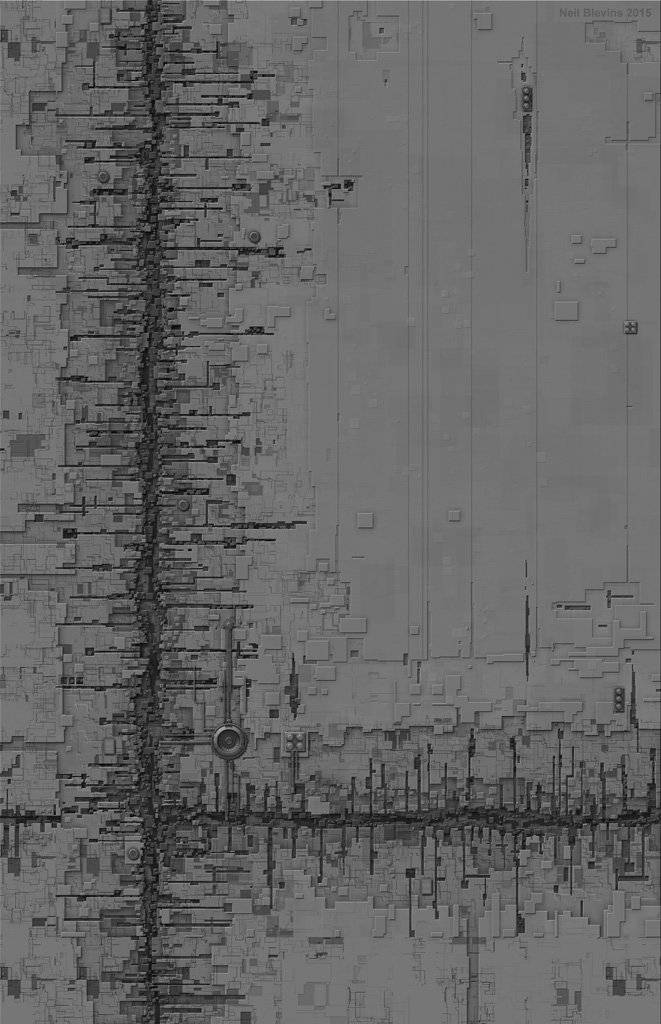
Starship Hulls
As many of you know, I've made lots of images of starship
hulls over the years. Here's example, which despite looking 3d is
almost entiurely made in 2d in photoshop...
A few years ago I decided to convert a few of them into displacement
maps for use
in 3d,
where I take a simple plane and displaced it into the pattern. For
example, here's the displacement map I painted...
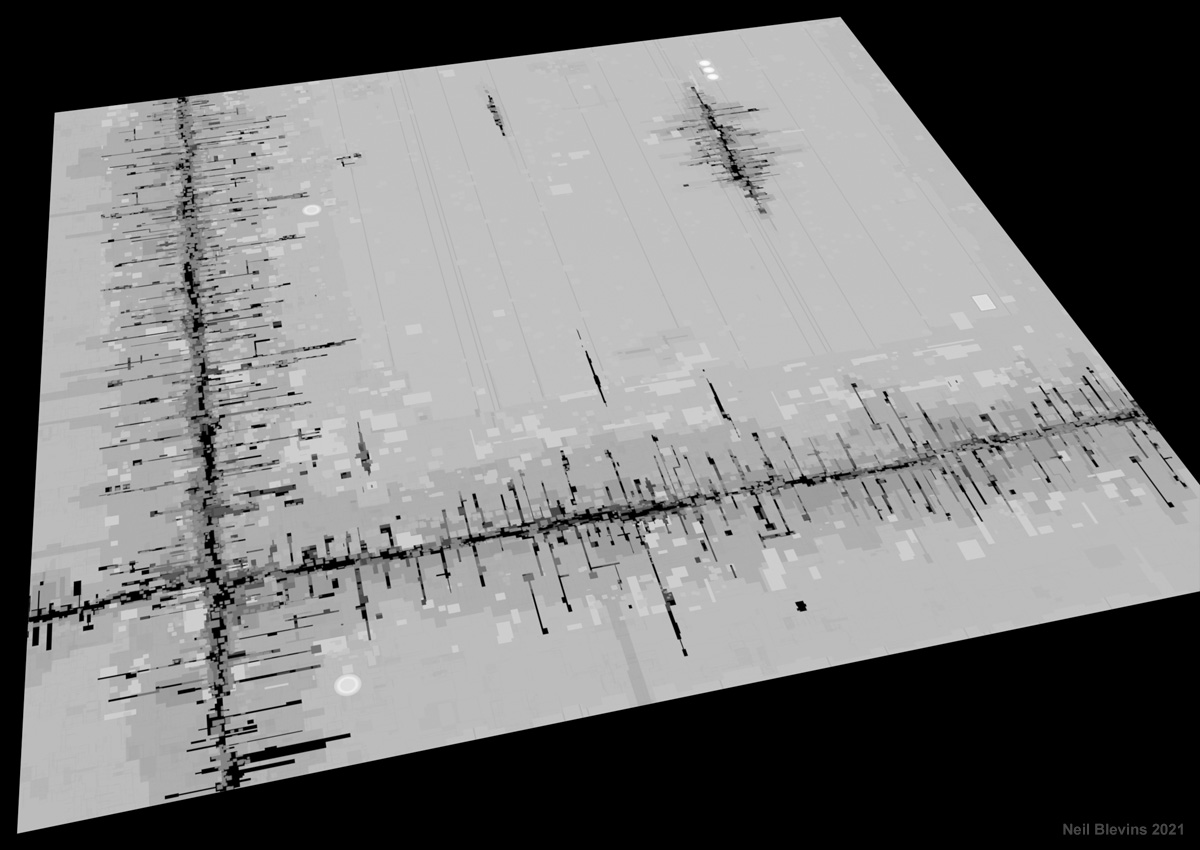
This is what it looks like displacing the plane...
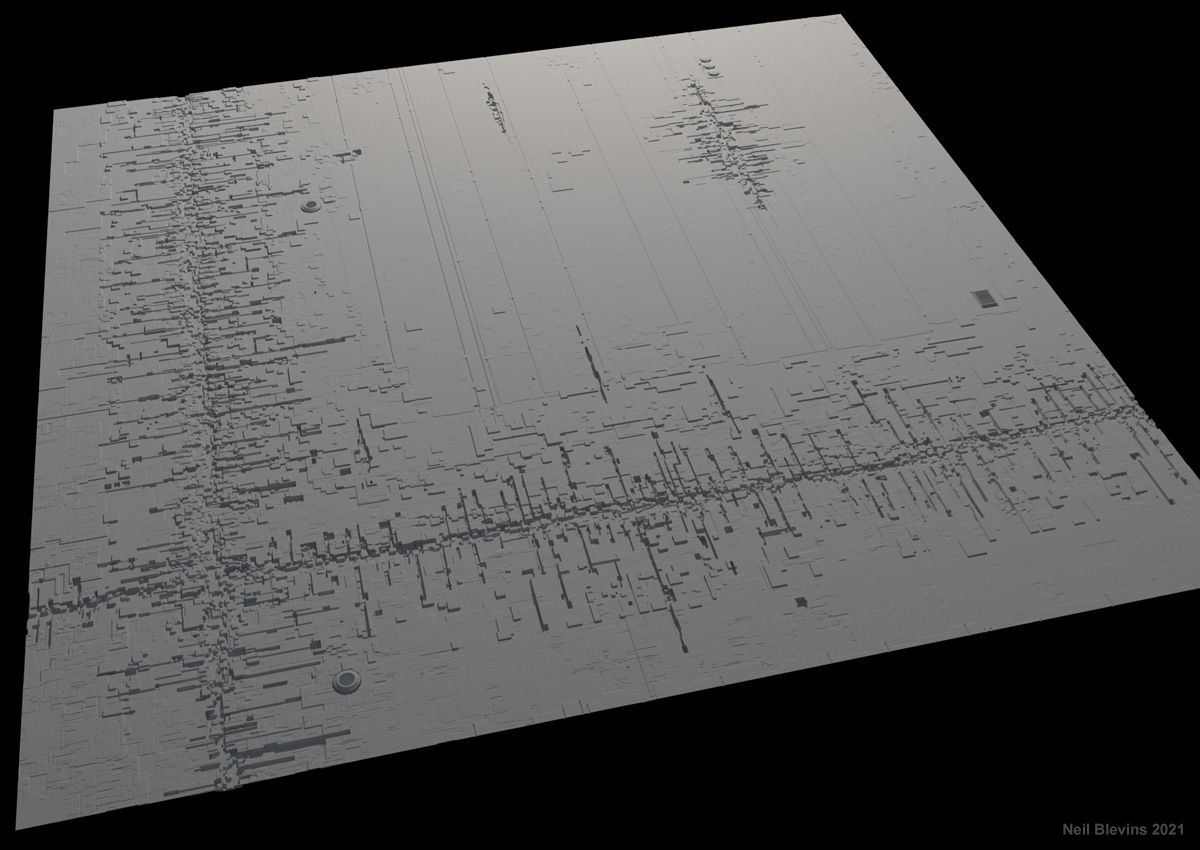
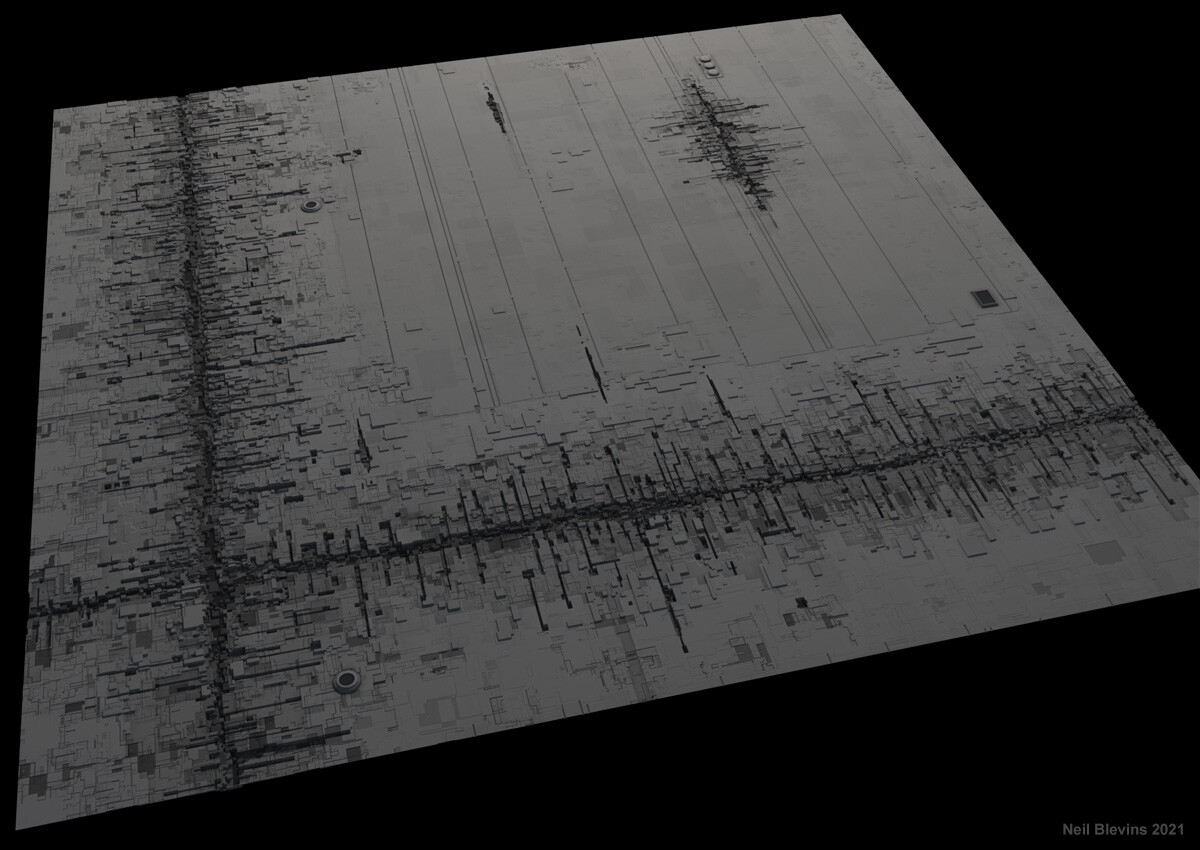
And here's the final result once I add a color and occlusion map...
For the main paneling, it's actually pretty easy to paint the square
shapes that make up the patterns, but what about the smaller
geebles like these...
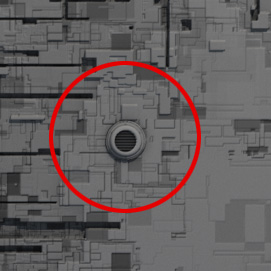
How do you go about making them? Painting their height in photoshop
would be very difficult to do, so instead I chose to build these
smaller greebles in 3d, then convert that geometry into displacement
maps, then add those maps to my hand painted map to get my final
displacement map that I apply to the plane.
So this lesson will be about how I did that 3d to disp map
conversion.
Process
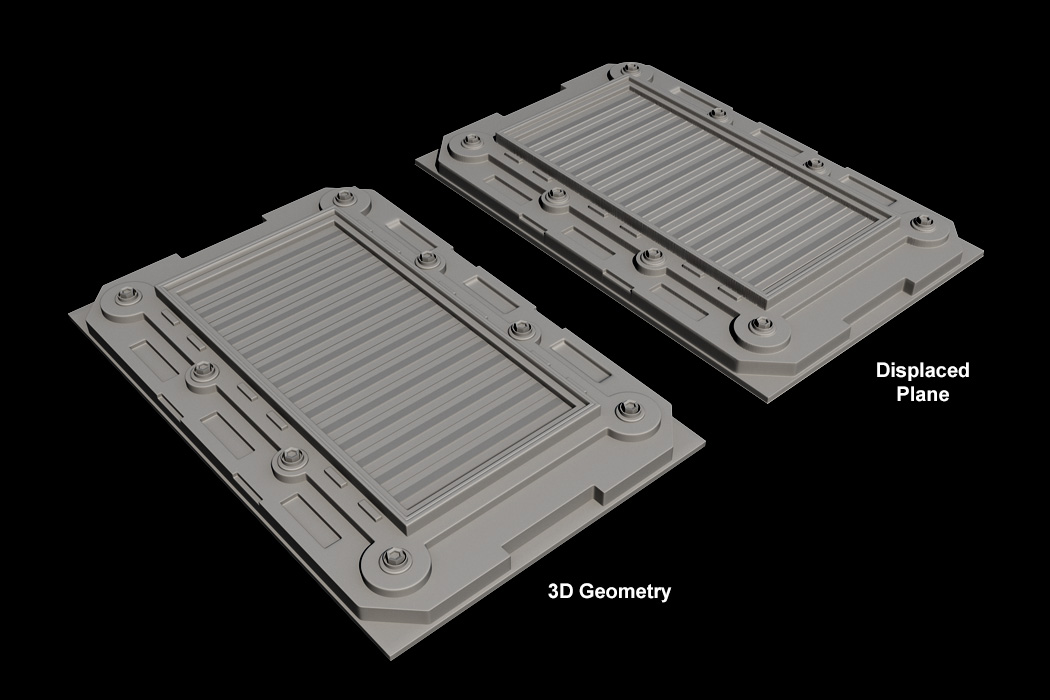
So first I modeled some greebles in 3dsmax (although a similar workflow
can be done in pretty much any piece of software, such as blender),
here's an example...
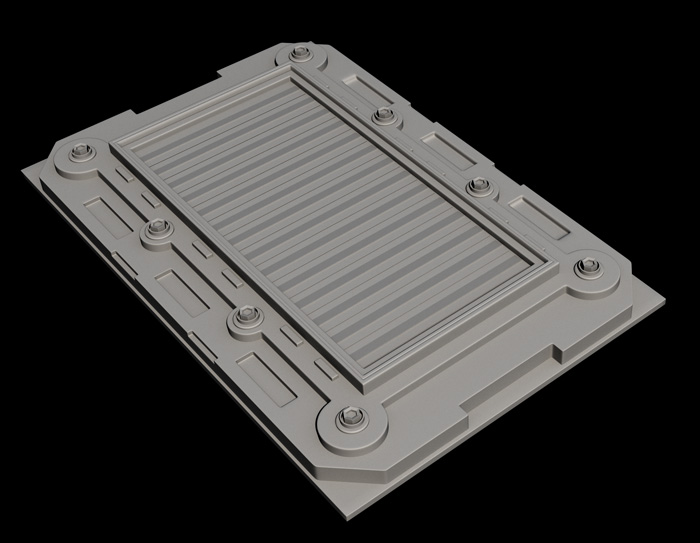
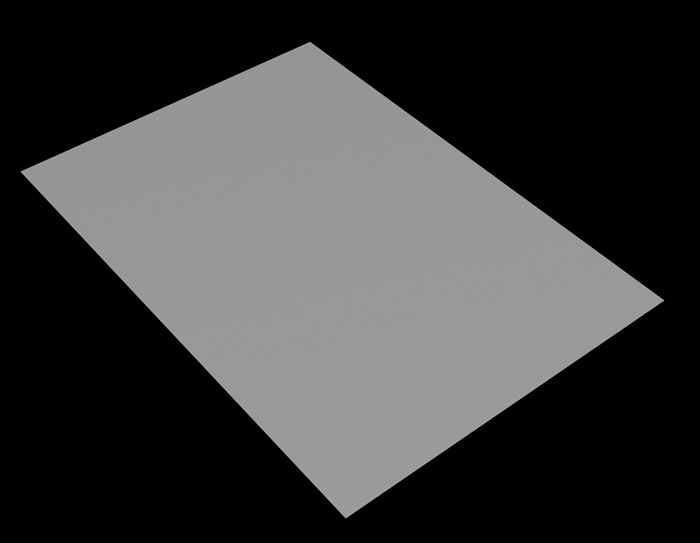
Our goal is to displace this plane into the same shape as the 3d
geometry.
In a
displacement map, the value white means something is high, and a value
of black means something is low, with grey values somewhere in between.
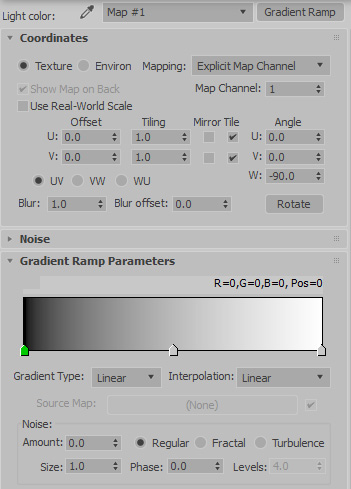
So, I take the highres geometry and assign a flat color material with a
gradient in the diffuse slot. This could be a Standard material with
100% self illumination, but since I'm using vray, I'm using a
VrayLightMtl with the gradient ramp in the color slot.
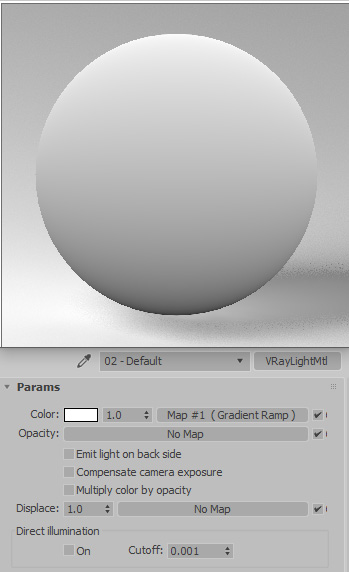
For the Gradient, the only thing I adjusted was the rotation
to -90, so my gradient went up and down instead of right to left.
Now I select my 3d geometry and add a Planar uvwMap from the side like
this...

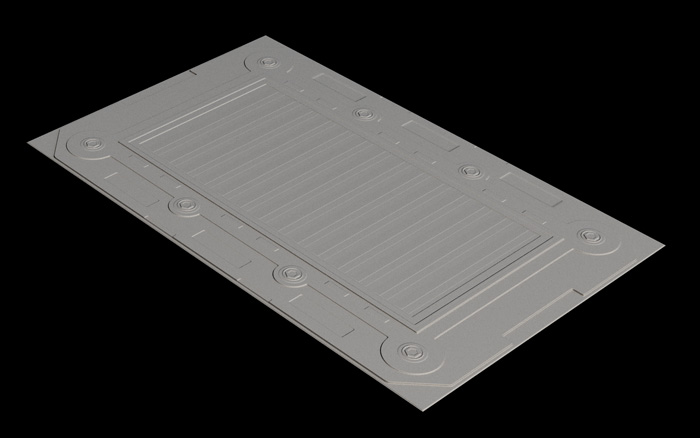
Now after assigning the flat color material to my 3d geometry, I render
it from the Top Viewport, and I get a result like this...
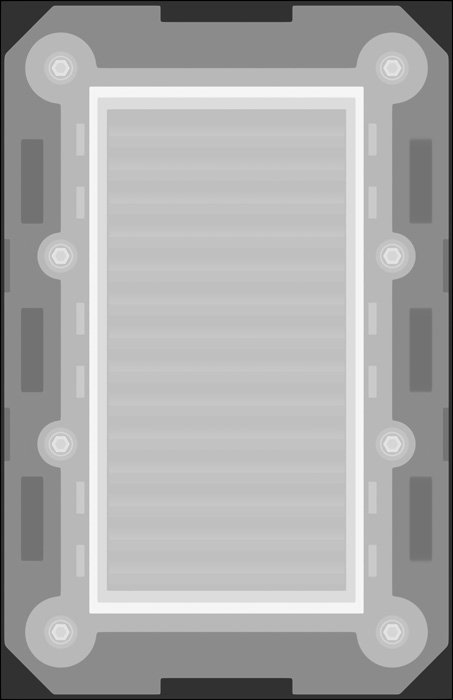
That's my displacement map for my plane, again, white are the highest
areas, black the lowest, and the color comes from that gradient
projected from the side.
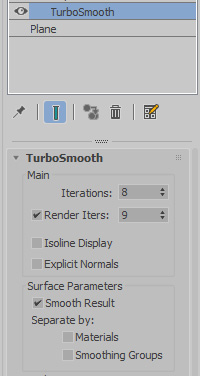
So I hide my 3d geometry, unhide my plane, and assign a turbosmooth to
the plane, setting it to add a bunch of extra faces...
Then I add a displace Modifier, and place my rendered displacement map
in the map slot...
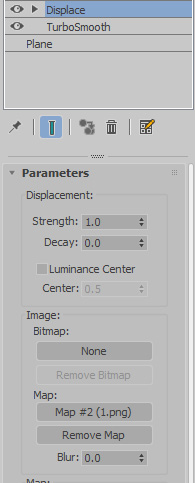
I then render my plane, which looks sorta right, but it's too flat for
some reason.
This is because our Strength (or in other words, height) is set wrong
for the displace modifier. It's using the default of 1.0. What should
be the correct strength? I could eyeball it, but let's find out more
directly. If I select my original 3d geometry, go to the Utilities tab,
and go to the Measure tool, I see that my original geometry is 8.613
units in the Z dimension...
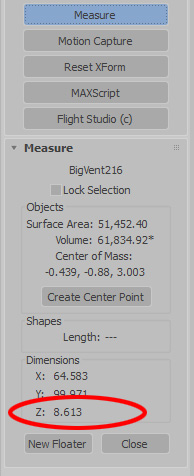
So my original object is 8.613 units high. Which means the value of
black in my displacement map represents a height of 0, and a value of
white represents 8.613 units high. So to get an identical height with
my displacement, I need to change my Displacement strength from the
default of 1.0 to 8.613. Now lets check the render...
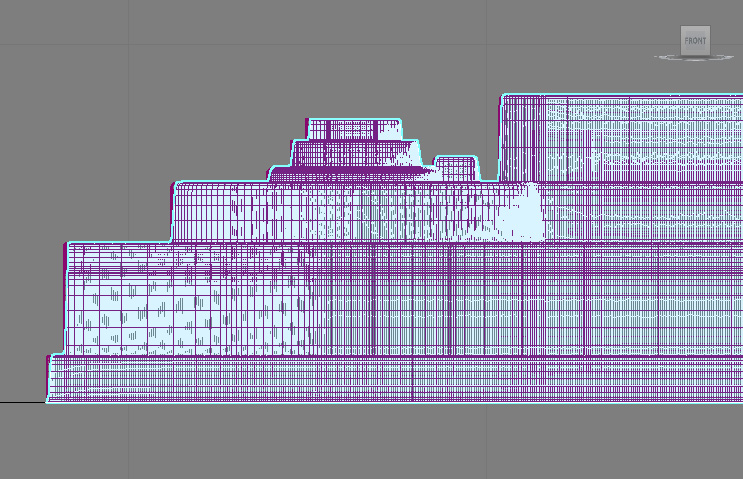
One nice thing about the Displace Modifier is you can see the result in
the viewport. Here's me double checking that the height of the
displacement matches the height of the geometry in the front viewport.
The purple is my 3d Geometry, the white is my displaced plane. Looks
pretty much identical...
But if you don't care about seeing the result in the viewport, and
you're a vray user, the more efficient way of doing this is using the
vray displacement modifier
instead of the turbosmooth and displace modifier. Here's the settings I
used to get identical results...
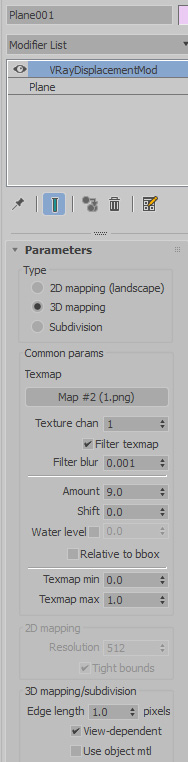
Adjust the edge length to get a cleaner end product at the expense of
rendertime.
Conclusion
If you need to make a really complex displacement map with overhangs or
of a really complex surface, there are other better techniques out
there. But if your needs are simple, like adding pebbles on a flat
terrain or some vents to an enormous scifi megastructure, this
technique may be the way to go. So give it a try the next time you need
a displacement map!
This site is ©2026 by Neil Blevins, All rights
are reserved.
To see hundreds of other tutorials similar to this one, visit the
Neil Blevins Education Site