Weathering: It's All About Erasing The Dirt
By Neil Blevins
Created On: Nov 25th 2013
Updated On: Oct 24th 2025
Software: Any
Here's a video tutorial discussing how to paint dirt in photoshop,
specifically the technique of painting dirt in with a large texture
brush, then painting out (erasing) with a smaller texture brush. The
same theory works for digital rough paintings and speed paintings, but
for this example I'm using the technique to show painting dirt for a
texture map.
Here's some notes:
- Download a test image to paint your dirt ontop of here: BoxGrungeBaseBevelBlank.psd
- When painting dirt, your first inclination might be to paint the
dirt with a small brush. But this takes a lot of time.
- Your second inclination will be to use a large dirt brush, but
that will likely add too much dirt to the painting.
- Your third try might be take the same brush and make it smaller.
There's now less dirt, but the dirt will likely look too even.
- So the best solution is to Paint In the dirt with the big dirt
brush, then Erase parts of the dirt to shape it with the same brush
just smaller.
- Same applies to adding drips. Painting a drip with a single brush
stroke will leave the tip of the drip too even, even with pressure
sensitivity turned on. So paint in the drip with your bigger brush,
then use a smaller brush to erase the tip of the drip to create a nice
sharp point.
- Then feel free to use a smaller brush to add a few details.
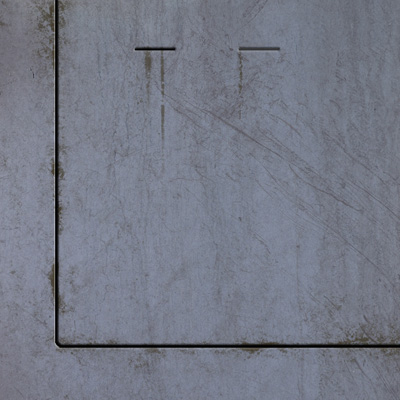
Here's the final result:
This site is ©2026 by Neil Blevins, All rights
are reserved.
To see hundreds of other tutorials similar to this one, visit the
Neil Blevins Education Site