Dust is fine particles that build up on another surface overtime.
Dust can be regular dust you get in your house on that top shelf you
rarely touch, or some sort of industrial dust in a factory, or dust
that comes from an environmental source like fine ash from a volcano.
Here's a tutorial on how to create a basic dust material.
Reference
Here's the material we are trying to emulate in CG. This photograph is of a dumpster with dust on the upper facing parts of the side wall.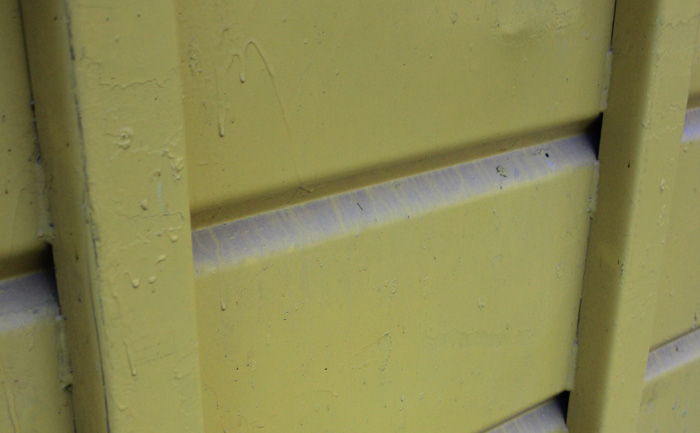
Software Agnostic Material
The basic ingredients are as follows:
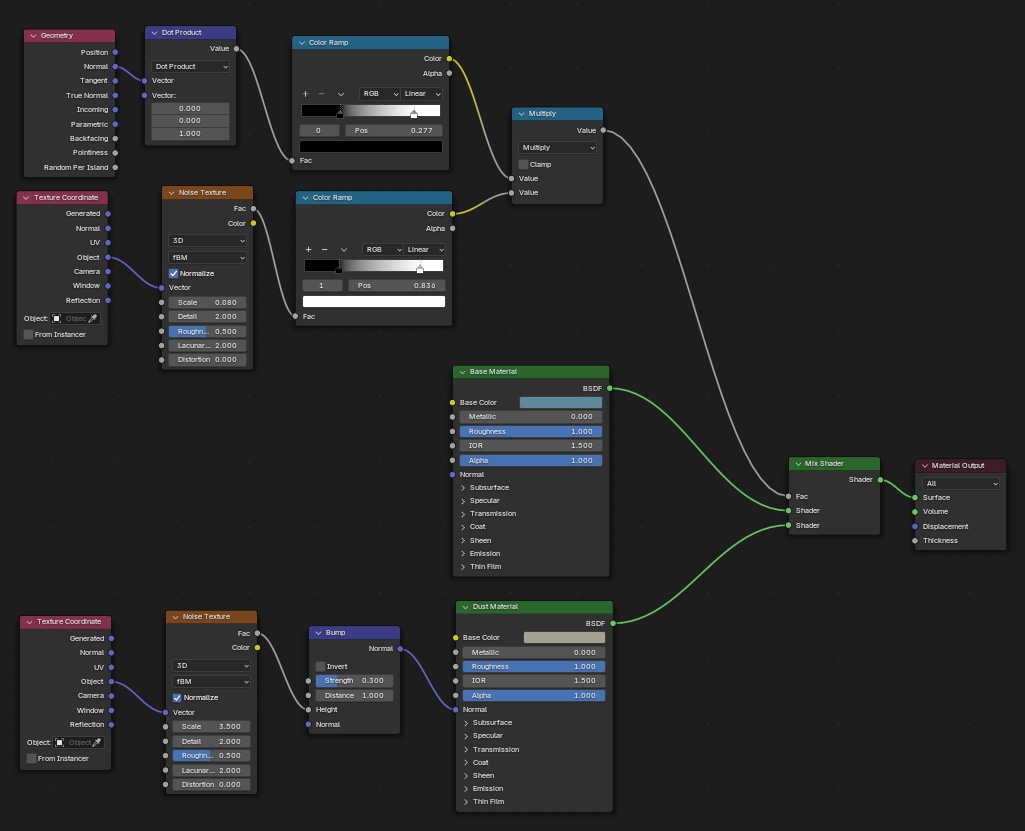
Blender Example

To add dust to any material, just replace the Base Material with
whatever material you want to apply the dust to.
Here's the resulting render.
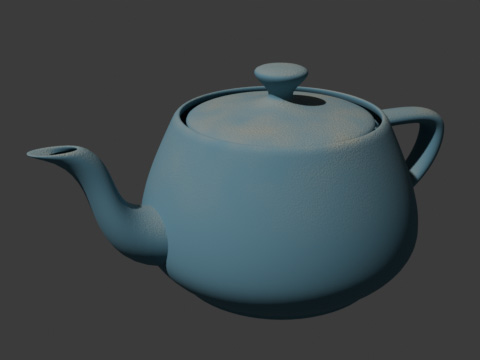
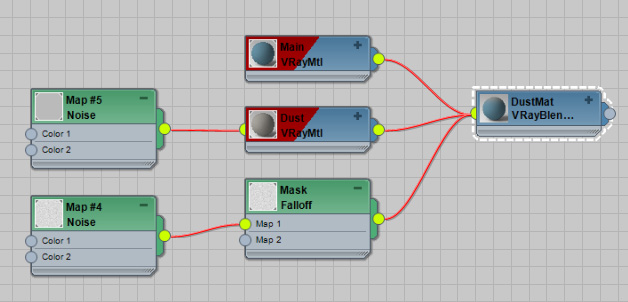
The material is a VRayBlend material. Material 1 is the light
blue/grey
material. Material 2 is the Dust Material. The mask for Material 2 is a
map that defines where dust is placed.
The color of the dust material is just a slightly grey/yellow color.
For the bump, a noise with a very small size, and medium intensity.
The mask map map is a little more complex. First, I want to choose
only the up facing parts of the object, with a slight gradient so the
transition isn't too harsh. For this I choose a Falloff map set to
"Towards/Away" and "World z-Axis" (since in max the z-axis points up).
Note, you must use "Towards/Away" and not "Perpendicular/Parallel", or
else dust will appear at both the top and bottom of your teapot. I then
modify the curve control of the falloff to produce a nice transition,
modify this to your own pleasure.
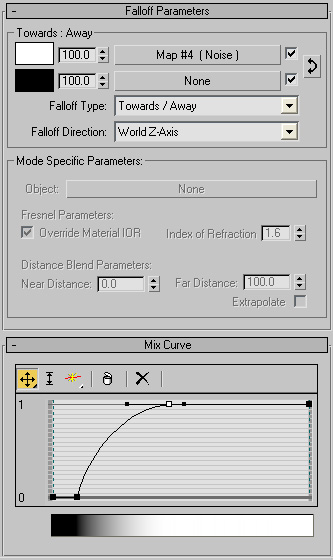
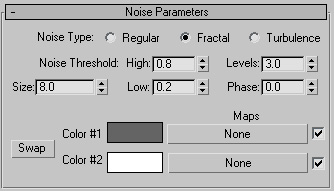
In the Towards map, I place a Noise. This is a pretty large noise,
and represents the random uneven buildup of dust over time.
To add dust to any material, just replace the Base Material in your
VrayBlendMtl whatever material you want to apply the dust to.
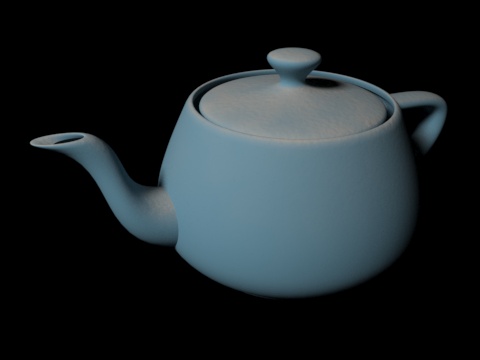
Here's the resulting render.
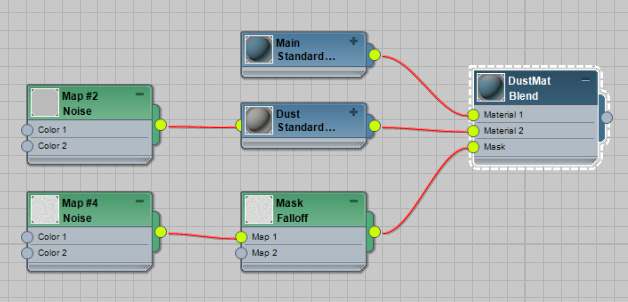
The material is a blend material. Material 1 is the light blue/grey
material. Material 2 is the Dust Material. The mask is an opacity map
to define where dust is placed.
The color of the dust material is just a slightly grey/yellow color.
For the bump, a noise with a very small size, and medium intensity.
The opacity map is a little more complex. First, I want to choose
only the up facing parts of the object, with a slight gradient so the
transition isn't too harsh. For this I choose a Falloff map set to
"Towards/Away" and "World z-Axis" (since in max the z-axis points up).
Note, you must use "Towards/Away" and not "Perpendicular/Parallel", or
else dust will appear at both the top and bottom of your teapot. I then
modify the curve control of the falloff to produce a nice transition,
modify this to your own pleasure.

In the Towards map, I place a Noise. This is a pretty large noise,
and represents the random uneven buildup of dust over time.

To add dust to any material, just replace the Material in slot 1
with whatever material you want to apply the dust to.
Here's the resulting render.
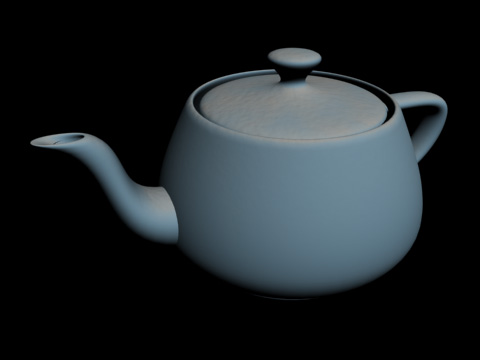
Here's the max file, 3dsmax 2022: dust_material_3dsmax_scanline.zip