Weathering: Extracting A
Dirt Pattern From A
Photograph
By Neil Blevins
Created On: Nov 23rd 2013
Updated On: Apr 8th 2026
Software: Photoshop or Procreate or Affinity
Beside using a Dirt Brush
to paint dirt onto a texture for a 3D model or to add a grime layer to
a 2D painting, the best way to dirty up your image is to take a real
photograph of dirt and use photomanipulation techniques to extract the
dirt and paste it on a new layer above your original surface.
This tutorial
will go though several methods to do this using Photoshop, Procreate or
Affinity.
Select Color Range Method
in Photoshop
Here's a video tutorial discussing how to extract a pattern from a
photo using Select - Color Range and then use it as a mask to blend
between two photos, one of dirt and one of a painted surface.
Here's some notes:
- Use Select - Color Range to select only the dirt, play with
fuzziness to get exactly the part you want.
- Create new layer, fill the new layer with white, fill background
with black
- flatten image
- use levels to make any final adjustments
- select and copy the image
- on a new canvas, have your base layer and a layer with a dirt
color
- on the dirt layer, create a mask. Click on mask, paste your dirt
pattern
- Customize your dirt pattern with any hand painting you'd like
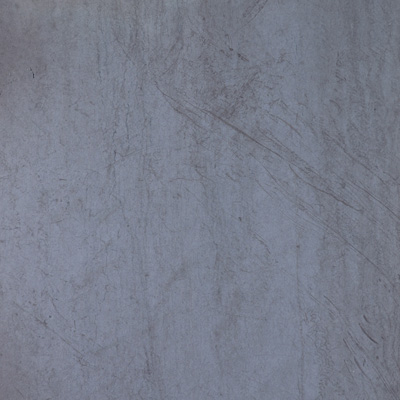
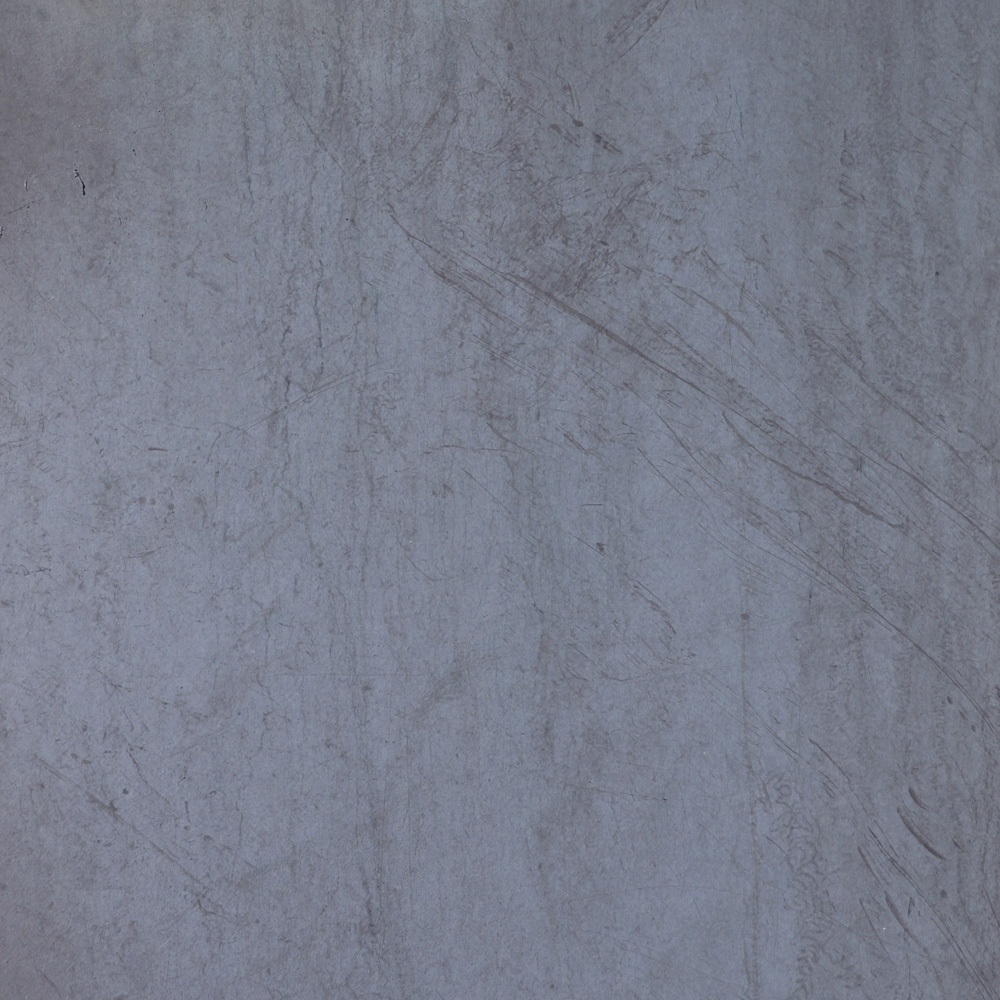
Here's the paint surface you want to place the dirt ontop of:
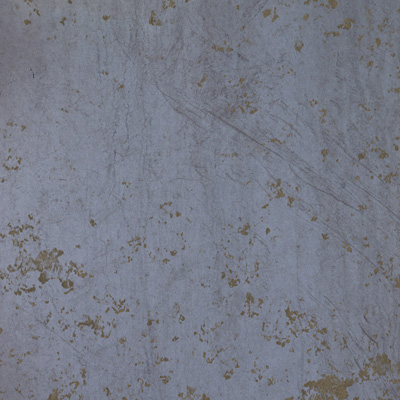
And the dirt layer on top of the painted surface:
Channels Method in Photoshop
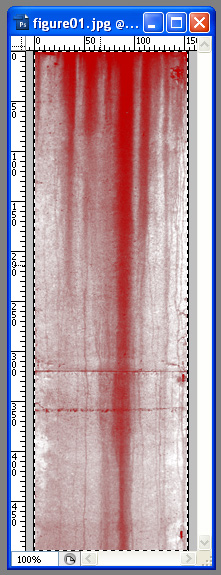
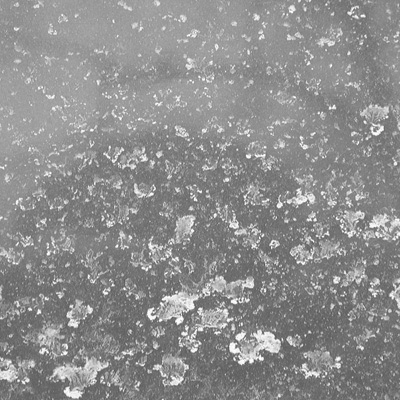
1) Say you have a Grayscale Image of dirt or drips...

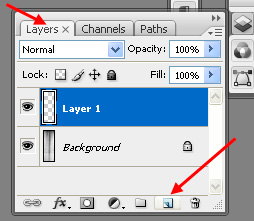
2) Switch To The Channels Window in Photoshop

3) In a grayscale image, each channel, R G and B should be identical.
So hold the Ctrl Key, and click on the red channel. You should see a
selection in your main window appear.

Note: You can avoid steps 2 and 3 if you just hit Ctrl+Alt+1, which is
the keyboard shortcut to select the Red Channel in CS3 and below, or
Ctrl+Alt+3 for CS6.
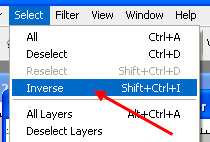
4) Invert Your Selection (shift+ctrl+i)
5) Go to the Layers Palette, create a new Layer.
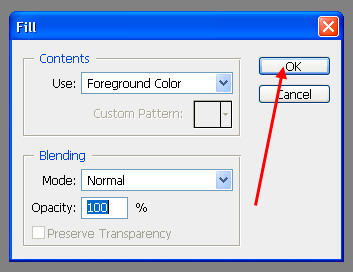
6) Select the Color Black.

7) Choose Edit, Fill and OK (alt+backspace). Hide the original layer.
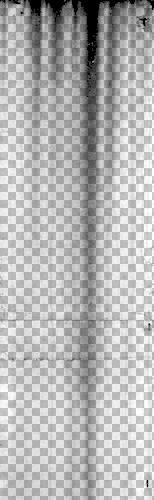
8) You now have black on a transparent background. Now place this layer
ontop of any other layer you want to apply your dirt. Note: You can
also paste this into a layer mask if you want to use masking instead of
transparency.
Quick Mask Method in Photoshop
This technique was suggested by hamish911.
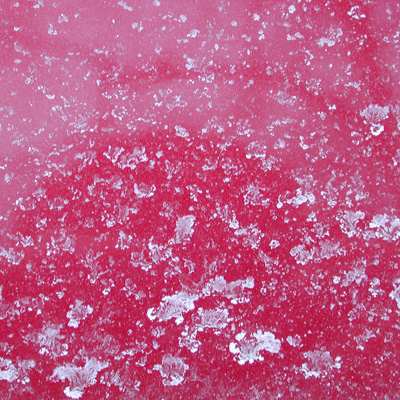
1) Here's your image...
2) Select your image and copy it (ctrl+a, ctrl+c)
3) Create a New Layer (shift+ctrl+n, enter)

4) Enter Quickmask Mode (q)
5) Paste the Layer into the quickmask (ctrl+v)
6) Exit Quickmask (q)
7) Invert Your Selection (shift+ctrl+i)
8) Select the Color Black.
9) Choose Edit, Fill and OK (alt+backspace). Hide the original layer.
10) You now have black on a transparent background. Now place this
layer
ontop of any other layer you want to apply your dirt. Note: You can
also paste this into a layer mask if you want to use masking instead of
transparency.
Curves & Mask Method in Procreate
Here's some notes:
1) Download the following 2 files: BoxGrungeBase.jpg
and Crud02.jpg
2) Start With Your Crud02 Photo
3) Make the Dirt Pattern Image Black and White with Adjustments - Hue,
Saturation, Brightness. Turn Saturation to 0%.
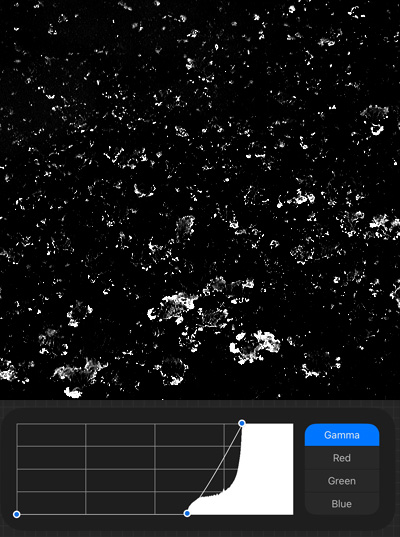
4) Give it more contrast using Adjustments - Curves, and adjust the
curve in gamma mode.
5) Copy the layer by pulling 3 fingers downwards on your canvas and
choose copy
6) Create a new layer. Click the layer's image and choose Fill Layer.
Fill it with a brown color. Note: You can also just use a pre-existing
layer that has a generally dirty looking color.
7) Click the layer's image and choose Mask.
8) Make sure the mask is selected in the layers dropdown (it should be
the brighter blue color)
9) paste by pulling 3 fingers downwards on your canvas and choose paste.
10) The dirt pattern is now pasted in the mask. You can now place the
layer and its associated mask ontop of any other painted layer you
want (like BoxGrungeBase.jpg).
Final note, if you want to have a layer with only transparency, and no
mask, just select the layer (not the mask) and click on the image in
the layer dropdown and choose "Merge Mask".
Flood Select Method in Affinity
Here's some notes:
- Download the following 2 files: BoxGrungeBase.jpg
and Crud02.jpg
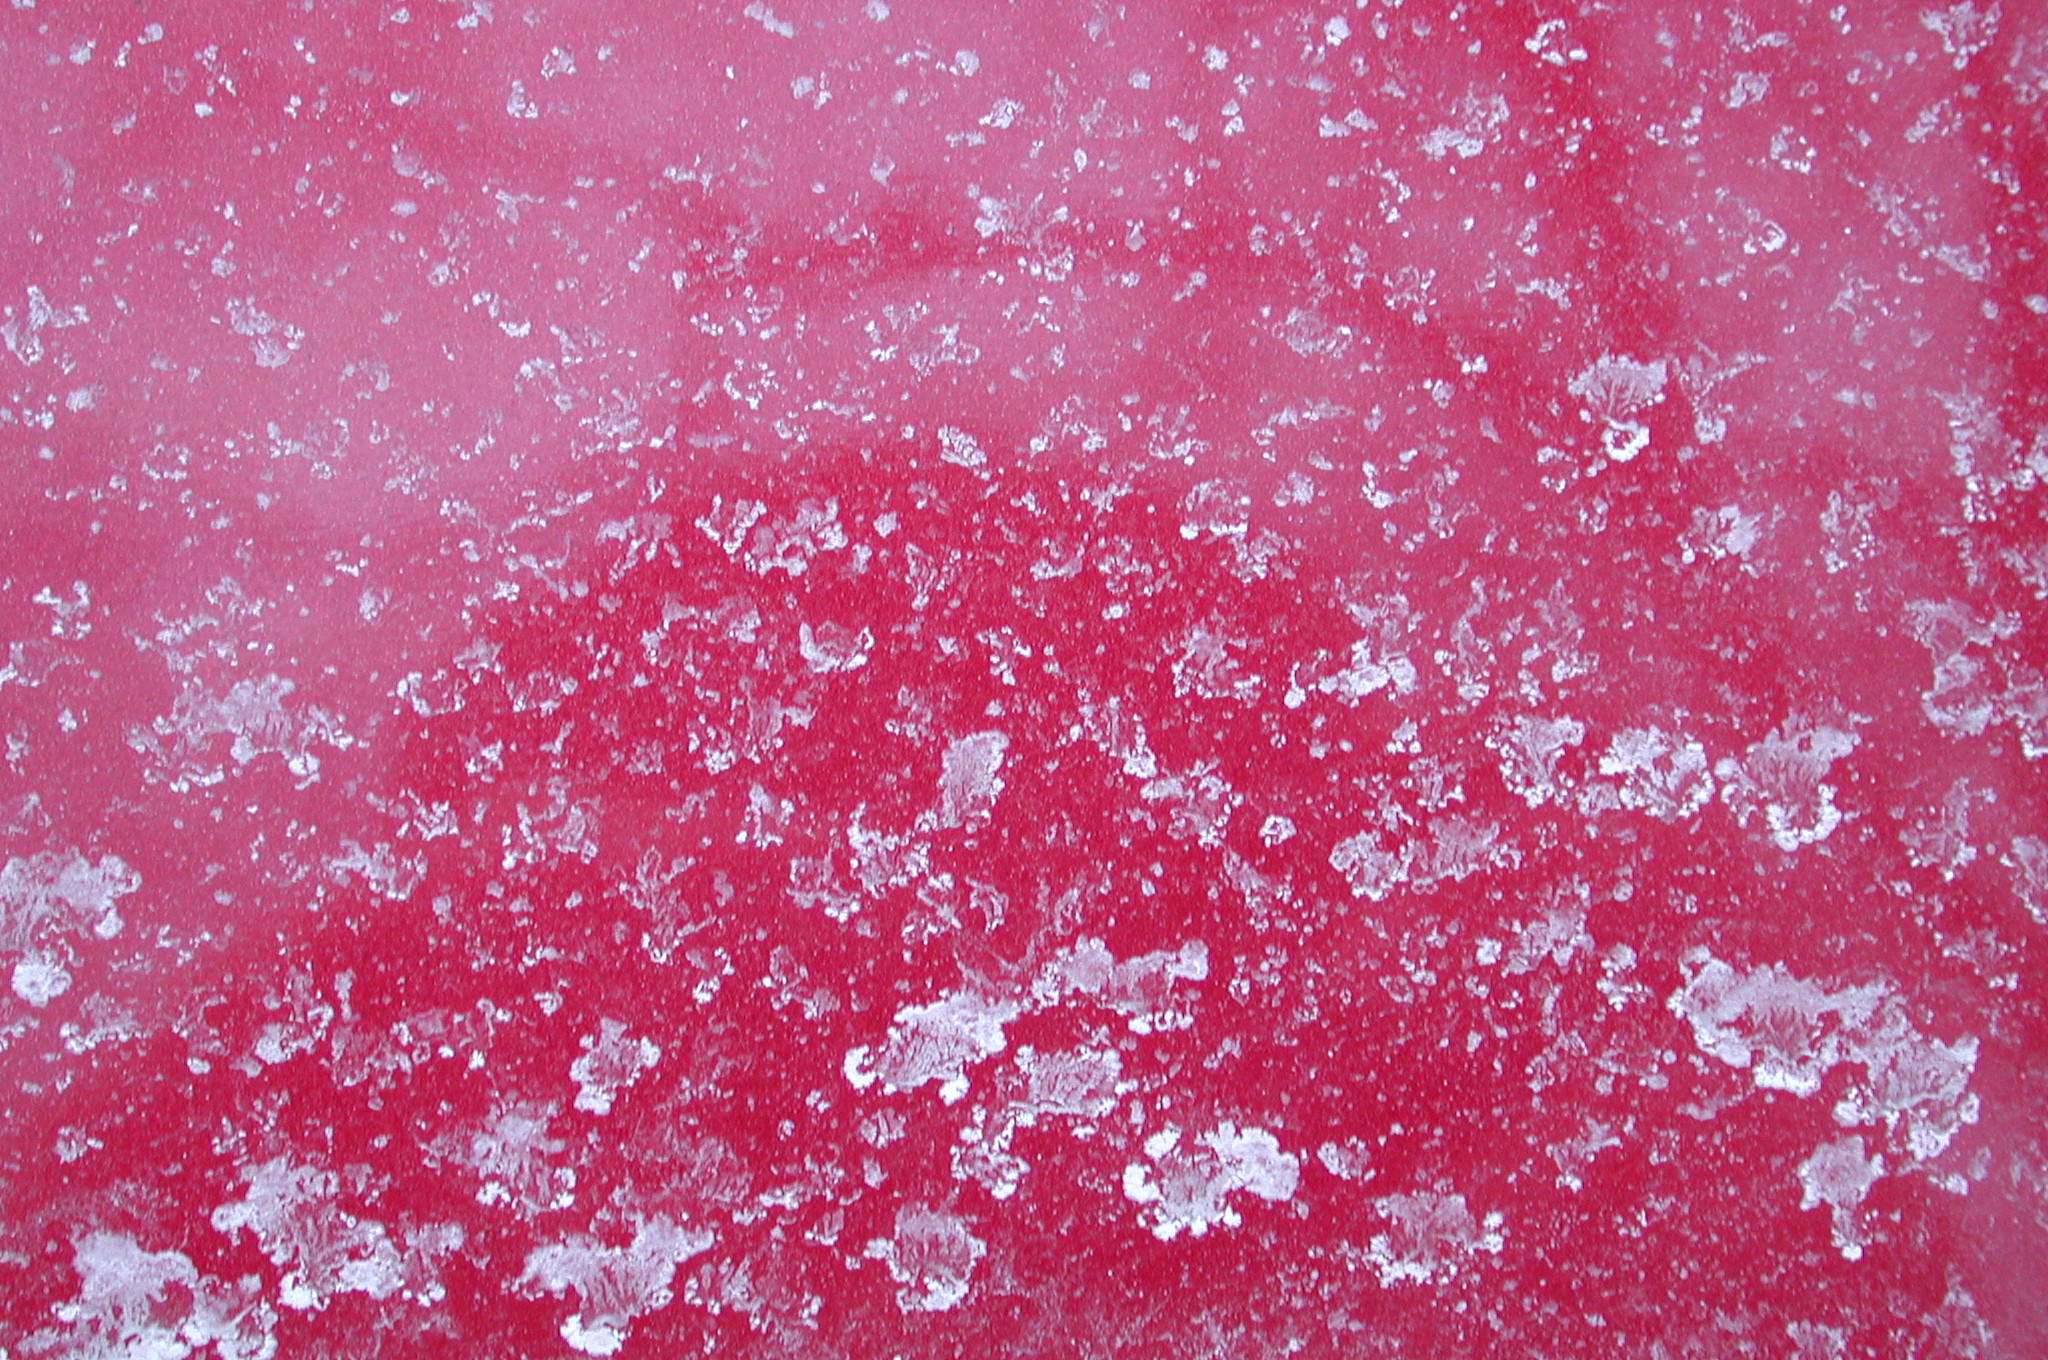
- Start with your Dirt photograph
- Flood Select Tool, turn off contiguous, adjust tolerance (approx
20%), select a mid red color
- Pixel > Pixel Selection > Invert (to select the dirt, not
the red car)
- Choose Color White
- Pixel > New Fill Layer
- Pixel > Pixel Selection > Deselect
- Choose Color Black
- Pixel > New Fill Layer
- Pixel > New Adjustment Layer > Levels (to make any final
adjustments)
- Select all layers and Right click > Merge Selected
- Pixel > Pixel Selection > Select All
- Edit > Copy
- on a new canvas, have your base layer and a layer with a dirt
color
- Paste your black and white dirt image into this canvas
- Right click on that layer and “Rasterize To Mask”
- Drag the mask on top of the dirt color layer.
- Customize your dirt pattern with any hand painting you'd like
This site is ©2026 by Neil Blevins, All rights
are reserved.
To see hundreds of other tutorials similar to this one, visit the
Neil Blevins Education Site