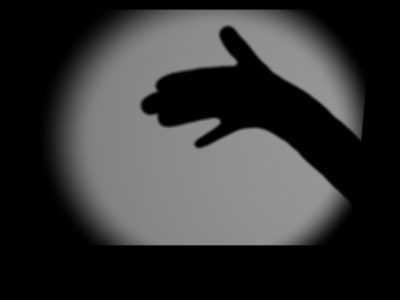
While modern renderers and 3d apps are great at calculating shadows
of geometry in your scene, there's times when it's helpful to take an
old theatrical trick called Gobo or Projector lighting and use it to
give variance to your light source. Most 3d apps have a way to project
an image or sequence of images through your light, so this tutorial
discusses the technique and places you may wish to use it.
Car Headlight
And then of course you have all those special effect cases, for example, I had a scene in a project at Blur Studio any years ago where all these police cars were lined up against a wall, their headlights striking the wall. Rather than just putting two spotlights on the front of the car and calling it a day, I went to my apartment, and moved my car in the parking garage towards a wall, then took some digital photos of the result...
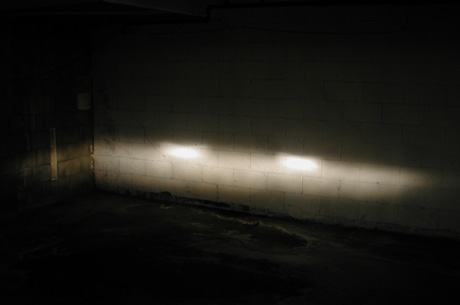
I fiddled with the exposure of my photos to make sure I got an accurate representation of the light patterns, since these photos would end up as my primary reference. I then went back to work the next day, and painted a map similar to the following, meant to mimic the light pattern I saw from my car.

I then mirrored the map, and then used it as a projector map in my scene, and voila, a much higher level of realism than using a plain spotlight.

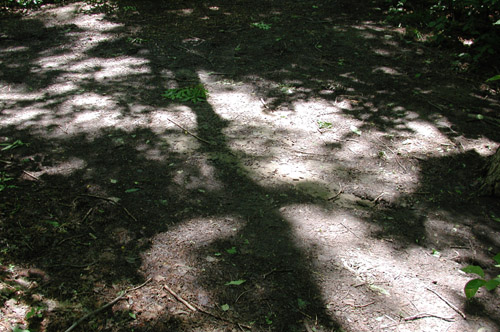
The Forest Canopy
What do we have in a forest? Well, a lot of trees for one. The tree leaves above the forest "floor" are often referred to as the forest "canopy".
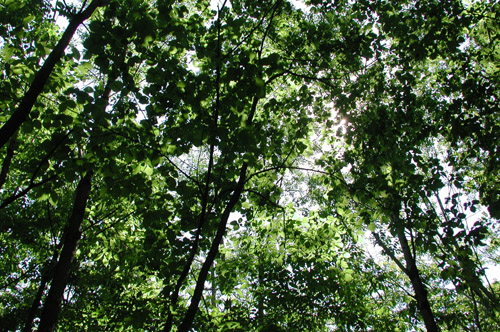
The canopy casts shadows on the floor.
To either properly simulate a forest, or to integrate a 3d character into a real forest environment say in a live action film, you need to simulate this effect on your subjects. While you could make a bunch of real trees, place them above your character, and then use an overhead light with shadow casting turned on, this would end up taking probably a LOT of geometry, a lot of unneeded geometry since you're never going to see the leaves above the character (unless you camera points up in that direction). So the best bet is with a projector light.
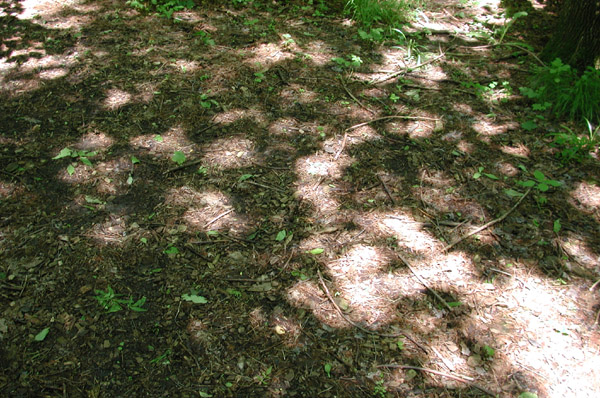
How Do I Make These Images?
With digital cameras so cheap these days, just taking a photo of a forest canopy may be good enough, depending on the shot. Once you have your photos (assuming you're near a forest, or else you'll have to use reference photos from some other source), bring them into a photo manipulation program such as photoshop, make them grayscale, then increase their contrast so you get bright whites and black darks, and a few shades in between.

Another option is to paint them yourself in Photoshop or an equivalent piece of software. For example, you create a leaf brush, then you can modify your brush to randomly change the scale and orientation of your leaves as you paint. This will give you more control over leaf placement, but may not look as natural as the photo method.
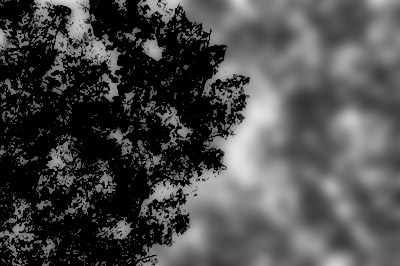
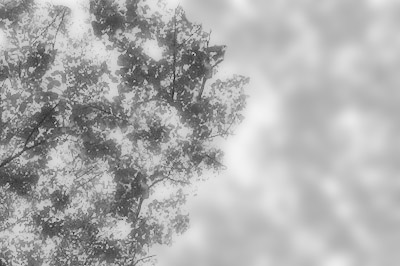
Sharp or Blurry?
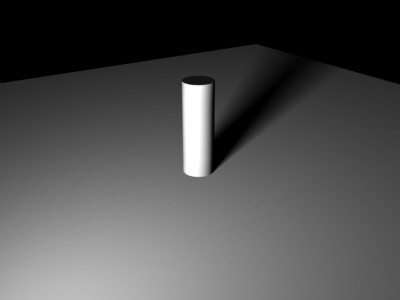
Leaves don't usually cast sharp shadows in a forest environment, they usually cast blurry shadows. But how blurred are they? Well, that depends on how high they are off the ground. The higher they are, the more blurred they are. Here's some renders showing the phenomena, notice how the shadow gets blurrier as it goes further from the cylinder.
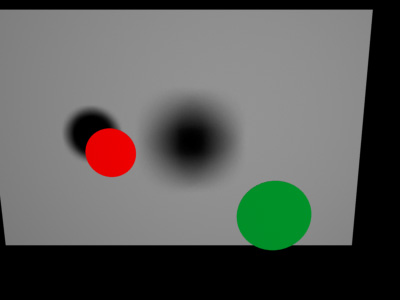
In the following image, the red circle is closer to the grey card than the green circle is. Notice how the shadows change blurriness.
In a forest environment, you have tall trees and short trees, all in the same spot, so you'll have some shadows that are blurry...
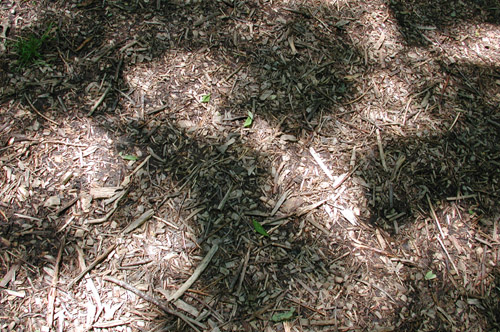
And some that are sharp...
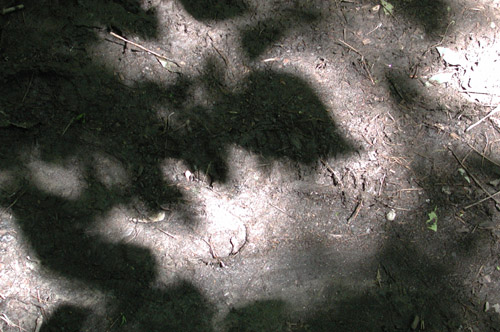
Depending on how close the trees are to the ground.
So for a more accurate projector map, you may wish to for example take three different photos of a tree, choose areas of the tree that are slightly sparse so you don't have too many leaves, turn them grayscale as described above, place them on several separate layers, and now blur each layer a different amount. This will make your shot even more realistic.
How Much Light?
A forest floor is almost never entirely dark. That's because while you have the sun shining down on you, you also have a big sky, which is a light source shooting light at you from a lot of different directions. That and the fact that leaves are slightly translucent means that the dark areas are almost never entirely dark. So don't have any pure blacks in your map. Or if your 3d software has a method for modifying the intensity of your projector map, place it at like 50% or so so the darkest the map ever gets is 50% gray. Or in photoshop, place a fully white layer above all your other layers, and then make the opacity of the layer 50% to wash out all the other layers. Or modify each layer separately. The more sharper in focus layer of leaves should usually be the most opaque, i.e., the closer to black. The more blurred layers should be closer to white.
Animation?
Also don't forget, in a real forest, trees are usually being swayed slightly in the breeze. So your pattern will need to move if you plan on lingering on a shot for awhile. Several ways to do this, one way is to compose your tree layers in a piece of 3d software instead of in photoshop, or even a piece of 2d compositing software. Make several large planes, assign a material to it that uses your tree map as an opacity map. Then make the material 100% self illuminated, and then place a camera above the planes looking down. Then softly animate the plane moving back and forth. If you use several planes, each with their own opacity level, blur amount and animation, you'll get some great moving leaf patterns. Then render the sequence out, say 300-400 frames, and use this animated set of frames as your projector light in your other 3d scene.
Final Touches
Also remember, leaves aren't the only thing in a forest canopy, branches and trunks are there as well, you may wish to add a few to your projector map in appropriate places to break up monotony.
I'm sure there's other things I've missed. That's where your
observation
techniques come into play. Basically, to do this tutorial, I went out
and
took some photos of a forest, and then started dissecting everything I
saw. Does the pattern move? What makes up the pattern? Is it dark or
light?
Is it both? Why? Is it blurred? A million questions to ask, I have
taken
a few of the more important traits of this phenomenon and tried to see
how I could apply this to my artistic medium (3d on the computer).
Maybe
other traits or different traits will be important to your particular
situation.
How well those traits are expressed are totally based on your powers of
observation, so go out there are start looking.