This is a quick tutorial discussing a satin shader I made in brazil,
and some of the thought behind making it.
Someone came on the Splutterfish Forum, and wanted to know how to make a
satin material. I was waiting at home for a plumber, and didn't have
much to do, so I decided to give it a try.
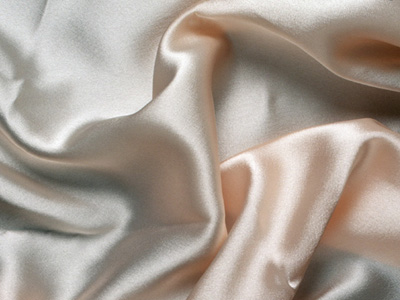
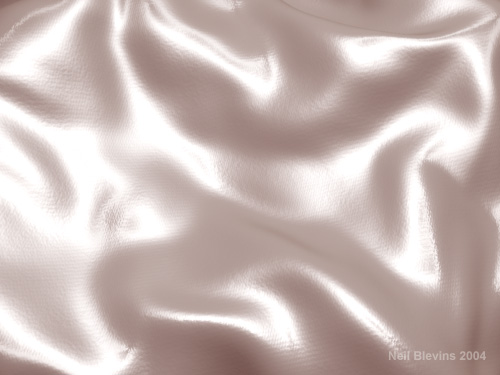
First off, here's the reference image I was given.
I started by making some cloth looking geometry. I downloaded the free
version of simcloth, took a plane, put a noise modifier on it,
then dropped a second plane on top of the first plane. My second plane
(the cloth) all bunched up like cloth would when it impacted the first
plane. I then deleted the first plane and now had some wrinkly cloth.
Next came the shader. One of the things about satin is it's shiny, and
has a fine thread structure that primarily travels in one direction,
hence I decided to use an anisotropic shader for the highlight. This
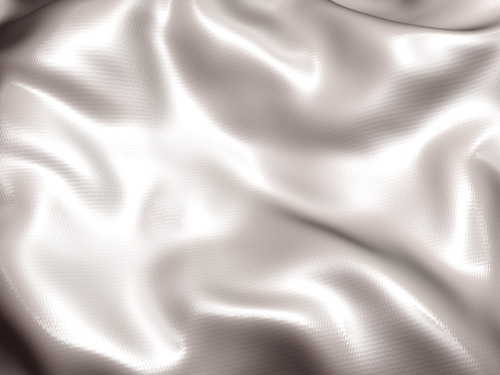
led to my first stab at the shader...
Parameter wise, it's a brazil advanced material, a blinn highlight
shader, anisotropy of 0.6 angle of 45, very tall wide highlight. The
base shader is velvet with some color in the luminosity to bring a
little extra illumination in the dark areas (faked translucency). Bump
wise, I used a bump from darktree, the denim shader, but I removed the
color and left only the bump, saved it as a dtsb file, and used it in
the brazil material's bump channel.
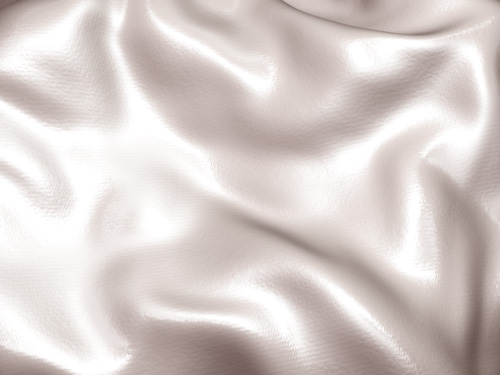
While it retained some of the right aspects, a friend pointed out that
it still looked a bit too rubbery, probably because the bump was too
strong, and also the shadow areas weren't getting enough light (ie, I
didn't go far enough with my faked translucency). So I added a little
more luminosity to bring more light and color into the dark areas, and
hence a much lighter, silkier material. Also, I mixed the threaded bump
with a little bit of fractal noise, again in darktree (the rough
procedural) with a high lacunarity value. This led me to my second stab
at the material...
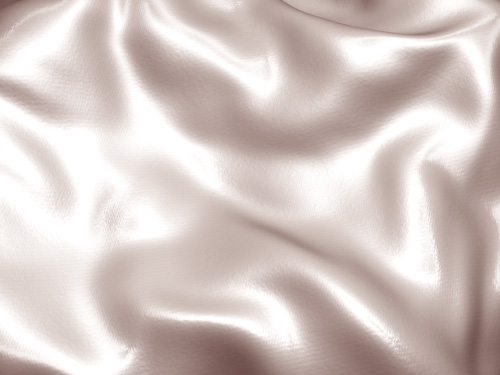
Then a little more refinement
Finally, I realized the material would actually be pretty rough due to
all the threads, and hence instead of using a brazil default shader
(who's diffuse component is lambert), I switched to an oren nayar
shader, and added some roughness in there (0.7). Tweaked the other
parameters again ever so slightly, a slightly tighter highlight, and
here's the result...