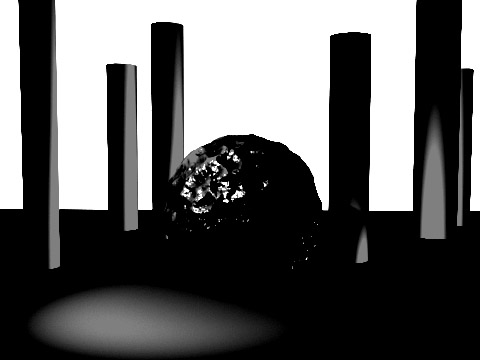
Specular Bloom (also called Diffuse Glow, Bloom, Glow, Ghosts,
Flare, Glares) is what we call it when the bright objects in your scene
glow. This happens in real photography for a number of different
reasons, bright areas can be so bright that the actual emulsion of the
film
bleeds, bright objects can cause internal reflections inside your
camera lens
causing lens artifacts from glow to lens flares, the photographer has
placed a special "soft filter" over the lens, the photographer has
placed vaseline on his lens to give their photo that "soft" look.
Simulating this effect in cg is actually pretty
straight forward, and helps remove some of that "cg" look from your
images.
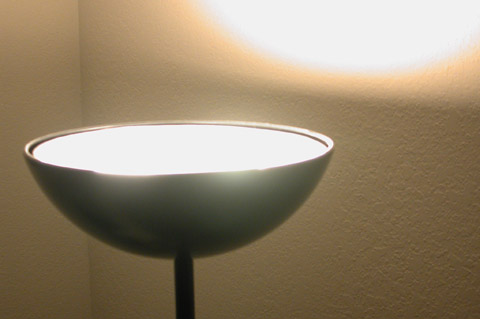
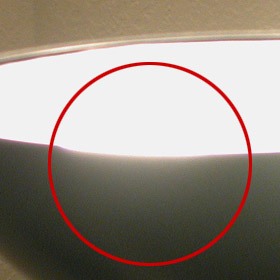
For example, here's a real photo of my floor lamp (exposure set to
1/125 of a second), notice how the glow from the lamp seemed to creep
over the edge of the black bowl.
If I were to make a digital 3d lamp, it
wouldn't be enough to just model, texture and place a light source
coming from inside the lamp, you'd also want to simulate this glow to
make it look more realistic.
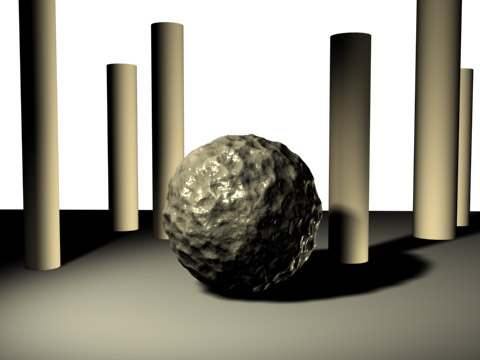
Specular Blooms can be added to your cg images in a number of ways.
They can be added in 3d through features inside most 3d renderers. They
can be added as a post process in compositing packages such as Nuke.
In
this tutorial, I'll quickly show off a technique for adding them in
Adobe Photoshop, but almost any painting application should have the
same features to do an identical procedure.
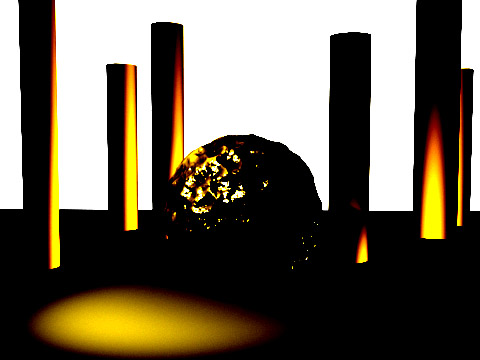


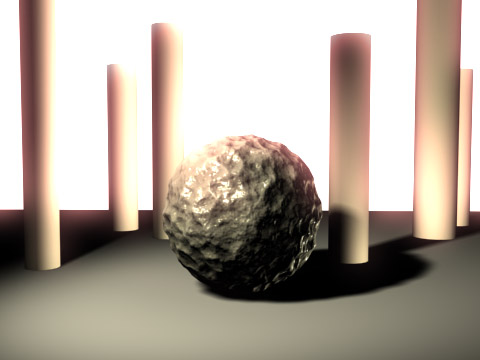
How much to glow (brightness and size) is up to you. For a
very soft, angelic feel, a slight glow but a big size may be more
appropriate.
Or if you're matching a cg element into a real photograph, take a look
for visual cues in the photo. How much glow appears in the bright parts
of the photo? Then try and match those on your cg object, to help it
blend
with the photo seamlessly. Good reference material is going to be your
bible here, and will help you get the look you want.