In this lesson, Switchers
For Randomzing Patterns, I discussed using switchers to add random
variety to your scene. But there's another equally important use for
switchers, which is to assign specific patterns to specific objects,
while
keeping all of the other material parameters the same.
An example of this is in my Texture Baking tutorial Texture
Baking: Baking Patterns To Use In An Incompatible Render, where I
use a switcher to assign specific baked maps to specific objects.
Here's a similar example, except its a more manual process.
Lets say I have 3 pieces of an airplane nose cone, and they all need
a material that blends between metal and dirt. Since we have 3 separate
objects, each will need its own specific dirt mask to add dirt to the
piece.
One way to do this is to make 3 separate materials each with its own
dirt map. But that sucks because if I want to modify the material, I
now have to modify 3 separate materials, wasting a lot of
time. Do we really want 3 separate materials when the only difference
between them is a single map?

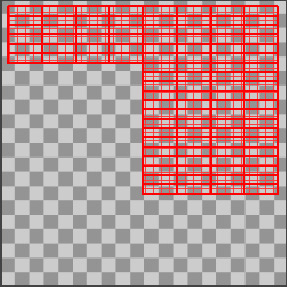
Another way I could do this is to unwrap all 3 objects into a single
quadrant, make sure they don't overlap, and then painting a single map
for the dirt.

This can work, but it has some disadvantages. Say you want to paint
your dirt high res. If you paint 3 separate maps, you can probably get
away with making each map say 1000x1000 pixels in size. To get that
same resolution on your objects in a single map, that single map may
have to be as big as 4000x4000 pixels. Which could mean a lot of wasted
texture memory, not to mention a slower file to deal with in photoshop.
And some renderers don't work as well with single giant maps due to
memory problems. UDIMs can also solve this, but not every 3d app has
good UDIM support. So here's an alternative method.
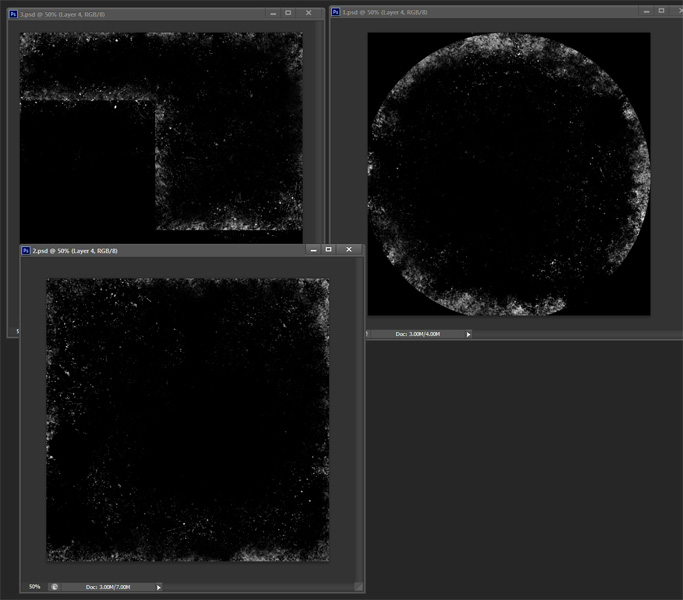
and then lets paint 3 masks that will reveal dirt on the nose cone,
white reveals dirt, black is the original metal.
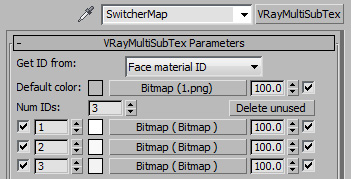
For this example, I'll use the Vray switcher map called VrayMultiSubTex, but the same theory applies to other switcher maps for other renderers and 3d packages. For more information on which Switcher map to use and which ID type to choose, read my lesson on Switchers And IDs, Which To Use When.
Now I make a single material, and place the VrayMultiSubTex in
the slot I've set up for the dirt. Then I set the number of submaps to
be 3, then assign
each submap a bitmap map.
Now I hook up my three painted dirt mask maps to the 3 maps in the
switcher.
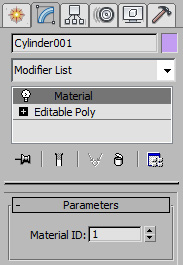
Now I select object 1, and assign a material modifier set to 1. Then
select object 2, assign a material modifier with a value of 2, etc.
Make sure that the material modifier value matches up the the proper
bitmaps in the switcher map.
Now I get the results I want, a single material with 3 different
dirt maps assigned to specific objects. And if I need to modify the
other attributes of the material, I can do so and it affects all
3 objects.