Making
Tileable Textures In Photoshop
By Neil Blevins
Created On: Sept 25th
2005
Updated On: Feb 9th 2026
Software: Photoshop
Here's a number of tricks to make
tileable textures inside of Photoshop. A tileable texture is any
texture that when repeated in the X or Y direction doesn't show a seam.
Preparing The Texture
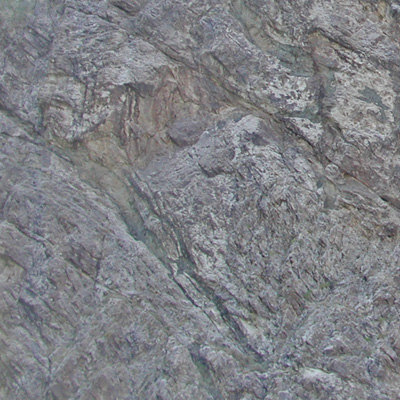
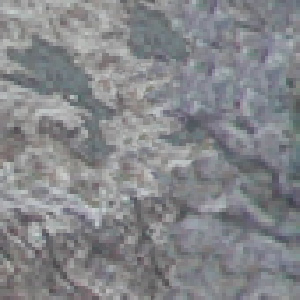
So lets start with the following photograph that we'd like to make
tileable (This is a photo I took at Lake Mead).
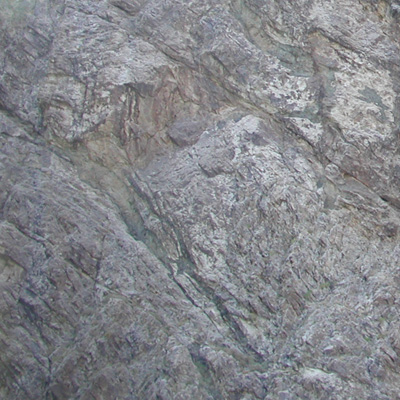
The texture is 400 x 400 pixels.
First off, select the entire canvas with Ctrl-A, and hit Image >
Crop. Sometimes when dealing with a texture, the actual size of your
photograph or paint layer may be larger than the canvas, and this will
interfere with making it tileable. Like your texture might be 500x500
pixels, but your canvas is 400x400 pixels, and so parts of your
photograph are sitting invisible off the canvas (this is especially
true when using the psd format). Cropping lets you get
rid of any invisible image off canvas.
Removing Brightness Variation
Next we need to remove large brightness variation. One of
the first filter we're going to use is Filter > Other > Offset.
Make sure "Wrap Around" is selected, and give it a vertical and
horizontal value of half of your image, so in the case of this image,
that's 200 and 200 pixels. This will place the seam right in the center.
Notice how obvious the seams are. This is due to large scale brightness
variation. In the original image, the lower left corner is far darker
than the upper right corner.
So the first thing we need to do is fix these large areas of darkness
without getting rid of all the smaller details. Here's 3 different
methods for doing this.
High Pass Filter Method
The High Pass filter
lets you remove large changes is brightness without removing the small
changes in brightness. And that's what we're after here, we want the
large changes in brightness to go away (the dark left corner), but we
don't want to obliterate the small changes in brightness which are
the cracks in the rock.
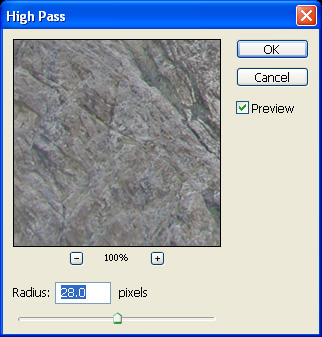
Start with your original un-offset image, duplicate it as a
new layer. Then run the Filter > Other > High Pass on your
duplicated layer. Play with the Radius until you've gotten rid of the
dark corner, but still have the small rock cracks. For this example, I
used a value of 28.0. Smaller values will remove the smaller details,
whereas larger values only remove the large brightness changes.
Experiment to find the ideal value for your particular image.
This is the result of the filter...
Now take that duplicated layer and set the mode to Luminosity...
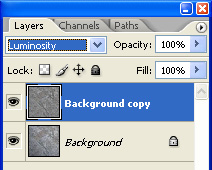
The reason to do this is because the high pass filter can change the
colors of your image pretty radically. For example, if you look at the
image
above, running the low pass filter on the background copy layer made
the rock much
yellower than the original rock. So you want to keep the color of your
original image, but use the brightness information of your high pass
filtered image, hence you set the layer to luminosity.
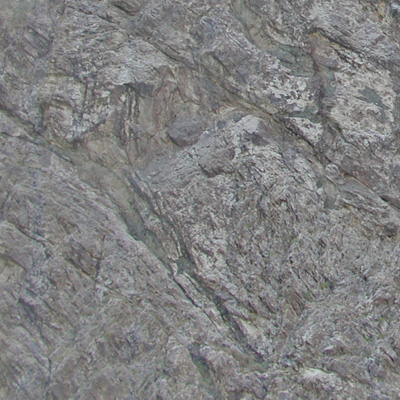
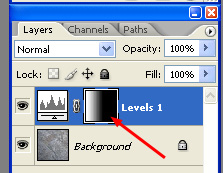
Now flatten your image to remove all layers.
Now use your offset filter on the
result. The seam is much harder to see.

Gradient Method
Another method to achieve a similar result is the gradient method. This
technique gives you more
control over the final result, although it's not as automatic as the
high pass filter method.
First, start by applying a new Adjustment layer, set to Levels.
Brighten the image by some arbitrary amount, don't worry by how much
just yet, we'll tweak that later.
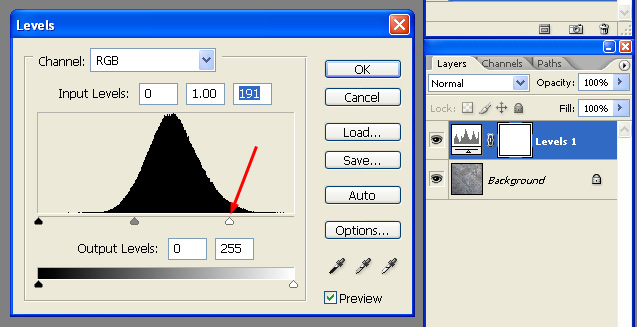
Now on the Layer Mask of your Adjustment layer, place a black to white
gradient, so that the adjustment layer is only applied to the left side
of the image.
Now use the Offset filter to move both the base layer and the
adjustment layer half way horizontally. In this case, the image is 400
wide, so move it 200 pixels to the right.
Now adjust the levels amount until the brightness matches pretty close
in the middle.
Now do the same thing, except add a new Levels Adjustment layer, and
offset the image 200 pixels vertically instead of horizontally. Also,
feel free to paint on either of the levels masks to get specific areas
brighter or darker. Soon, you'll get a more level result like this...
Thanks to Justin Goode for some useful info with regards to the
gradient technique.
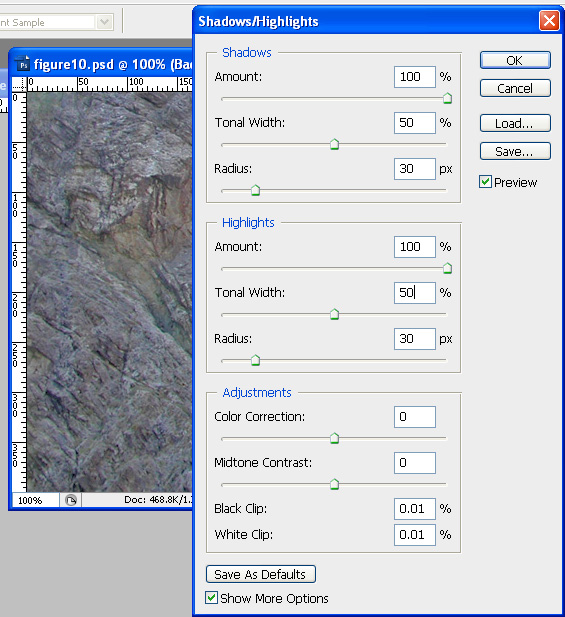
Shadow/Highlight Method
You can also try the Shadow/Highlight Adjustment.

Here's the dialog it opens, notice the controls for the dark and bright
areas of your image. Playing with them can help give you level the
value across your image without losing the small details.
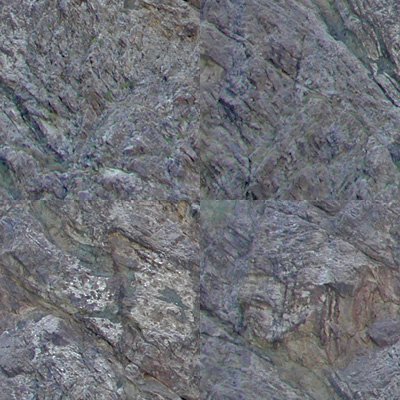
And here's the result on our image after the settings above were
applied and after I used the offset filter to see how well it did
evening the brightness of the image...
Knowing when to use which of these 3 techniques will take some
experience.
Personally, I'd start with the High Pass first, if that doesn't give
you good results, next try the Shadow/Highlight Adjustment, and if
either work well, go for the more manual Gradient Method.
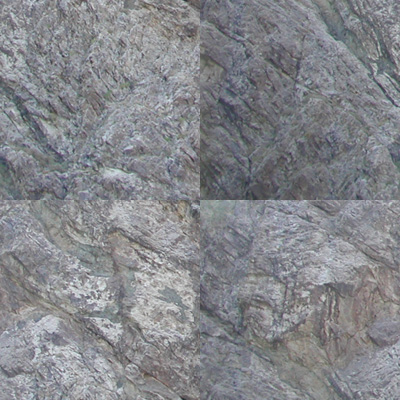
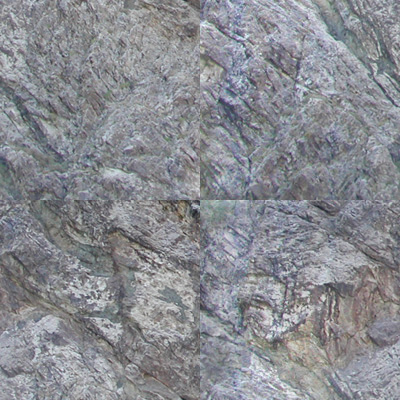
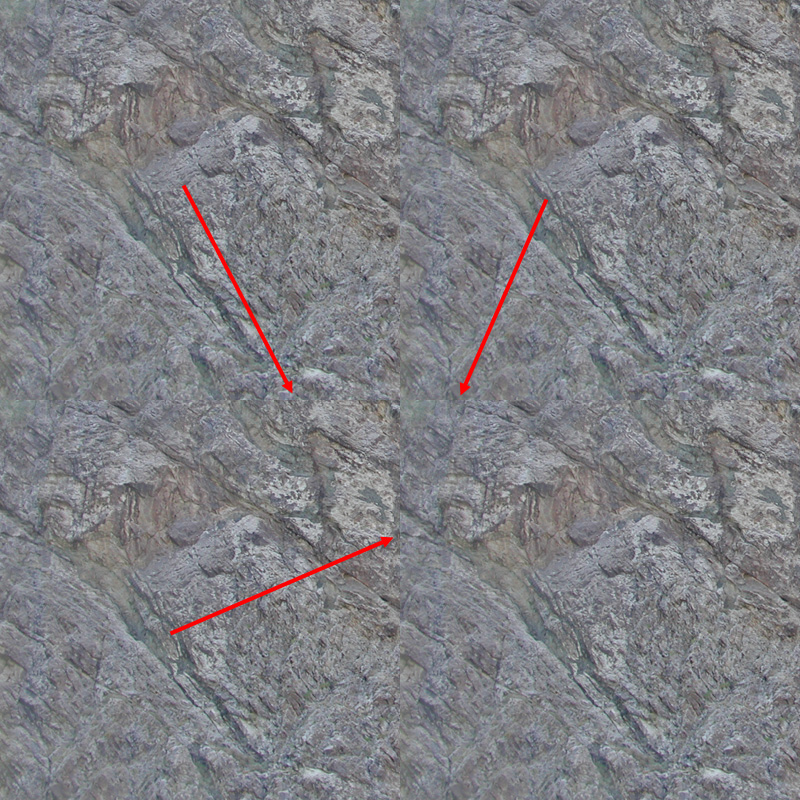
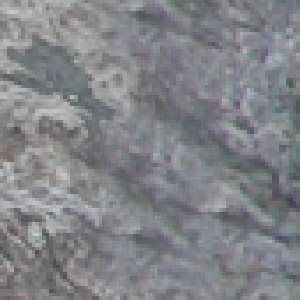
Offset And Clone Brush
So now let's take your image that has had its brightness evened out
(This example uses the High Pass Method)...
And let's tile it. Looks ok, but you can still see the seams, even
if the large brightness differences have been fixed.
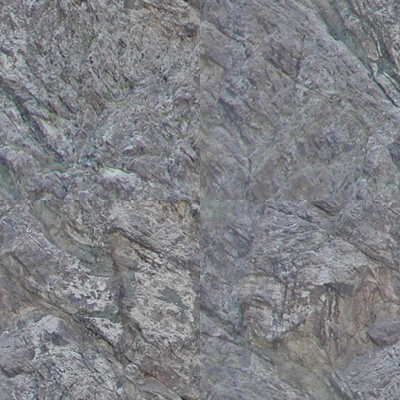
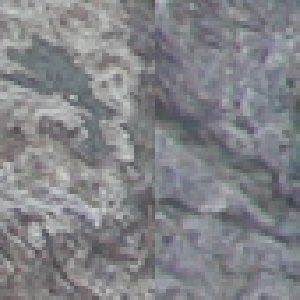
So to fix this, we start with the 400x400 pixel image, use the
Offset filter to push it 200x200 pixels. You get this result.
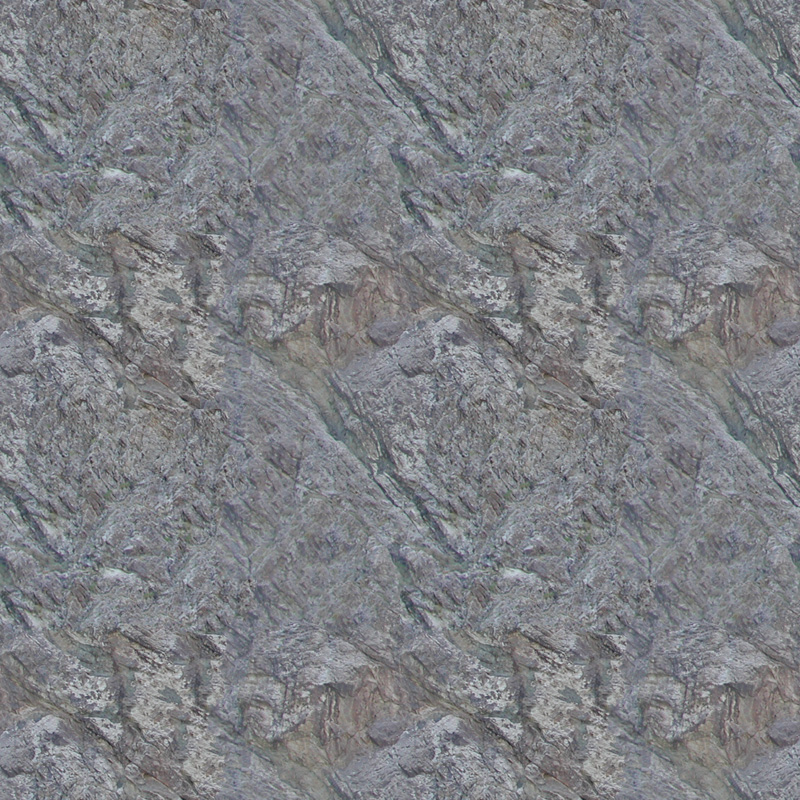
Now use the Clone Brush to clone parts of the rock over top of the
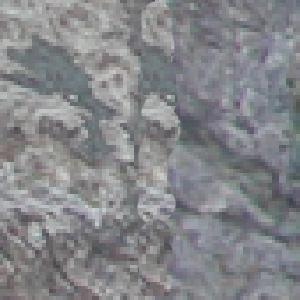
seam. You get this result...
Now it tiles nicely with no obvious seams...
One trick I like to mention
is be careful which brush you use to do you cloning. If you use a brush
that's too hard or too soft, you'll still have problems at the seams.
For example,
here's this hard brush...

being used to clone this image (the image has been enlarged so we
can see the details)...
Here's the result, notice how it's slightly better, but you can see
the hard edge of the brush...
So the answer is usually use a soft edged brush, but that can also
cause problems...

This is far better, but notice the details sort of fade into each
other in the seam area. So you get this big blurry mess in the middle.
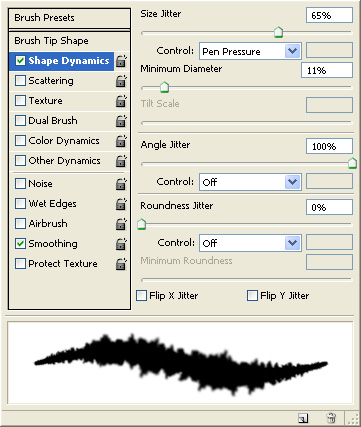
For
my work I use a chaotically shaped hard/soft brush, which isn't too
hard, isn't too soft, and is oddly shaped so that the eye can't pick up
on the brush strokes. Here's the brush I use.

Also adjust the brushes parameters with a large "Angle Jitter", that
way each brush stroke will have a different pattern (since the brush
will be rotated a random value as you clone), and maybe some size
jitter (although it's not necessary).
This gives far more realistic results when you blend the seam away.
Here's the image at regular resolution, no blurry mess, no hard
edges...
Conclusion
So in short, here's the procedure...
- Crop the image
- Run the High Pass filter (or use one of the other 2 techniques)
- Offset the image
- Paint the seam with an oddly shaped brush.
Hope this helps the next time you need to make a tileable texture.
This site is ©2026 by Neil Blevins, All rights
are reserved.
To see hundreds of other tutorials similar to this one, visit the
Neil Blevins Education Site