What makes a material look wet? Or gooey, for those of you who love
to make slimy creatures. Well, first, lets look at the problem at the
most basic level. An
object
looks wet because the surface of the object has a thin sheet of water
over
top of it. So what makes water look like water?
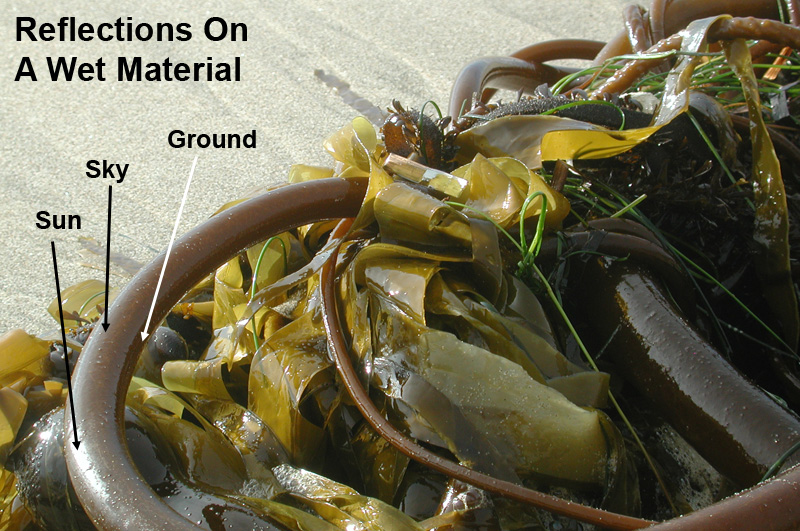
So the main two features of a wet surface vs a dry surface is a darker color and a strong specular highlight.
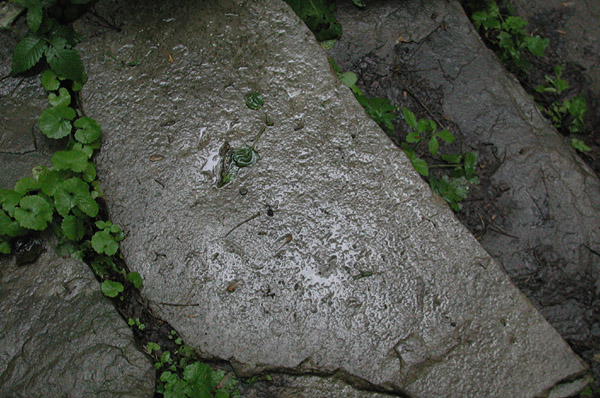
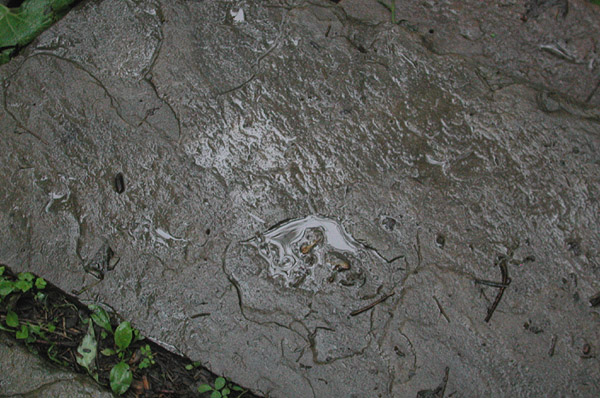
If you look at these rocks, you can see the diffuse component of the rock, and over top you can see nice sharp specular reflections of its environment (slightly distorted by the bumps on the rock). Since this rock in its natural state would have almost no specular reflections, the viewer, upon seeing the rock, would assume it to be wet. It's always easier to make something look wet if the object has no specular component to begin with.


Although I have no photo of a dry rock, you'd find the dry rock to
have a slightly lighter color than the rocks in the photos above.
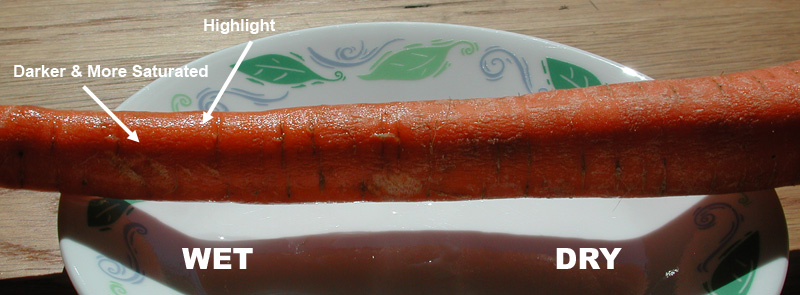
Here's another example image, this is a carrot, half of which is wet, and half of which is dry. Notice the differences in the wet and dry sides, the surface has a strong specular highlight (a reflection of the nearby window) and the color is slightly darker and more saturated.
Using Highlights To Make
Something Look Wet
As discussed in previous tutorials, a specular reflection can be either a true reflection of your environment (either an environment map or raytraced reflections), or a cheat such as a blinn or phong highlight. If your object just needs to look wet, and you don't need accurate reflections, you might be able to get away with a blinn highlight. Water is very reflective and it's surface is quite smooth (unless being perturbed by waves or by a strong bump on the surface it's sitting on), hence any blinn highlight should be strong and sharp. So if your original shader has no highlight, just add a strong and sharp highlight to it as the first step in making the surface look wet.
For these following examples, I'm using 3DStudio MAX, but the same
theory applies to all major software packages.

But what happens if your surface already has a highlight?
Well, one
thing you can do inside 3DStudio MAX is apply a Shellac material to
your
object. Shellac lets you apply a second material to your first material
in an additive fashion. So whatever exists in your second material will
be added to your first material. It's great for layering highlights.
So for example,
start with your original material. Make a Shellac material, and place
your original material into slot1. Inside of slot2 place a new standard
material, call it Highlight. This will be our Highlight material.
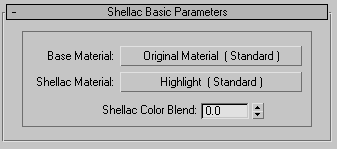
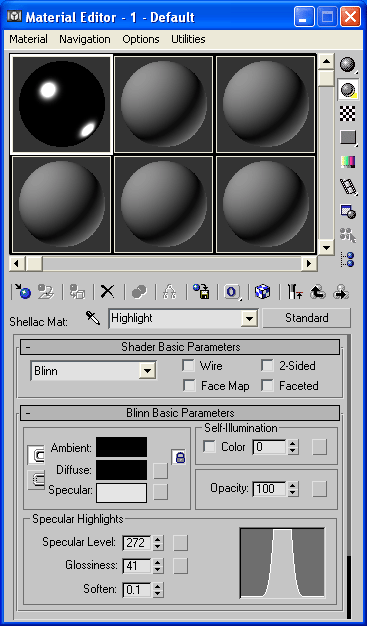
Now lets tweak our Highlight material a bit. Go into your Highlight
material, change the diffuse color to black, we don't want a diffuse
component, we're just after the highlight. Now adjust the highlight to
your liking.
Go back up your material chain to the Shellac and adjust the shellac value to something between 100-200%.
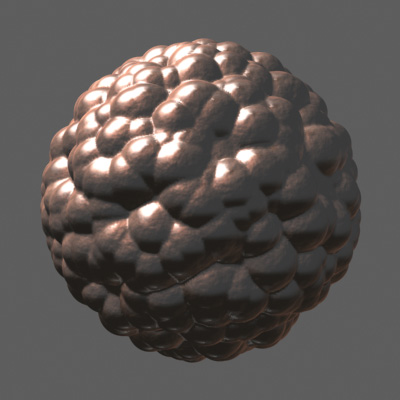
Another note about, if your material has a displacement map, and you place it inside a Shellac material, the displacement map won't work. This is a limitation of the Shellac material. If this is the case, try placing your Shellac material inside Blur's Utility Material, available here. And place your displacement map in the Utility Material, this will bring your displacement back.One last thing to note, if using a shellac, the Highlight material will not be affected by the bump map from your slot 1 material. This can be useful in some situations, like with a coat of varnish on wood, the varnish would usually not inherit the bump from the wood, but have it's own type of bump. But in the case of a thin sheet of water, the bump map on your original material should probably affect the highlight of the Highlight material, so place in the bump map slot of the Highlight material the same bump map that's affecting your material in slot 1. Maybe reduce the Highlight material's bump map's intensity slightly, depending on how the effect looks. Now apply the shellac material to your object.
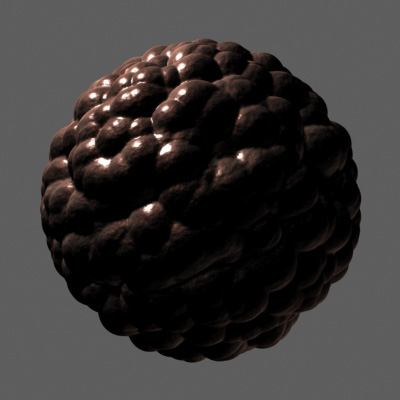
Here's a max file that made the image above, max5: wet_sphere_01.zip
Another thing to try, instead of using another Standard Material in
your second slot, you may want to use Blur's HighlightOnly Material,
available here.
This is a material that does what you'd expect, it's a highlight
only, with no diffuse component, and works great in shellacs.
