Xray Material
By Neil Blevins
Dec 9th 2005
Here's a tutorial on how to create an xray material. My tests were
done in 3dsmax, but the theory of how to put the material together
works for all 3d apps.
The basic ingredients are as follows:
- Color: whatever color you want your xray to be
- Opacity: A falloff map so that the middle of the object is
see-through and
the edges are not see-through. A little noise to add variety.
- Shading: fully self illuminated material, so the object doesn't
contain any or very little shading
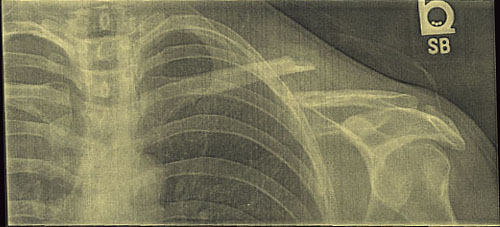
Here's a photograph of a real xray, this is from a friend of mine who
broke her collar bone recently (thanks Sandy, get better soon!).
So now lets do something similar.
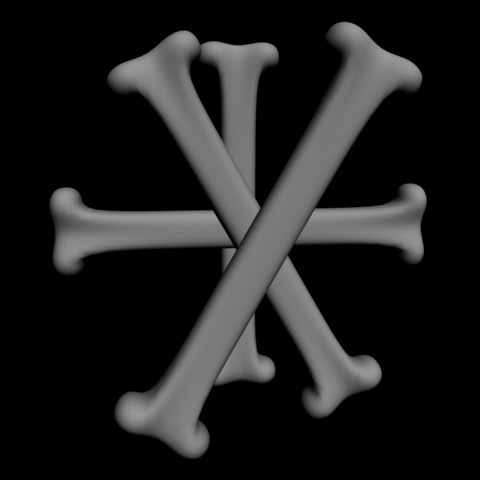
First off I made some simple geometry.
I made the color close to white with a slight bluish tint
(although any color is good, notice my reference was yellow colored).
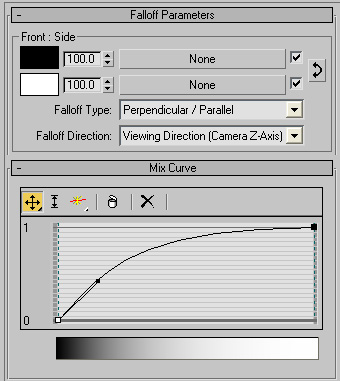
Then I placed a falloff map in the Opacity slot, set to perpendicular /
parallel. I then played with its mix curve to change how much we could
see through our material. I then set the material to be
100% self illuminated (values between 80%-90% are good to if you still
want some directionality to the lighting). Then under extended
parameters I changed the Advanced Transparency Type to be additive.
This means that each object will glow the object behind it more and
more. This may not be necessary for complete realism, but it may help
give you the impression of an xray. Use or don't use, it's up to you.
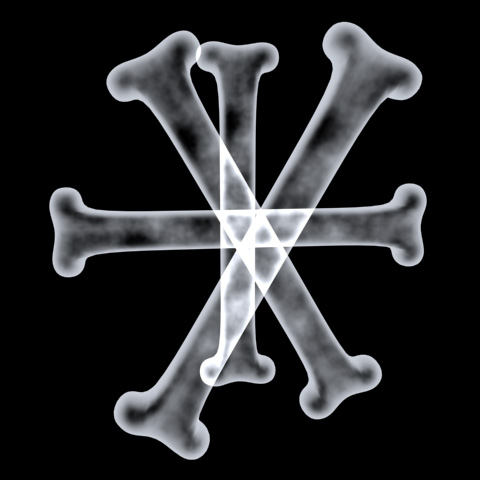
This gives me this result...

It's good, but the bones seem a little bit smooth, whereas the
reference had some noise to it. So lets add some noise. But I don't
want
to add noise everywhere, just in the see-through parts of my material,
so I
place a noise inside of the front slot of my falloff...

Here's the Noise's parameters...
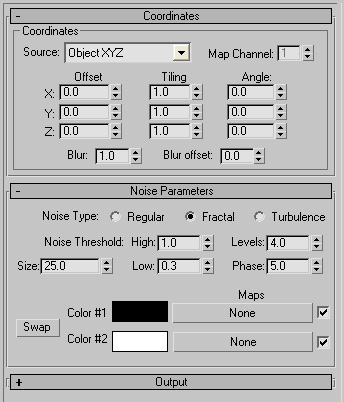
Feel free to use a procedural other than noise, like some of the
darktree procedurals, which will give you a much more varied and
interesting noise result.
Ok, that gets us this...
That's better, but now the object may be a little too opaque. The
answer is to layer the noise so that it appears in the see-through
parts,
but only at the edges of the see-through parts. Think of it as 3
levels,
you have the edge that's opaque, the close to the edge that has the
noise, and the middle that's see-through.
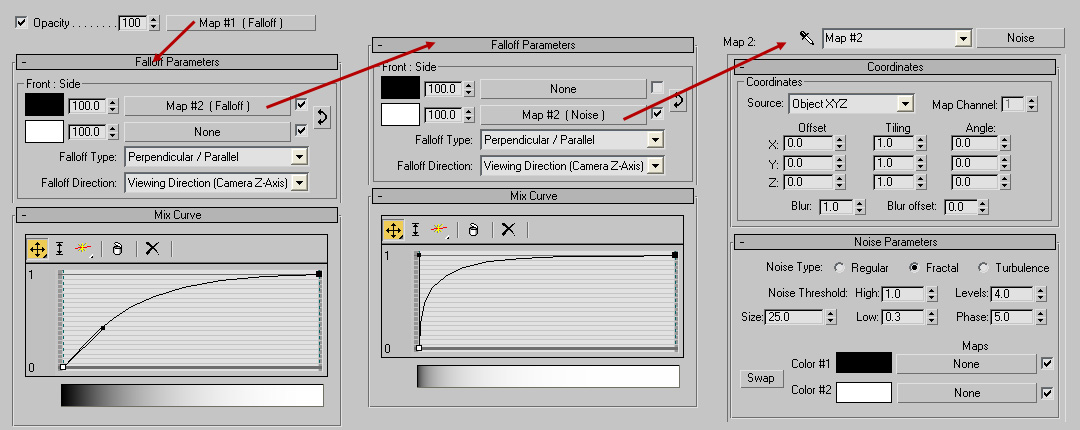
There are lots of ways to achieve this, my personal favorite is placing
a falloff inside of the falloff, each with their own mix curve. Since
the mix curve chooses how much of the edge gets affected, you use them
to do your layering. Basically, in the Opacity, place your
first falloff, set the mix curve, then in the Front slot place a second
falloff, set that falloff's mix curve to something that pulls the side
color more into the Front area (see diagram below), then place the
noise inside of the side
slot of the second Falloff. The following diagram may help explain
what I'm talking about...
Here's an example with no noise, just 3 colors, showing the 3 different
layers...

Here's the final result of the shader...
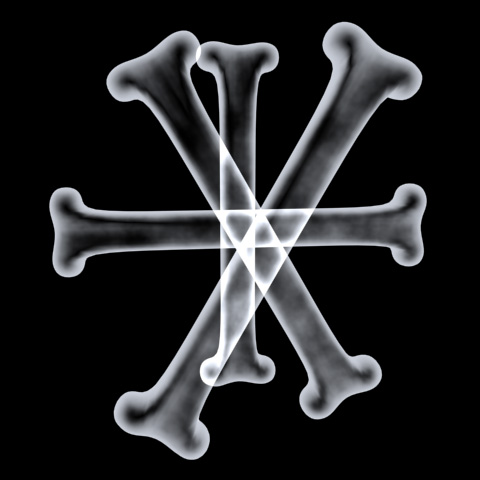
Notice the areas that were red in Example 4 above are fully opaque, the
areas that are yellow have noise, and the areas that are blue are
totally see-through.
Here's the max file that made the images above, max7: xray_max.zip
Hope that gives you some tips on how to make your own xray
material.