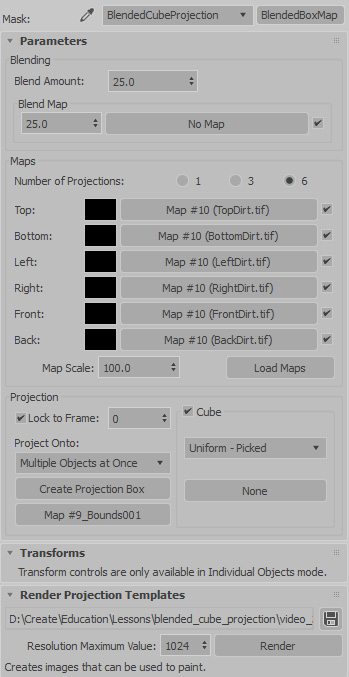
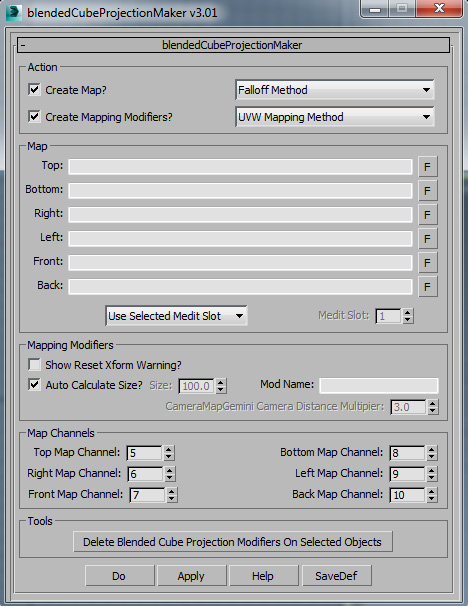
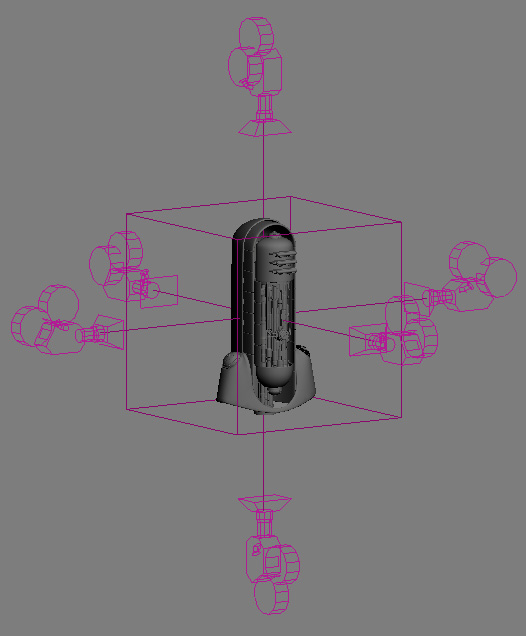
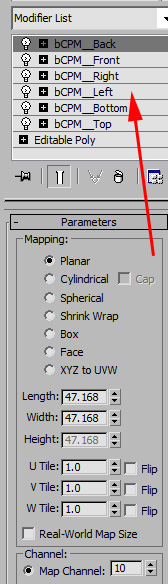
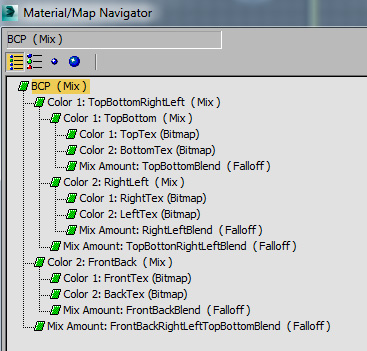
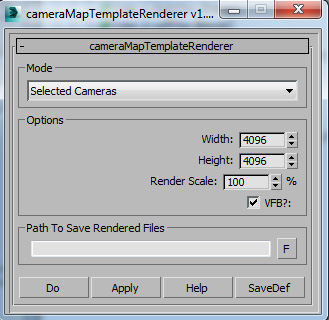
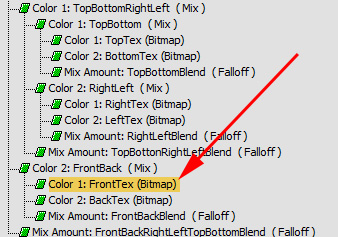
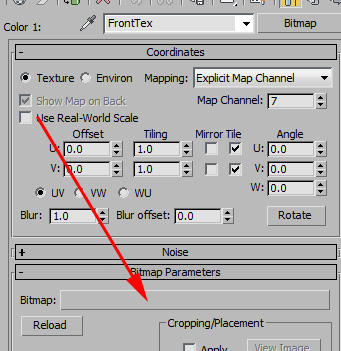
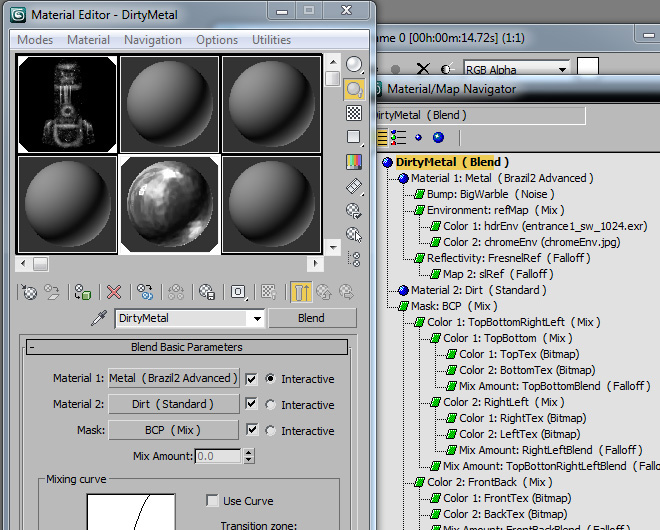
Here's a video showing me apply a blended cube projection using the
SoulburnScripts UVWMapping Technique to a robot head...
This site is ©2026 by Neil Blevins, All rights
are reserved.
To see hundreds of other tutorials similar to this one, visit the
Neil Blevins Education Site