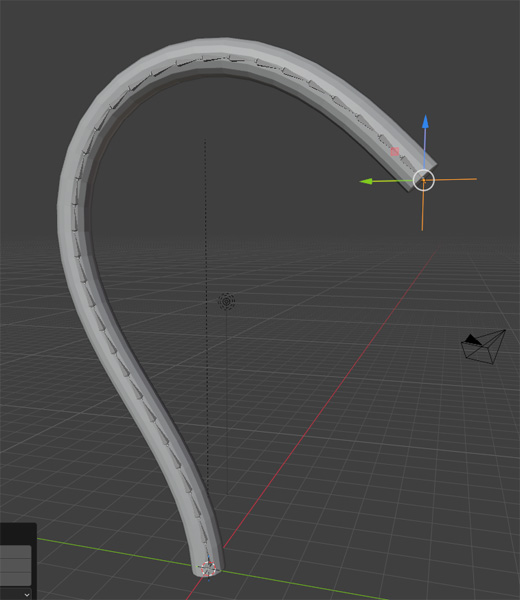
Rigging A Tentacle In Blender By Neil Blevins Created On: Aug 3rd 2026 Updated On: Aug 3rd 2026 Software: Blender
Here's a simple tutorial on one method for rigging a tentacle in
Blender
for posing or animating.
Create The Tentacle
Lets create a simple tentacle.
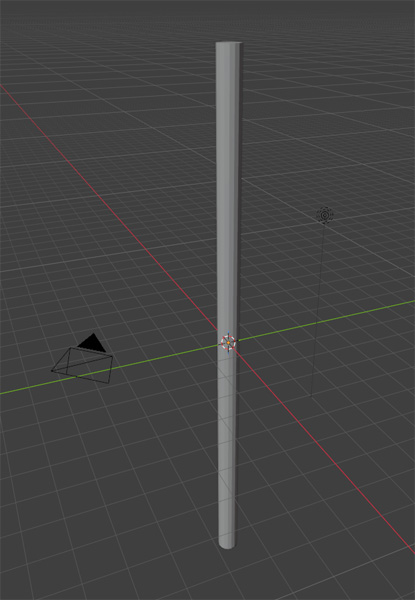
Add > Mesh > Cylinder to your scene. Go to the "Add Cylinder"
options in the lower left and make it Vertices 16, Radius 0.4m and
Depth 20m.
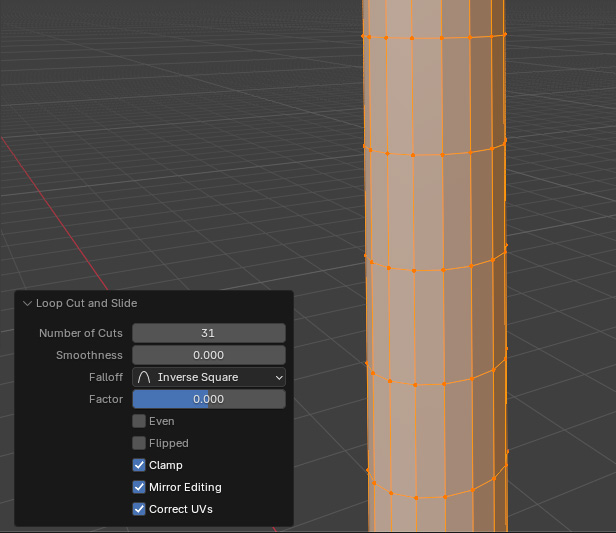
Select the Cylinder and go to Edit Mode. Choose loop Cut and Add a
Loop. Under the Loop Cut And Slide Options, add "Number of cuts" 31.
This will give the cylinder 32 faces going upwards.
Move the Cylinder Z = 10m so its sitting on the world origin.
Create The Skeleton
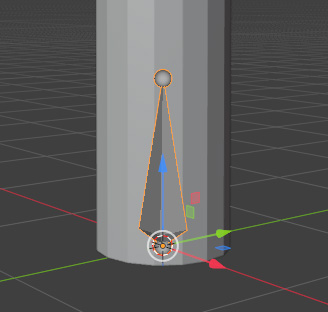
Go to Object Mode, Add > Armature. A bone is added at the origin. In
Object Properties, go to Viewport Display and check "In front" so
the bone is always visible in the viewport.
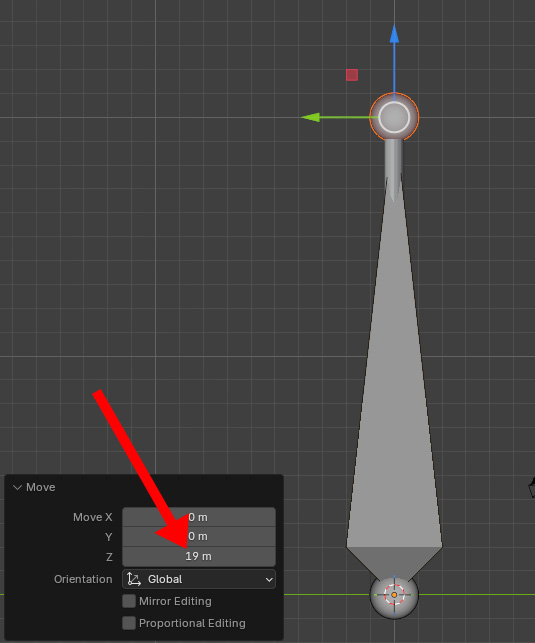
With The Bone Selected, go to Edit Mode, select the top of the bone
(the sphere) and drag it upwards till it's 20m in Z, at the very tip
top of the cylinder, which is a delta of 19m in the Move dialog. The
Cylinder will be mostly covered with the Bone.
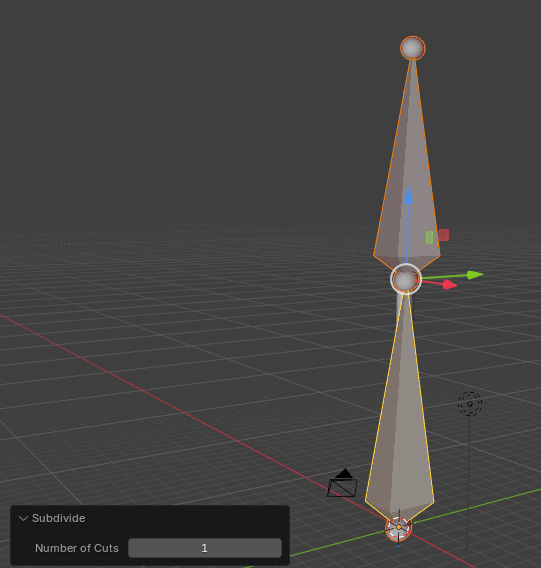
Select the entire Bone, both the lower and upper sphere, then go
Armature > Subdivide. Now you have 2 bones instead of 1.
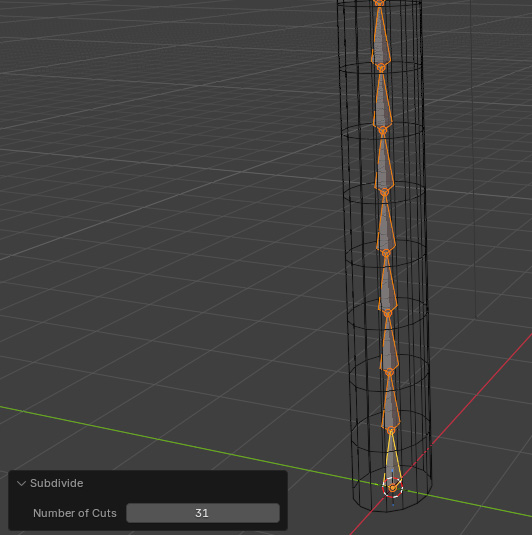
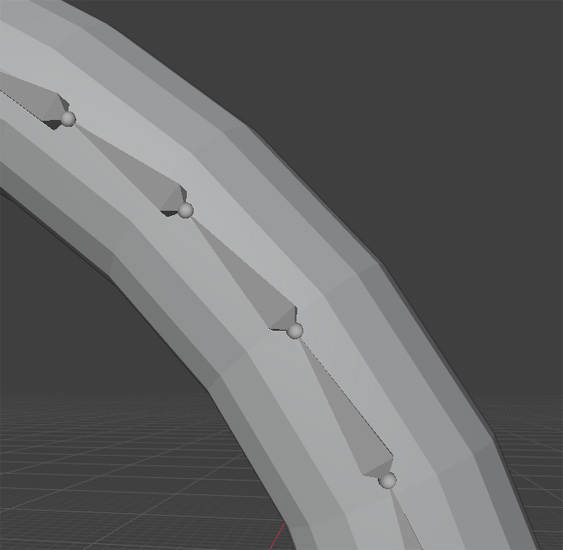
Change Number of Cuts to 31, which gives you one bone per segment on
the Cylinder.
Applying The Skeleton With
Deformations
Object Mode, select cylinder, ctrl select rig. ctrl-P > Armature
Deform With Automatic Weights. This attaches your mesh to the FK Rig
with deformations.
Select your armature, go to Pose Mode, select any bone, rotate the
bone, the cylinder should deform with the bone.
Undo the rotation. We're going to Change the rig to an IK rig from an
FK rig. This will let us grab the end of the tentacle and move it
around, and the rest of the tentacle with calculate how it will need to
move automatically.
Change Rig to IK
Still in Pose Mode, select the top bone, Pose > Inverse Kinematics
> Add OK To Bone > Target New Empty Object. Now there's an Empty
at the top of your rig.
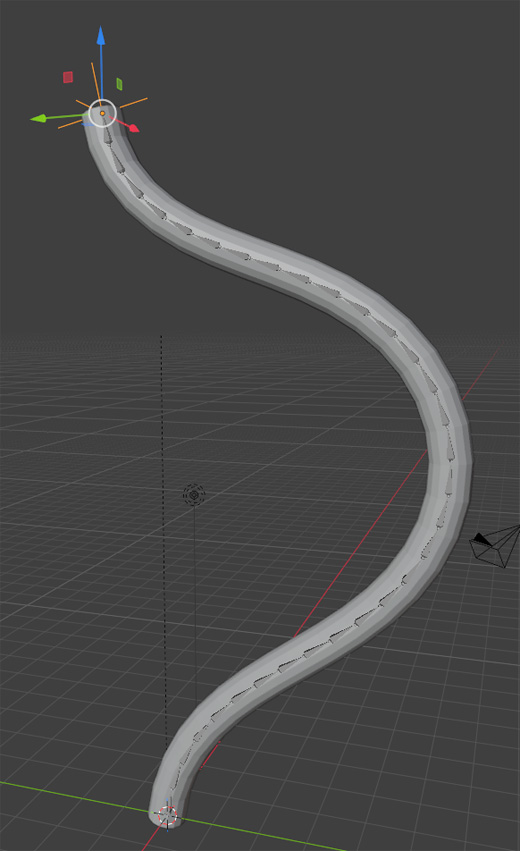
Go to Object Mode, now select the Empty, and move it around to control
the tentacle.
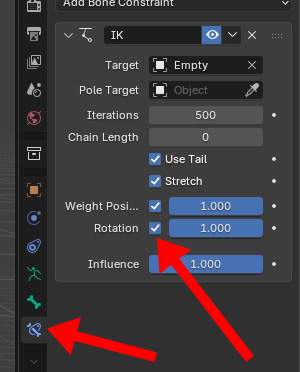
Undo so your tentacle is straight again. In Object Mode, select
the rig, go to the Tab Bone Constraints,
and enable rotation.
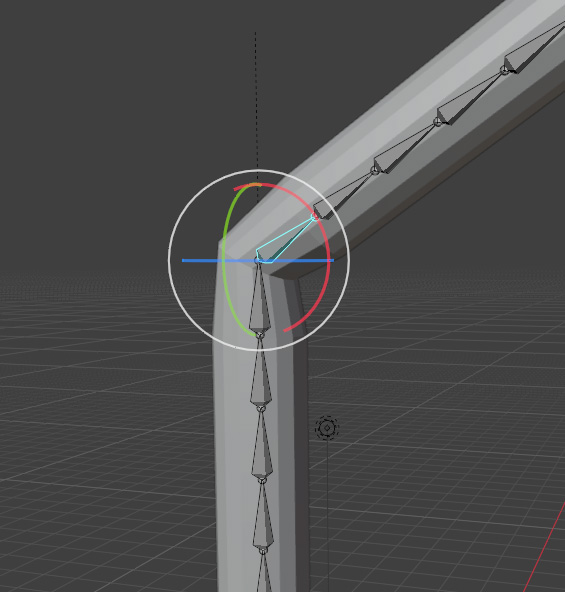
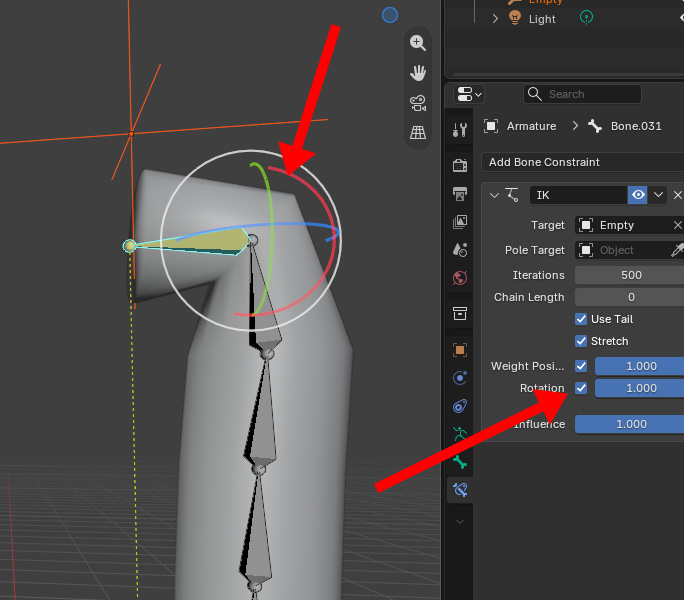
Note: If when you click the rotation checkbox you see the bones snap /
rotate in a weird way like this...
This can happen depending on whether you built your tentacle
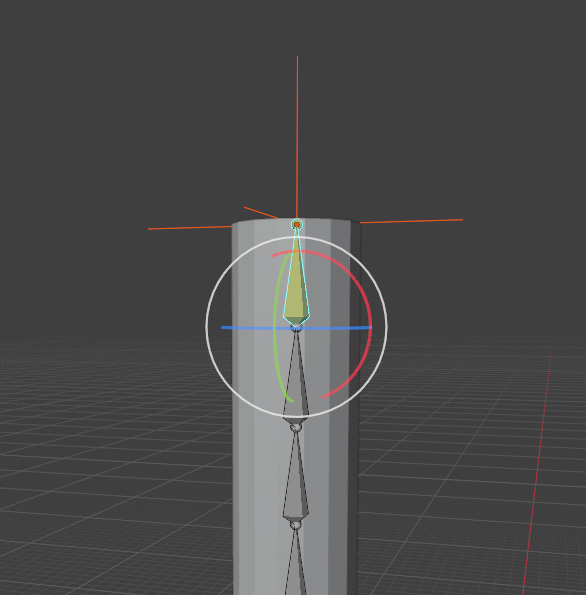
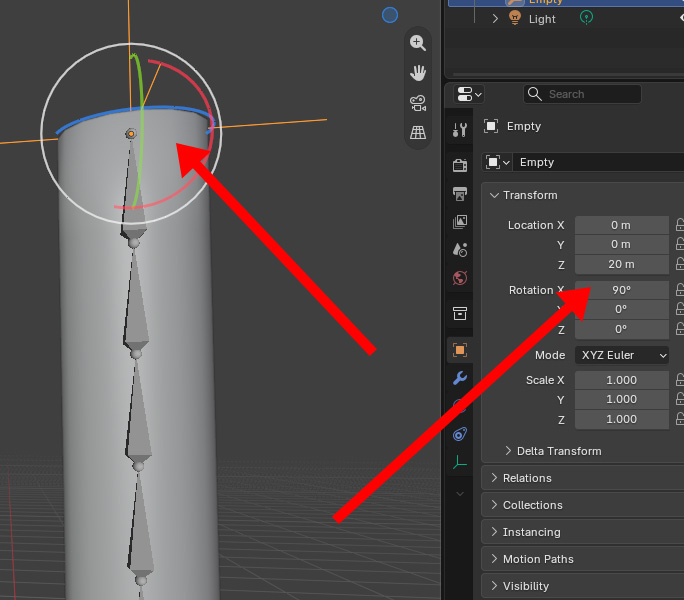
horizontally, vertically, etc. If you do see this, rotate your Empty 90
degrees (the axis to rotate depends on the tentacle direction, in this
case, rotate X by 90 degrees). The problem should be fixed like this...
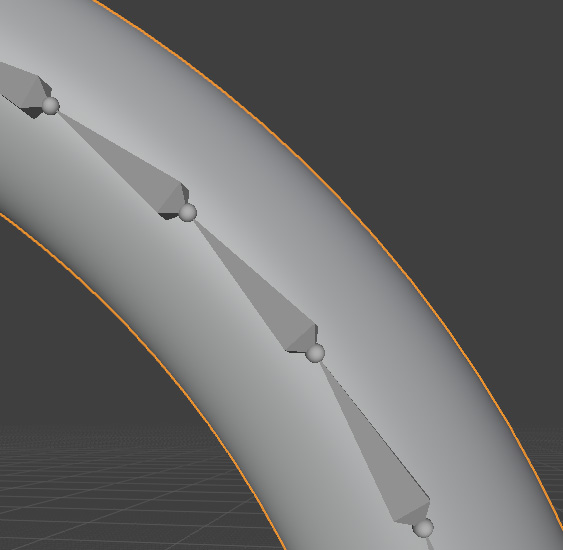
Go to Modifiers and apply a subdivision Surface modifier to the mesh.
Now the mesh should be smoother. You could instead add more bones and
add more loop cuts, but subdivision surfaces will likely be better
because it can add the extra geometry only at render time.