Rust
Using Occlusion By Neil Blevins Created On: April 8th
2008 Updated On: Feb 24th 2026
Software: Blender or 3dsmax (vray)
This lesson outlines a technique for using Ambient Occlusion to produce
rust on your objects. First, read up on what Ambient Occlusion
is here.
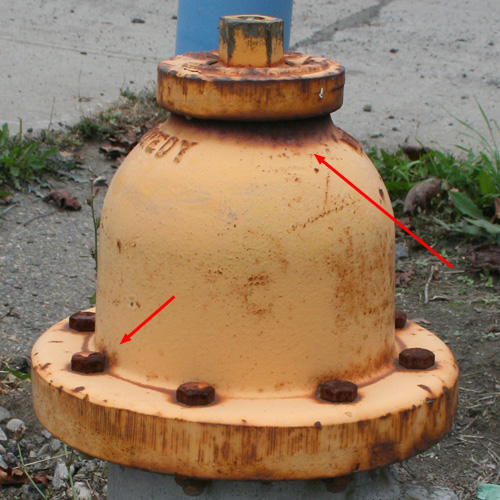
If you look at photos of rust, one thing
you'll quickly notice is how a lot of rust appears in areas that are
hidden from
the elements (wind, rain, etc). Areas where objects intersect. Hard to
reach areas that
remain damp because they don't get sun to dry them off.
Ambient
Occlusion is a technique to determine how much of a particular surface
sees of the sky (Or for the more technical minded, its the amount a
particular point sees
of
a hemisphere centered at the point and oriented by the face normal
(unless you have a cutoff distance, in which case it's far more likely
you'll be simply calculating how close you are to adjacent surfaces)).
So while Ambient Occlusion is used primarily for lighting (like
producing shadows in a skydome), the same technique is also perfect for
defining the
areas of your object that would naturally rust.
Blender Example
Here's the shader for Blender...
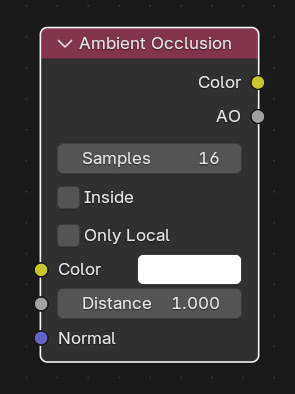
First, lets make a teapot and ground surface, and use Cycle's Ambient
Occlusion node for our occlusion.
We will use this node to blend
between a rust surface and a yellow paint surface.
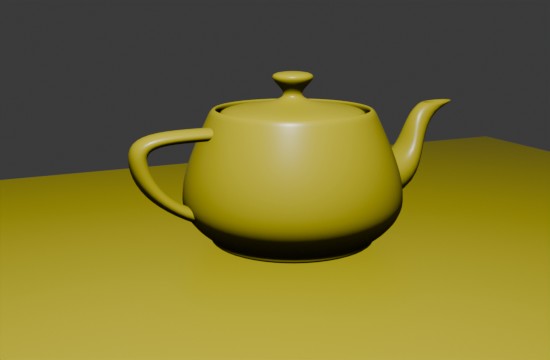
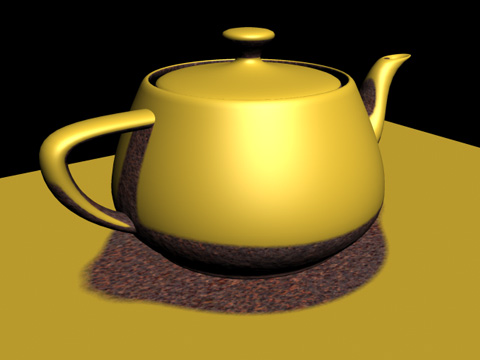
Here's the yellow paint by itself...
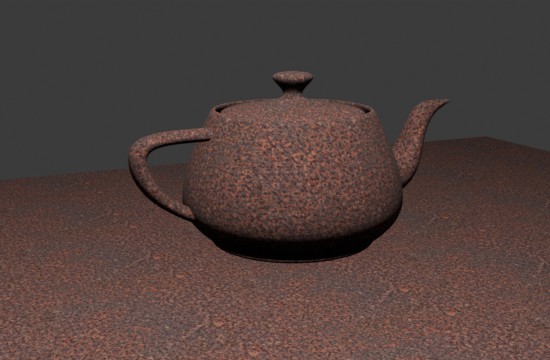
Here's the rust by itself, fashioned using a photo of real rust in the
color slot...
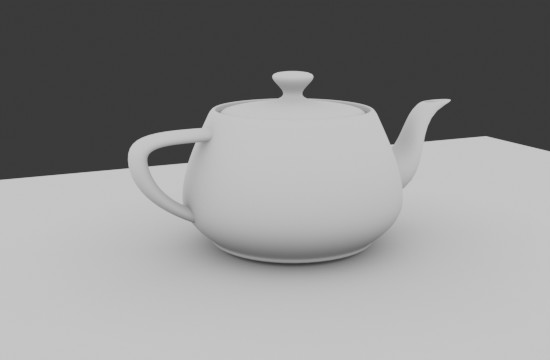
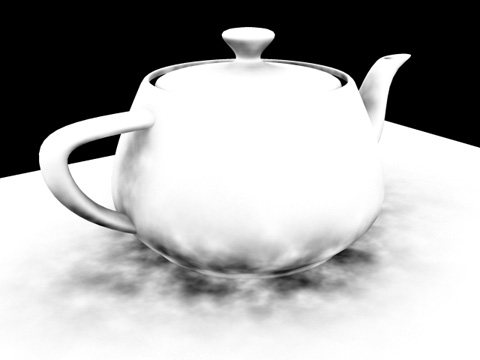
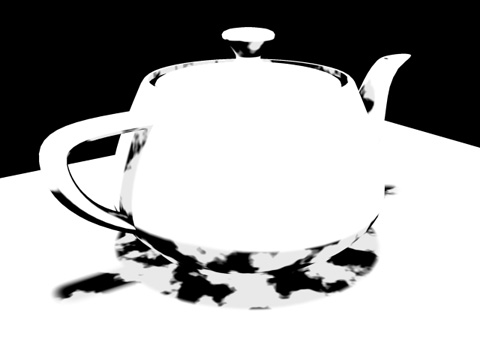
And here's the ambient occlusion node results...
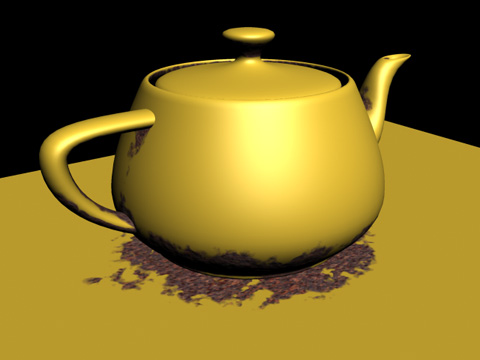
Now, use the occlusion map as the mask between the two other
materials as part of a Mix Shader. You get the following results.
So this is ok, the rust is showing up in the occluded areas of the
mesh. But the rust appears too even and soft. This is because your
occlusion map
is too even. Ideally, you'd like to take the edge between the rust and
paint and roughen it
up.
My first thought was "why not use the occlusion node
to
define an areas where noise appears?" You can do this by creating a
Noise Texture node, apply a Color Ramp to make it more contrasty, then
hook that up to slot A of a Mix Node, make slot B
white, and then in the Factor slot place your occlusion node.
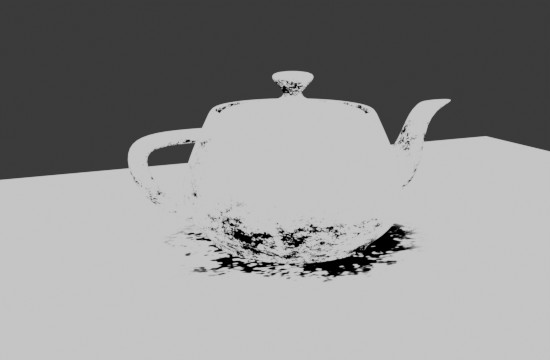
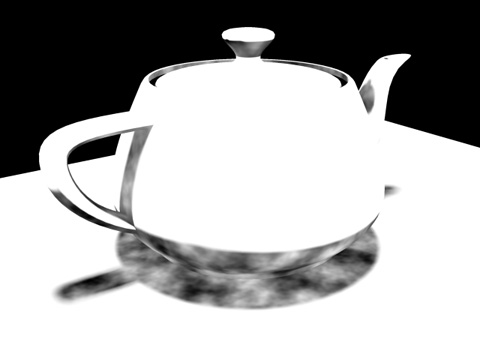
Here's the resulting mask
This is good for some sorts of blurry rust.
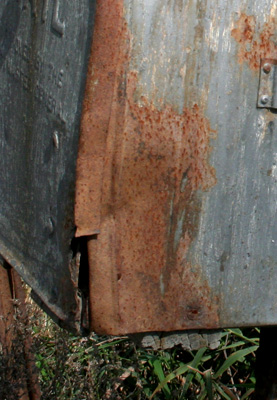
But if you look at the second photo in our reference, some
rust has a much more defined edge. How do we get this sort of effect?
One way to try and fix that is to clamp your occlusion using a Color
Ramp node, which makes the
edge
harder. But this
just makes the shape of the occlusion harder, and you get an ugly edge.
You could also try adjusting the flags in the Color Ramp node hooked
into the Noise to clamp it further, but this also doesn't
solve the problem, you still see that occlusion edge.
The solution is instead of clamping the
noise further and clamping the occlusion, then combining them, combine
the
noise and
the occlusion, and then clamp the result.
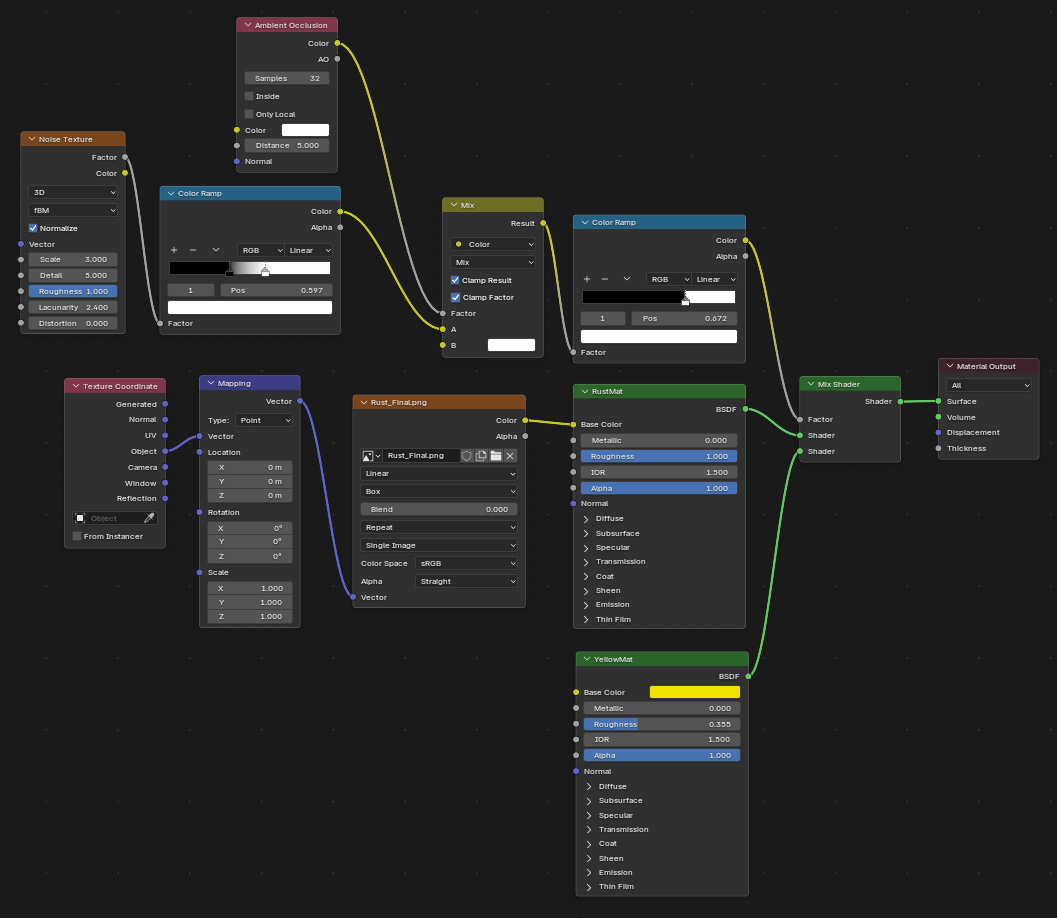
Here's the nodes...
Here's the resulting mask...
And the final result...
This is much better looking.
You can also try different types of procedural noise, mixing several
noises, or even bitmaps to replace the noise all together.
Also note, this technique is recommended as a building block for
further
rust, or for objects you will see off in the distance, but it is not
recommended as the best way to add rust to hero objects, since the
results are not as easy to control as say hand painting a mask,
and may not show the variety in rust that a hero object requires.
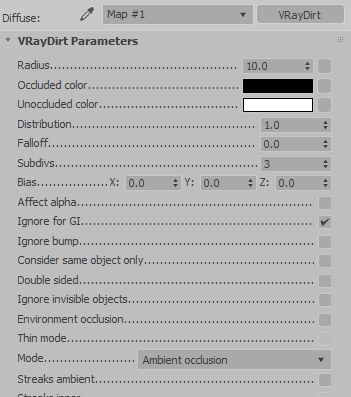
First, lets make a teapot and ground surface, and use vray's VrayDirt
Map for our occlusion.
We will use the map to blend
between a rust surface and a yellow paint surface.
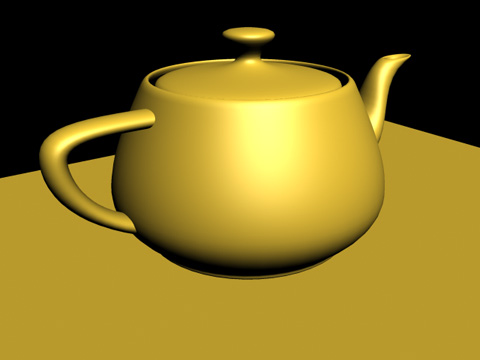
Here's the yellow paint by itself...
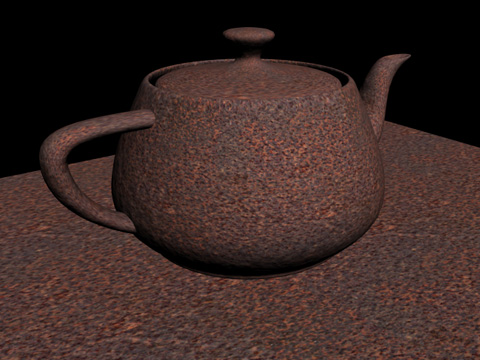
Here's the rust by itself, fashioned using a photo of real rust in the
color slot...
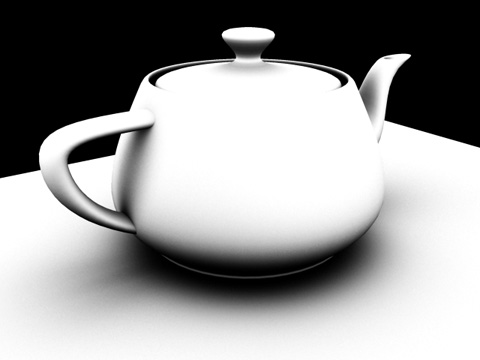
And here's the ambient occlusion map results...
Now, use the occlusion map as the mask between the two other
materials as part of a Blend Material. You get the following results.
So this is ok, the rust is showing up in the occluded areas of the
mesh. But the rust appears too even. This is because your occlusion map
is too even. Ideally, you'd like to take the edge between the rust and
paint and roughen it
up.
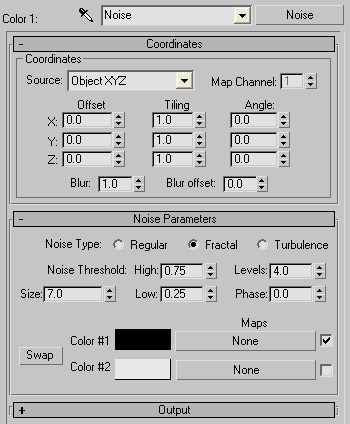
My first thought was "why not use the occlusion map
to
define an areas where noise appears?" You can do this by placing a
fractal noise in the first slot of a mix map, make the second slot
white, and then in the mix slot place your occlusion map.
Here's the resulting mask
This is good for some sorts of blurry rust.
But if you look at the second photo in our reference, some
rust has a much more defined edge. How do we get this sort of effect?
One way to try and fix that is to clamp your occlusion, which makes the
edge
harder. You can do this by changing the Falloff value. But this
just makes the shape of the occlusion harder, and you get an ugly edge.
You could also try clamping your fractal noise, but this also doesn't
solve the problem, you still see that occlusion edge.
After a lot of discussion on cgtalk, Zap Anderson
came up with a decent solution to the problem. Instead of clamping the
noise and the occlusion separately, then combining them, combine the
noise and
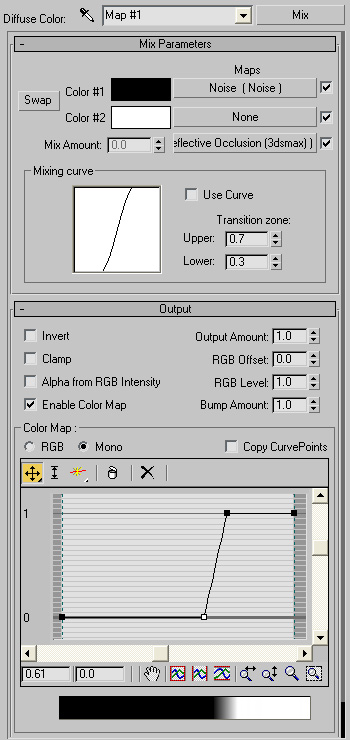
the occlusion, and then clamp the result.
So take your mix map, the one that mixes between the non clamped noise
and the non clamped occlusion,
and adjust the output curve to a clamped value...
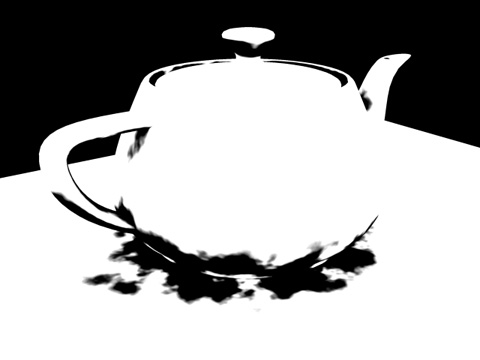
Here's the resulting mask...
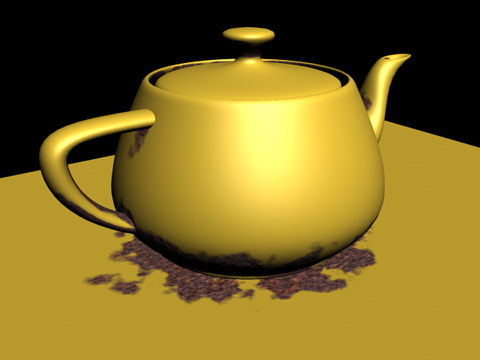
And the final result...
This is much better looking.
You can also try different types of procedural noise, mixing several
noises, or even bitmaps to replace the noise all together.
Here's an example of that...
Also note, this technique is recommended as a building block for
further
rust, or for objects you will see off in the distance, but it is not
recommended as the best way to add rust to hero objects, since the
results are not as easy to control as say hand painting a mask,
and may not show the variety in rust that a hero object requires.
This allows you to edit the resulting maps in photoshop, so it's
a good way to get part of the way there procedurally, and then add the
final details by hand.
Another reason you may wish to bake the occlusion into textures
is if you plan on animating your scene. Since occlusion is generally
calculated on a frame by frame basis, you may have the occlusion change
slightly every frame, which can cause your rust too move around. Baking
fixes this problem, since its computed on a single frame.
And finally, since occlusion is a slow process to calculate, it's
a lot faster to read a
precomputed bitmap than it is to calculate occlusion on the fly.
There are a few disadvantages to baking out your occlusion though...
If you have to do modeling
edits on your object after shading them, you'll mess up the results of
your occlusion baking, and will have to rebake.
If you have a LOT of objects, you'll now have to uv map a lot of
objects and carry the weight of all those baked maps.