Shading A Hard Surface Model
2015: Texturing A SciFi Power Cell
By Neil Blevins
Created On: Nov 7th 2015
Are you a 3d Concept Artist who uses Keyshot but wishes its
materials were more flexible and it had better painting capabilities?
Are you a Texture Artist who works on the final asset, but are tired of
waiting for complex models with thousands of parts to be UVd? Well
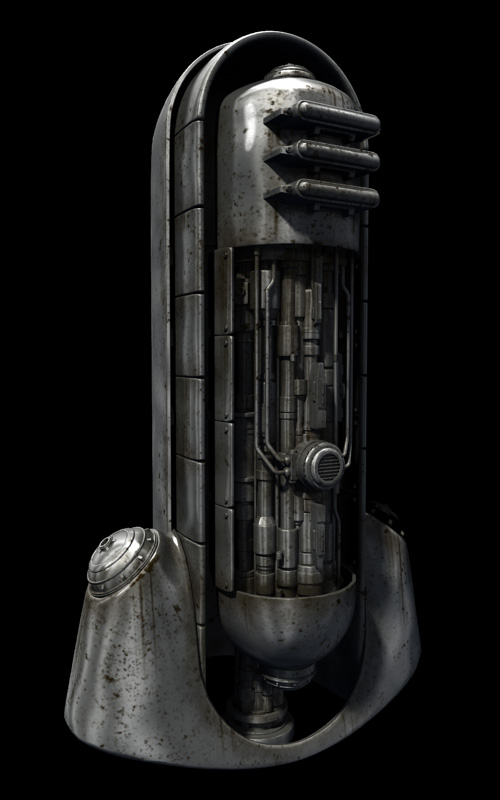
this video tutorial shows how I texture
the hard surface model of a scifi power cell using a projection
painting
technique that requires no UV unwrapping and gives you far more
flexibility than Keyshot provides while still retaining the speed. The
tutorial is for 3dsmax and vray, but the ideas can be applied to your
3d package and renderer of choice.
In addition to the video, below is more information on using the main
material shown in the video, its called
Combo_DirtyRustyDecaledPaintedWornMetal_B. This flexible material with
a long name is great for hard surface models that need to be grungy and
dinged up. It's perfect for robots, fighting suits,
military vehicles, factories, buildings, etc. It's especially designed
to
be thrown onto a model that has thousands of objects, and without the
need to make time consuming UVs for those objects.
Needed Plugins and Scripts
To set up your work environment to follow this tutorial, visit this
page and follow all the installation instructions: Soulburn
MaterialAssetPack MetalsAdvanced1
Preparing Your Mesh
You must first prep the mesh you're planning on assigning the material
to. In 3dsmax, select the objects you want to prepare, run the
"modelPreparer" script that's a part of the Soulburnscripts, accept the
default values, and it'll prepare the mesh for you.
Explaining The Material
Here's a detailed explanation of how the material
works. After reading this once, you can jump down to the "Using The
Material" section for just the bits you need to do to get the material
to work on your model.
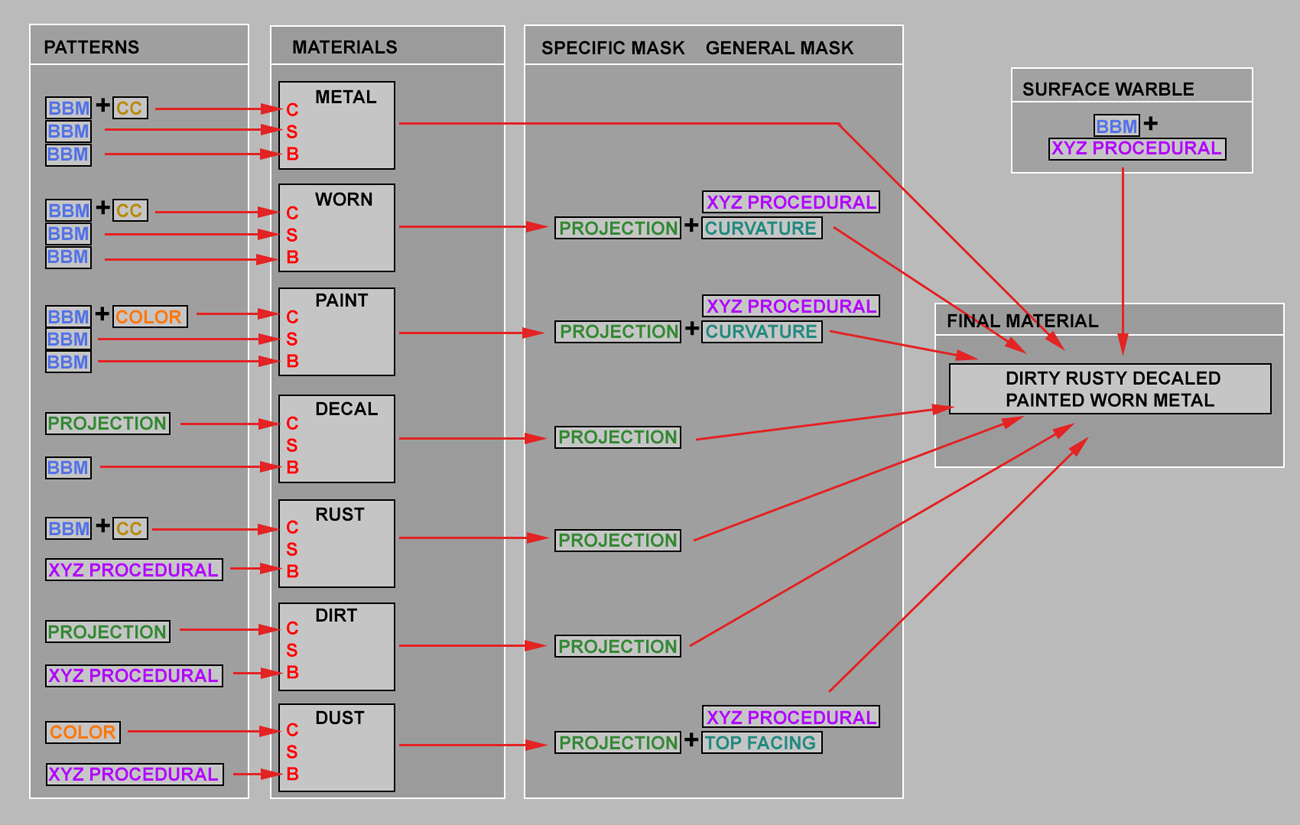
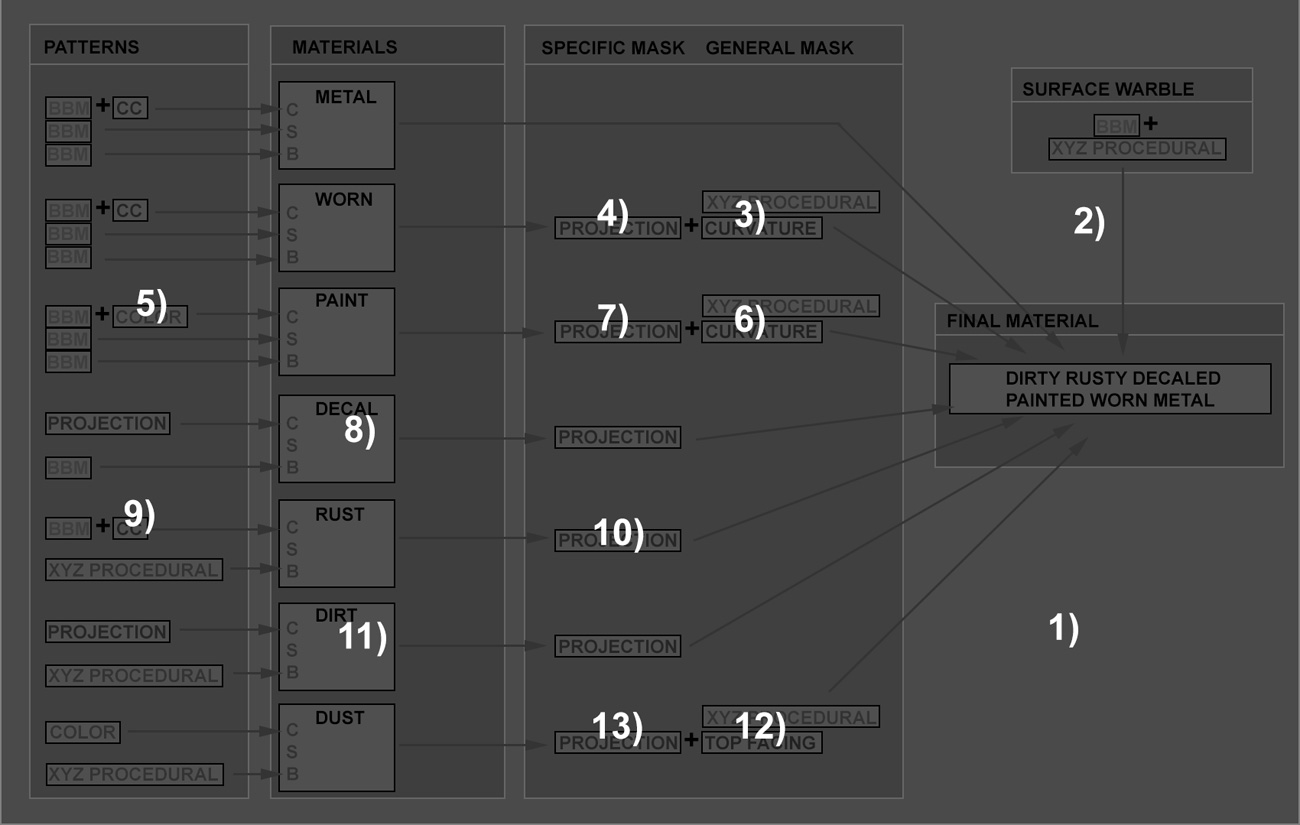
Here's a simplified graph of what the material's components look like
(both patterns and sub materials),
and what sort of pattern placement method they're using...
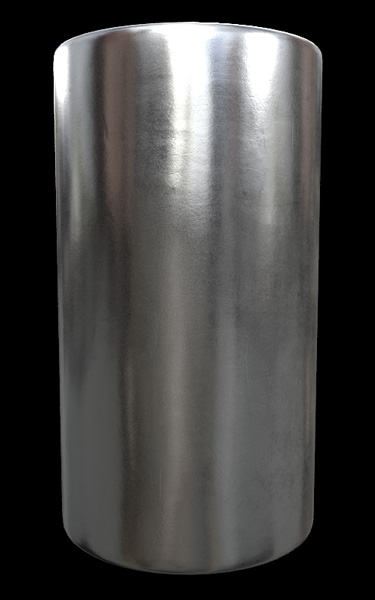
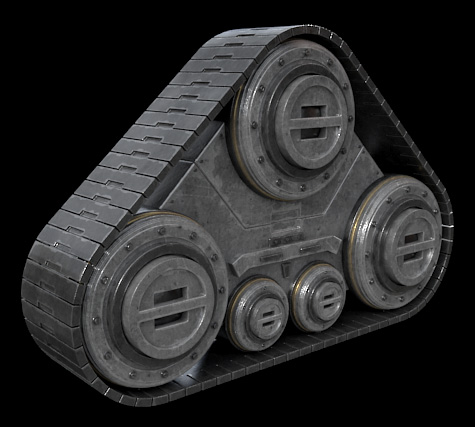
Surface
Warble Bump Layer
Here's a screenshot of the material.
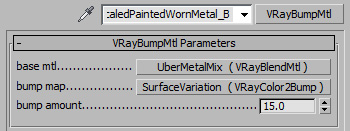
The first level
is using the VRayBumpMtl to apply a large scale bump to all of the sub
materials. I do this to give some slight variation to the reflections.
For more info on this, feel free to check out my Flat
Metallic Surfaces tutorial.
Blend Layer
Down one level, we have the Vray Blend Material, that
contains all of the sub materials.
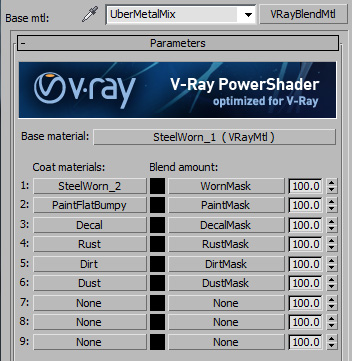
You have the "SteelWorn_1" base material, and 6 coat materials. Each
coat
material has a mask that reveals a certain amount of the material above
it in the list. So the "SteelWorn_2" material sits on top of the
"SteelWorn_1"
material, and appears everywhere defined by the black and white mask
"WornMask".
Note: On your model, you may not need all 6 layers. If not, feel free
to delete whatever submaterials you don't need. It's help unclutter the
material editor, and in some cases may cause the material to even
render faster.
Now lets go through the layers one by one.
SteelWorn_1 Layer
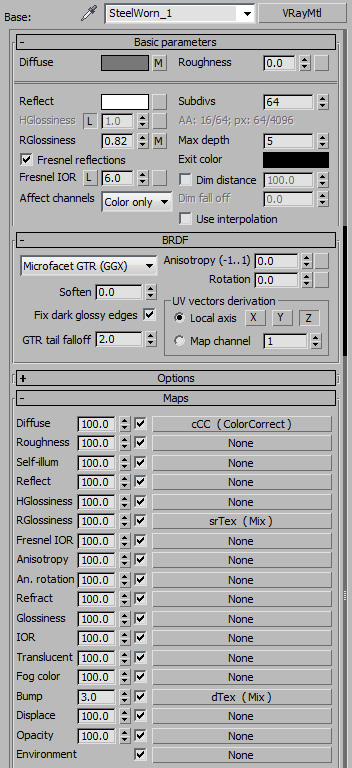
- The Diffuse color is a mix of a blended box map, and a color
correction. Adjust the base color of your metal to your liking.
- The Reflection Glossiness is below 1.00 so the
reflections are slightly blurry. Its mapped with a Blended Box Map to
provide some roughness variation
- IOR is 6, so its very reflective.
- The Shader is set to GGX, which is great for metals.
- Bump is a blended box map bump.
SteelWorn_2 Layer

- The SteelWorn_2 Layer is very similar to the SteelWorn_1
material, with just a
few changes. The Glossiness is lower, to simulate extra worn metal. And
the color and iors are lower so that the metal is darker.
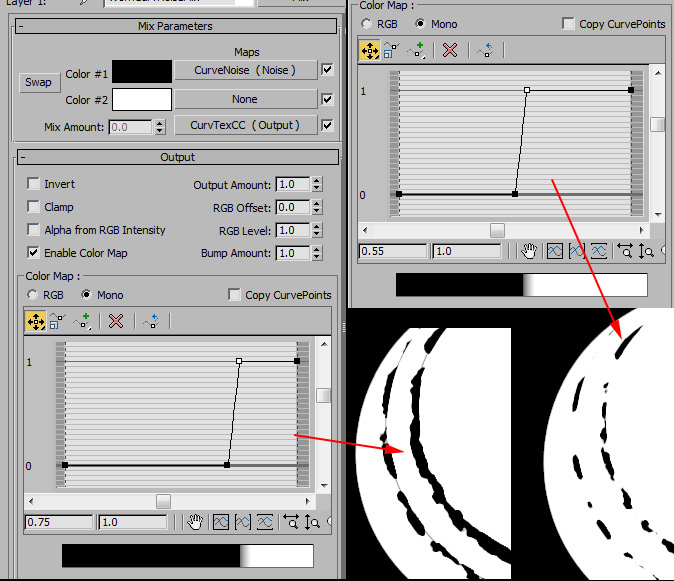
- The Worn mask is a mix between a procedural noise pattern and a
painted
pattern.
- The procedural pattern uses the Curvature you baked mixed with
procedural noise to remove the SteelWorn_2 material off at the edges of
your mesh. To see how this part looks
on your mesh, feel free to use my texmapPreview script to view the
procedural pattern on the mesh.
- You may need to change the size of the
noise (depending on the scale of your scene) and the
color map of the
"WornCurvNoiseMix" to reveal more or less of the original metal...
- If you don't see any black at all, it may be because the
curvature script didn't catch your edges and so didn't write them out
properly into your mesh's vertex colors. If this is the case, run the
cornerEdgeToVertexMap script in the soulburnscripts, in the Convex
area, decrease the low and increasing the high value will help you
capture more edges on a more subtly curved surface. Once you've
properly captured the edges of your object, the proceduural pattern
above will work a lot better.
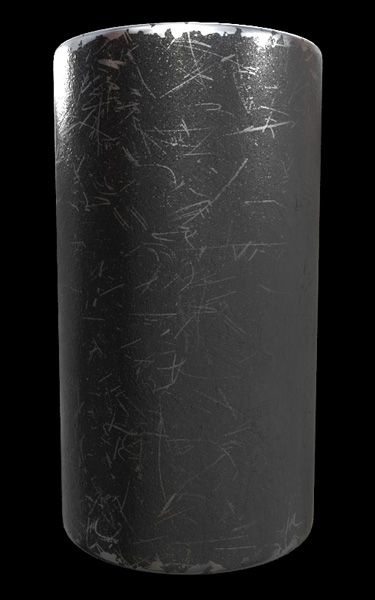
- The painted pattern inside the mask uses a blended cube
projection. The top, bottom, left, right, front and back maps are
currently
all
hooked up to a single map that looks like this:
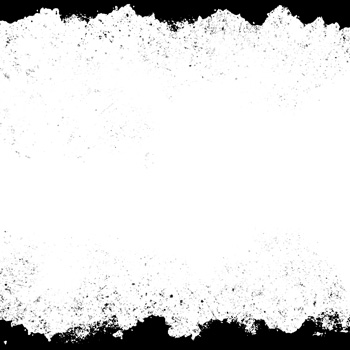
- You should replace this map with 6 separate maps that you paint
using
the templates you rendered out. Each should be black and white, white
where you want to see the SteelWorn_2 material, black where you want to
see
the SteelWorn_1 material. Or, feel free to just remove the blended cube
projection entirely if you want to rely only on the procedural pattern.
PaintFlatBumpy Layer
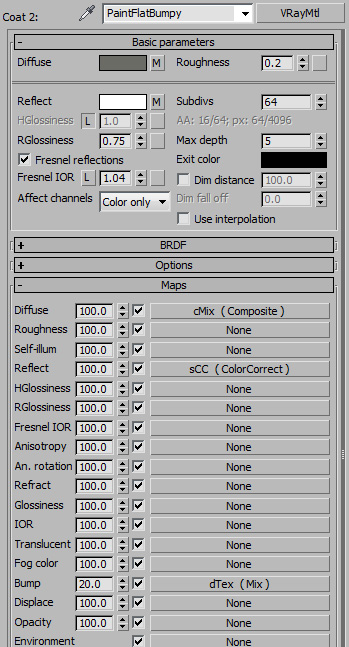
- Diffuse is a color mixed with a blended box map. Switch the color
to whatever color you want your paint to be, currently its dark gray.
- Reflectivity is a Blended Box Map of a worn texture.
- Bump uses a blended box map.
- The mask is similar to the worn mask, a mix between a procedural
map using curvature and 6 hand
painted maps in a Blended Cube Projection.
- For the procedural
map, you may need to change the size of the noise (depending on the
scale of
your scene), and the color map of the "PaintCurvNoiseMix" to reveal
more or
less of the original metal below the "paint" layer.
- As for the 6 hand
painted maps, paint them in photoshop using the templates to replace
the temporary map that's in there, black is
where you see through to the metals, white is where you
see the Paint material. Or, feel free to just remove the blended cube
projection entirely if you want to rely only on the procedural pattern.
Decal Layer
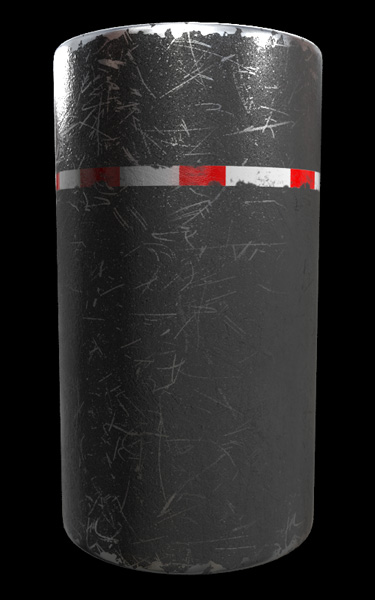
- This is the layer for any graphics or decals you want to place on
your object. They are projected using a Blended Cube Projection (6
sides). For the example above, here's the map I'm projecting...
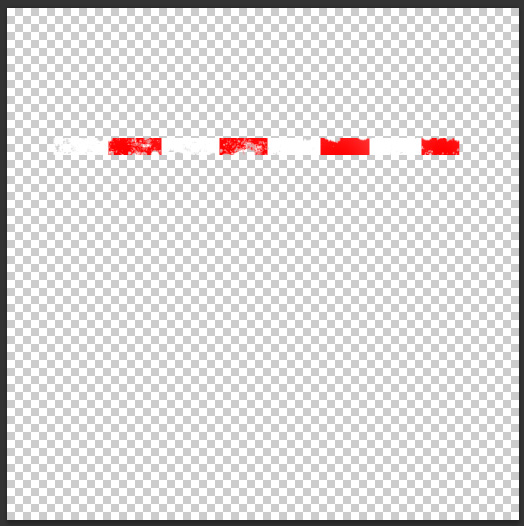
- So paint whatever graphics you want on a transparent background
in photoshop, and this will project them onto your object.
- The mask is just the alpha of your bitmaps you just painted in
photoshop. So here's a screenshot of the "Decal" material's map tree...
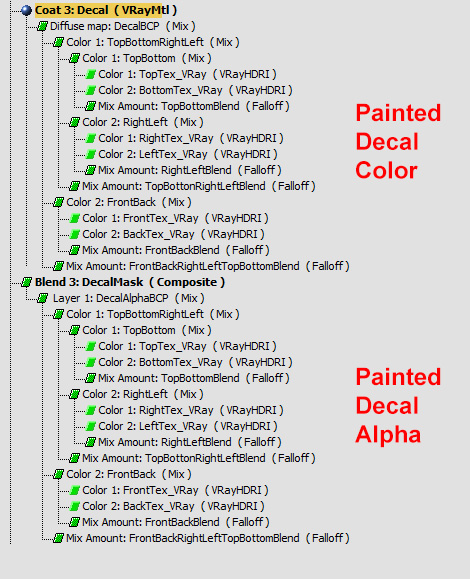
- So for example, paint any graphics you want on your Blended Cube
Projection's templates on a transparent background, save as a
transparent png file, then make sure to
plug this bitmap into both the color map and the mask map as you see
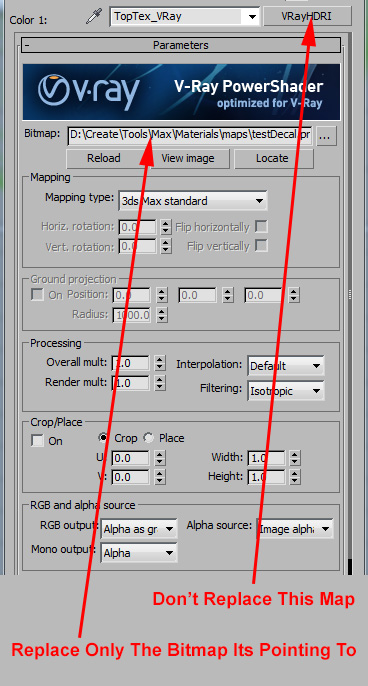
above. Make sure not to change the bitmap maps themselves, just the
bitmap they're pointing to. Then do the same with the 5 other
directions.
Rust Layer
- The rust material is already setup for you. You can change its
color correction to make darker or lighter rust.
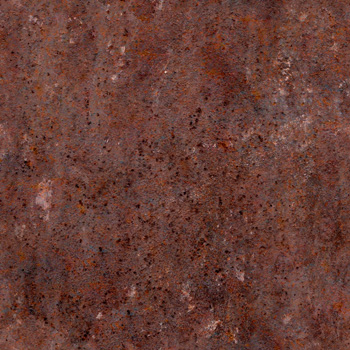
- The mask is a black and white mask using a blended cube
projection, the top, bottom, left, right, front and back maps are
currently all hooked up to a single map that looks like this:
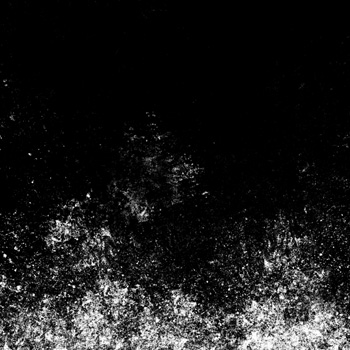
- You should replace this map with 6 separate maps that you paint
using
the templates you rendered out. Each should be black and white, white
where you want to see the "Rust" material, black where you want to see
the materials below.
Dirt Layer
- Similar to the "Decal" material, paint the dirt you want on a
transparent background, paint all 6 maps for the blended cube
projection, then plug the maps into both the color and the mask.

Dust Layer
- This material places dust on the top facing surfaces of your mesh.
- The color and bump of the dust is procedural and quite simple.
- The mask that places the dust is a mix between a procedural
pattern and a 6 sided projection.
- The Procedural contains noise and only places the dust on faces
that are pointing upwards, which is where most dust would tend to
appear.
- As for the 6 hand
painted maps, paint them in photoshop using the templates to replace
the temporary map that's in there, black is
where you see through to the layers below and white is where you
see the Dust material. Or, feel free to just remove the blended cube
projection entirely if you want to rely only on the procedural pattern.
Using The Material
Ok, you've now read the more detailed explanation,
now here's the cheat sheet, follow the steps below to use the material
on your model.
- Prep
- 1) Do the "Preparing Your Mesh" steps.
- Surface Variation
- 2) Adjust the size of the SurfaceVariation noise to be
appropriate
to your scene size.
- SteelWorn_2
- 3) Change the noise size and output values
of the "Worn"
curvature based mask to get the results you want.
- 4) Paint the 6 maps for the "Worn" mask's blended cube
projection
using the rendered templates. These maps are black and white.
- Paint
- 5) Choose a paint color.
- 6) Change the noise size and output values
of the "Paint"
curvature based mask to get the results you want.
- 7) Paint the 6 maps for the "Paint" mask's blended cube
projection
using the rendered templates. These maps are black and white.
- Decal
- 8) Paint the 6 maps for the "Decal" layer's blended cube
projection
using the rendered templates. These maps are color on transparent. Plug
into both the color and the mask maps of the material.
- Rust
- 9) Choose the brightness of the rust.
- 10) Paint the 6 maps for the "Rust" mask's blended cube
projection
using the rendered templates. These maps are black and white.
- Dirt
- 11) Paint the 6 maps for the "Dirt" layer's blended cube
projection
using the rendered templates. These maps are color on transparent. Plug
into both the color and the mask maps of the material.
- Dust
- 12) Change the noise size and output values
of the "Dust"
top facing based mask to get the results you want.
- 13) Paint the 6 maps for the "Dust" mask's blended cube
projection
using the rendered templates. These maps are black and white.
|
And you're done. Here's a graphic that may also help you remember the
cheat sheet steps:
I know this seems like a lot of steps, but again, check out the video
above and see how quick the process actually is once you've practiced
it. Hopefully you'll agree that it makes texturing any hard surface
modeling a breeze compared to other techniques, not to mention super
fast.
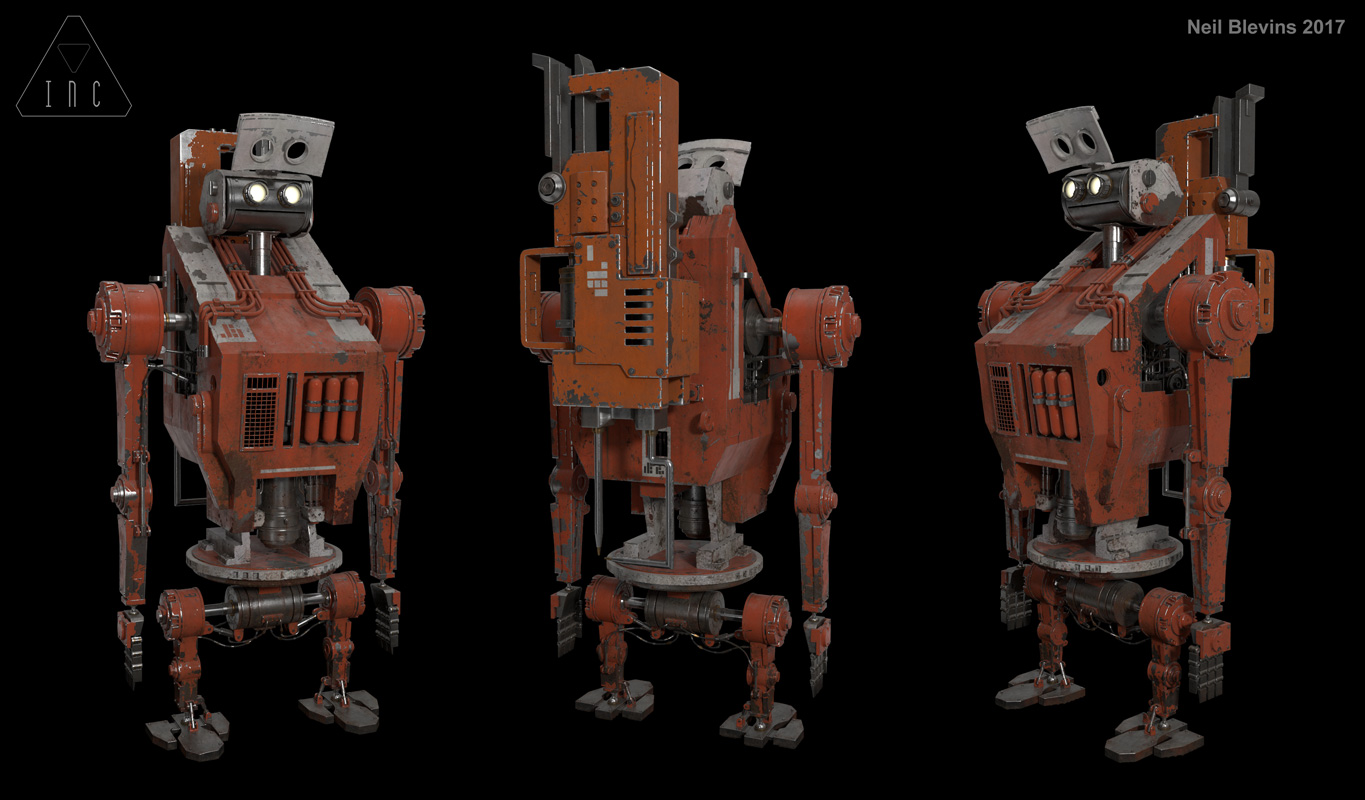
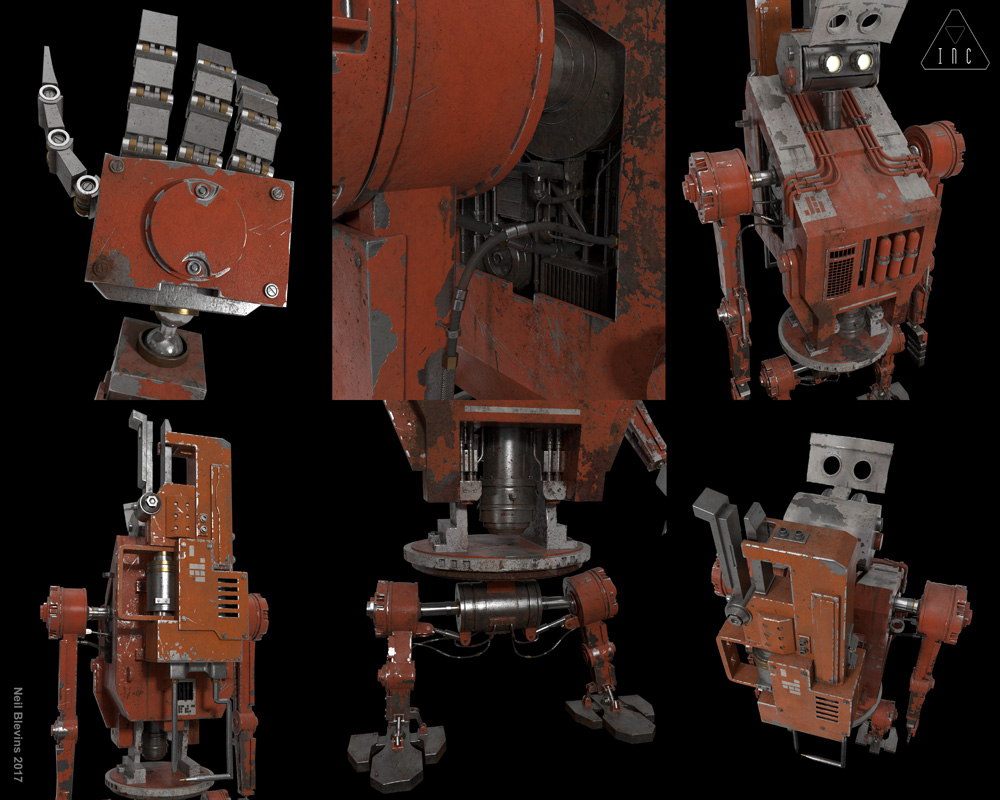
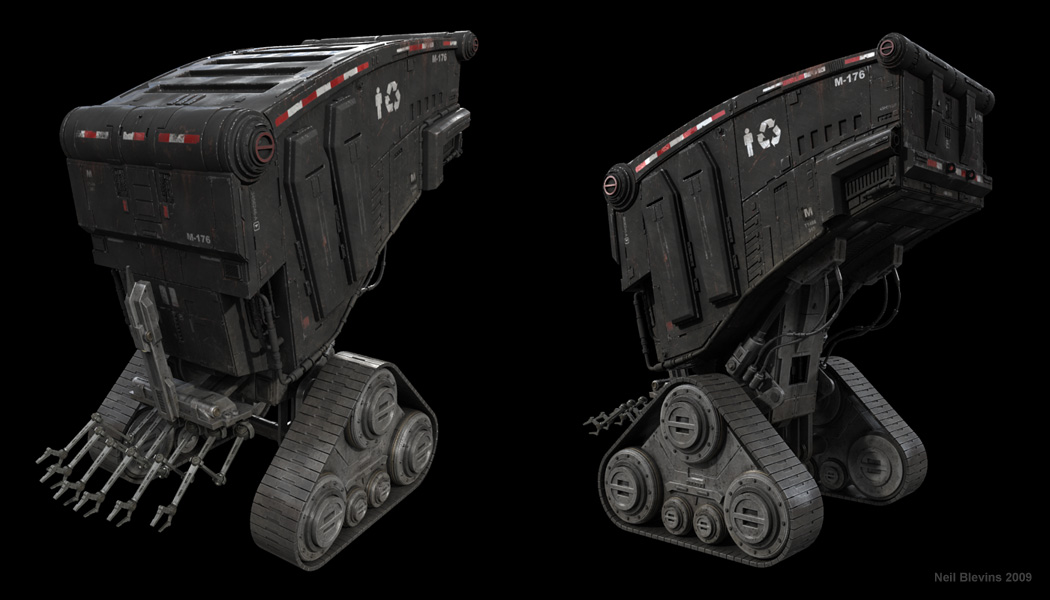
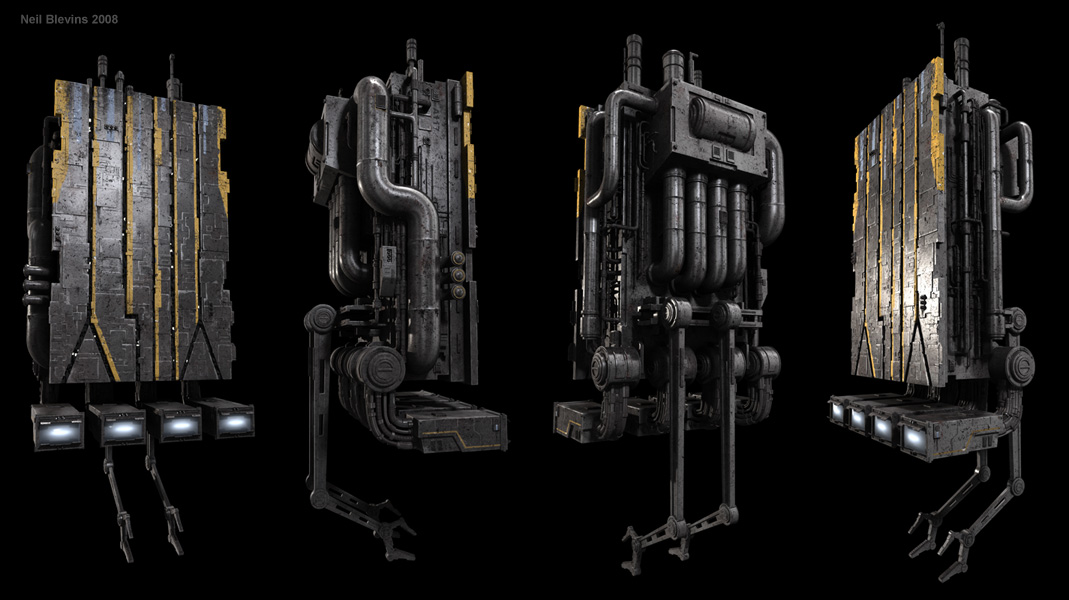
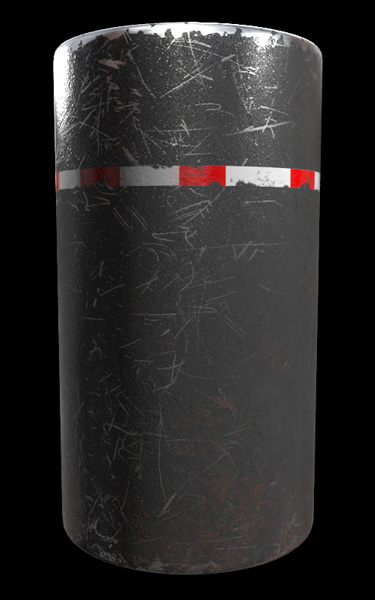
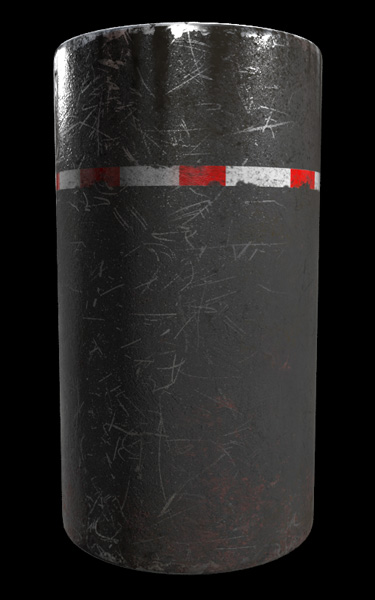
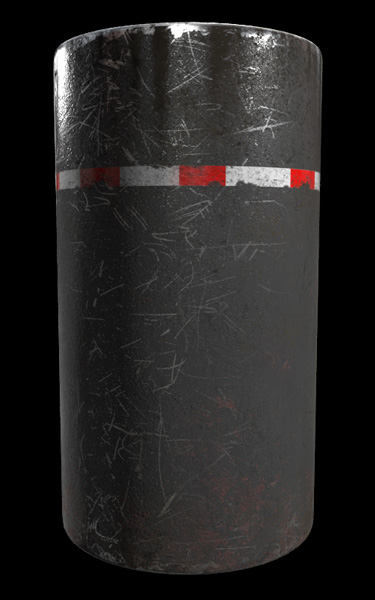
Examples
Here's some more complex models shaded using variants of the above
material...