Polished Reflection vs
Blurry Reflection vs Glossy Reflection
So you may hear a lot of definitions being thrown around like a
polished reflection, a blurry reflection, or a glossy reflection.
Defining these is actually a little bit difficult since these words can
mean different things to different people and in different renderers.
But here's the general gist of things.
The basic ingredients are as follows:
3dsmax's Arch & Design Material in mentalray Renderer
Here's an example file to make a scene like the image above using 3dsmax's mentalray Renderer: blurred_raytraced_chrome_mr.zip (Requires 3dsmax 2009 or later, mentalray)
Again, identical to the polished chrome, except I changed the Glossiness from a value of 1.0 to a value of 0.23. I also increased the Glossy Samples to 32, so that the blur is nice and smooth, without tons of noise.3dsmax's VrayMtl
Material in Vray Renderer
Here's an example file to make a scene like the image above using
3dsmax's Vray Renderer: blurred_raytraced_chrome_vray.zip
(Requires 3dsmax 2014 or later, Vray 2.4, ColorCorrect)
Again, identical to the polished chrome, except I changed the Refl.
glossiness from
a value of 1.0 to a value of 0.8. (note, the env is wrapped in a
ColorCorrect map to set the gamma correctly, since this scene uses
Linear Workflow). I also increased the Subdivs to 32, so that the blur
is nice and smooth, without tons of noise.
Blurry Environment Mapped / Polished Environment Mapped and Raytraced Chrome
Again, in the Chrome Material lesson I also mention these two other types of Chrome. To make the same materials, just follow the Chrome instructions, and then turn on the Glossy controls mentionned in the examples above.Anisotropic Brushed Metal Using Small Bumps
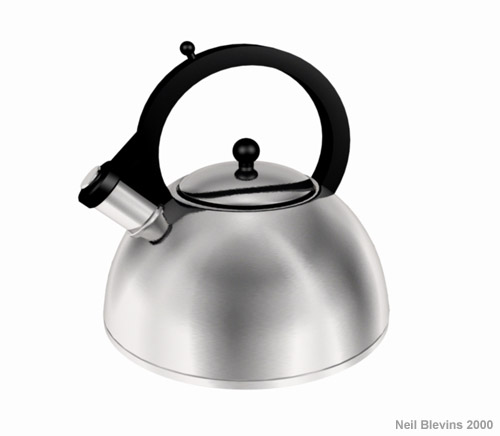
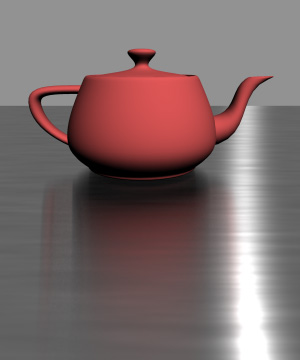
Since anisotropic reflections are really just reflections distorted by tiny bumps on a surface, why not just make those fine bumps on our cg surfaces? Well, you can, for example, take a look at the tea kettle that I rendered in Ghost (the predecessor to Brazil)...
So the basic ingredients are as follows:

Here's an example file to make a scene like the image above using 3dsmax's Brazil Renderer: aniso_with_bumps_brazil.zip (Requires 3dsmax 5 or later, Brazil Rio)
First,
make a polished raytrace chrome surface. Then add a
very soft, small but elongated bump map, which distorts the reflection
primarily along one axis.
While this technique works, it takes a lot of fine tuning to get
just
the right size and frequency of bumps to produce the type of distortion
you want.
3dsmax's Arch & Design Material in mentalray Renderer
This is identical to the chrome in the Chrome Material tutorial, but then I add the bump map shown above.Anisotropic Brushed Metal Using
Anisotropic Reflection Shader
With an Anisotropic Reflection shader, you can stretch the
reflection without the need for a fine bump map (although adding bumps
does make the effect look more realistic). Much like an anisotropic
highlight, you have control over the amount of anisotropy, and the
reflection gets stretched in the direction and by the amount you
choose.
So the basic ingredients are as follows:
Here's an example file to make a scene like the image above using 3dsmax's mentalray Renderer: aniso_shader_mr.zip (Requires 3dsmax 2008 or later, mentalray)
Create an Arch &
Design material, set it up as blurred raytraced chrome, and now set
Anisotropy to a number lower than 1, the lower the number the
more stretched the reflection. Also note, I placed a stretched noise in
the reflection amount just to
get something that looks a little bit like scratches. But note, these
scratches aren't distorting the reflection, the anisotropic controls
are.
Here's an example file to make a scene like the image above using 3dsmax's Vray Renderer: aniso_shader_vray.zip (Requires 3dsmax 2014 or later, Vray)
Create an VrayMtl material, set it up as blurred raytraced chrome, and now set Anisotropy to a number above 0 (but not 1). Also note, I placed a stretched noise in the reflection amount just to get something that looks a little bit like scratches. But note, these scratches aren't distorting the reflection, the anisotropic controls are.Anisotropic Brushed Metal Using A
Reflection Map
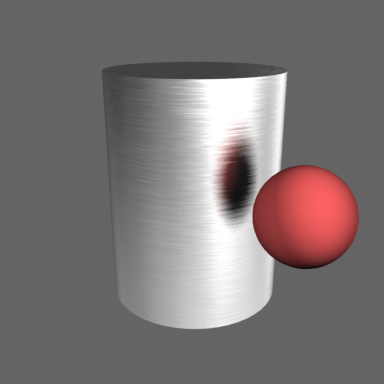
Similar to the first example, but you use a pre-distorted reflection
to make it appear as though it's anisotropic. So say we have the
following reflection map...
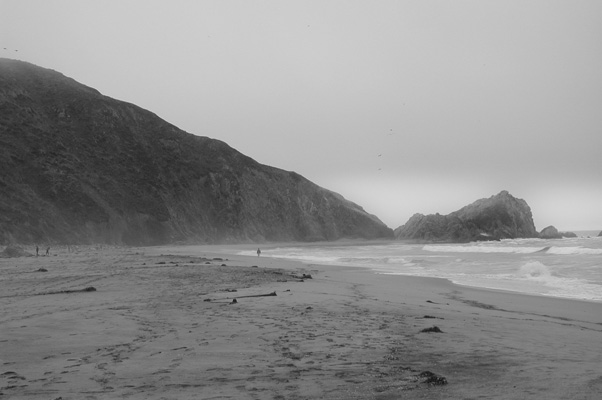
That produces the following reflection on our cylinder...
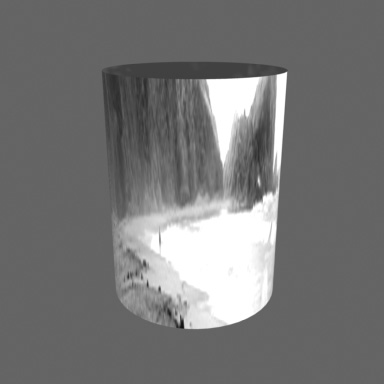
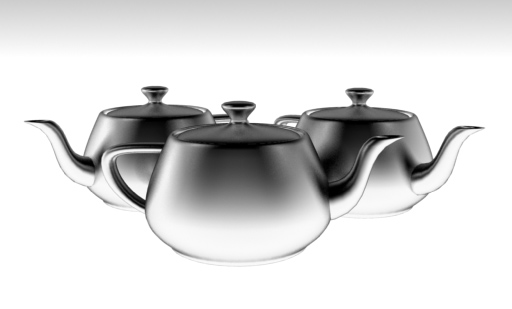
Now take this reflection map and use the motionblur filter inside
photoshop on it going vertically, amount depends on how much of the
effect you're after. You get something like this...

Now the reflection looks anisotropic, although it's not the surface
causing the anisotropy (like in real life), but the reflection itself
that's been pre-blurred to appear anisotropic...

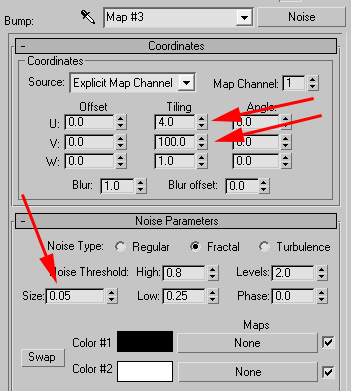
And now add a little noise in the bump slot (or even the diffuse
slot if you'd like)
to simulate the grain you see in anisotropic metal.
Note, the
noise doesn't have to be as small as the noise I used in the "Brushed
Metal Using Small Bumps" above, because we're not using the bumps to
distort the reflection, we're just using the bumps to look bumpy.
Also
note, the direction of the grain should always go in the opposite
direction that the reflections are stretched. This happens
automatically when you're actually using the grain to distort the
reflections, but you need to keep this in mind when doing this sort of
cheat.

Of course, this trick
only works with a reflection map, you can't use it to distort real
raytraced reflections. But you can mix and match, do a pre-distorted
environment map and then mix it with real blurred raytraced reflections.